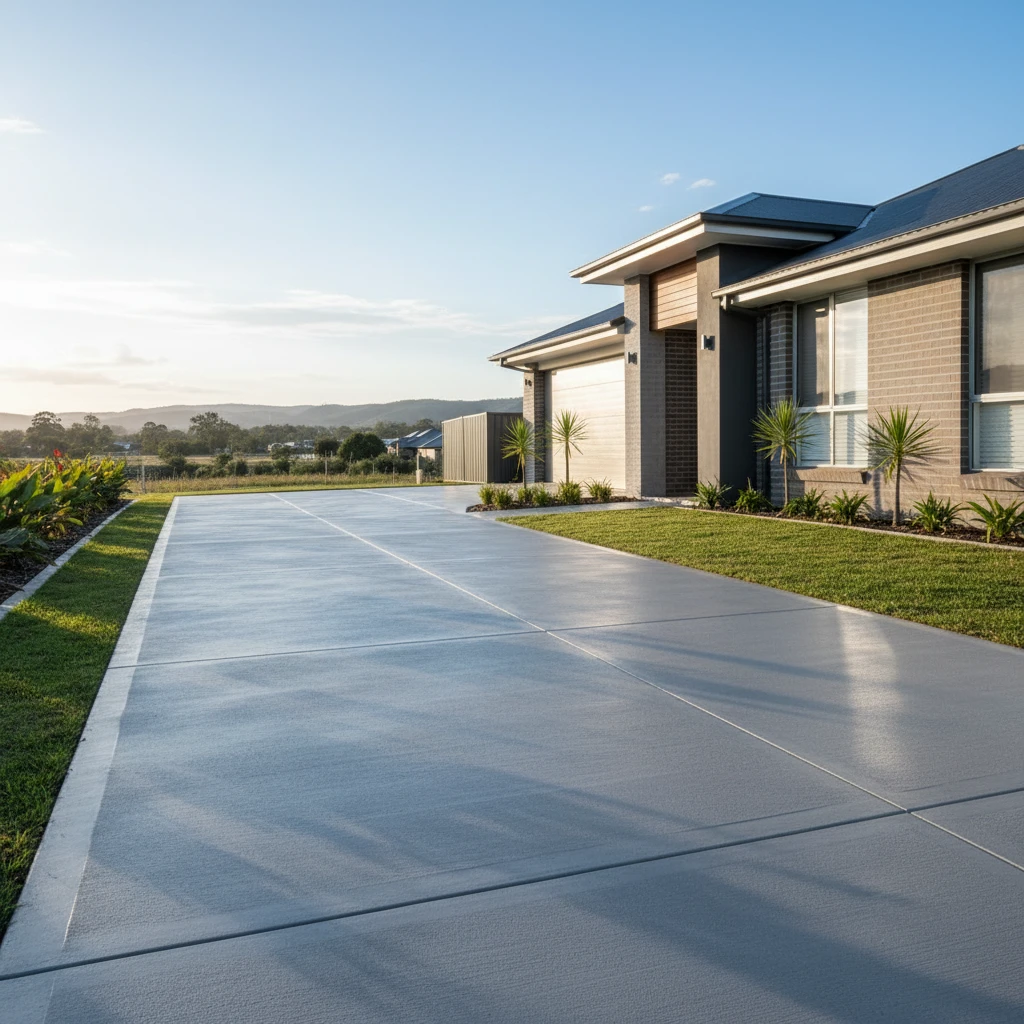
When investing in a shed for your property, the foundation is not an area to cut corners. A poorly constructed foundation can lead to structural issues, pest infestations, and premature deterioration of your shed. Concrete slabs offer a robust and long-lasting solution, providing a stable base that protects your investment for years to come. This guide will explore the key considerations involved in choosing and constructing a concrete shed slab, ensuring your shed stands the test of time.
From understanding the benefits of concrete to navigating site preparation and the pouring process, we’ll delve into each aspect to help you make informed decisions. Whether you’re in Penrith, the Blue Mountains, or the Central West, understanding these factors is essential for a successful shed installation. For more information on Penrith, see the Penrith City Council website.
Why Choose a Concrete Slab for Your Shed Foundation?
Superior Stability and Load-Bearing Capacity
Concrete slabs provide unmatched stability for your shed, crucial for heavier structures or those storing substantial loads. Unlike gravel or timber foundations, concrete offers a rigid and level surface, preventing settling and warping over time. This is especially important in areas with fluctuating temperatures or unstable soil. The load-bearing capacity of a concrete slab can be precisely calculated based on the anticipated weight of the shed and its contents, ensuring a safe and durable foundation. Neglecting proper load calculations can lead to cracking and structural failure, requiring costly repairs later on. For example, a shed intended to house heavy machinery requires a thicker and more reinforced slab than a simple garden shed.
Protection from Pests, Moisture, and Weeds
A well-constructed concrete slab acts as a formidable barrier against pests, moisture, and weeds. Unlike timber or gravel foundations, concrete prevents rodents, insects, and weeds from burrowing beneath the shed and causing damage. Moisture infiltration can lead to rot, mould, and corrosion, compromising the structural integrity of both the foundation and the shed itself. A properly sealed concrete slab prevents ground moisture from seeping upwards, keeping the interior of your shed dry and protected. Furthermore, it eliminates the need for ongoing weed control measures, saving you time and effort. Consider applying a sealant to the slab’s surface to further enhance its resistance to moisture and staining. Failing to adequately seal the slab can create a breeding ground for mould and mildew.
Enhanced Durability and Longevity Compared to Other Foundations
Concrete shed slabs offer exceptional durability and longevity compared to alternative foundation options. While timber foundations may be more affordable upfront, they are susceptible to rot, insect damage, and weathering, requiring frequent repairs or replacements. Gravel foundations, on the other hand, can settle over time, leading to unevenness and instability. A properly constructed concrete slab, however, can last for decades with minimal maintenance, providing a solid and reliable base for your shed. The initial investment in a concrete slab translates to long-term cost savings by minimizing repair expenses and extending the lifespan of your shed. Concrete is also less susceptible to damage from extreme weather conditions, making it an ideal choice for the Australian climate. For a more detailed understanding of concrete’s resilience, you may find useful information on the American Concrete Institute website.
Understanding Shed Slab Design Considerations
Shed Size and Weight: Determining Slab Thickness
The dimensions and weight of your shed are critical factors in determining the necessary slab thickness. Larger and heavier sheds require thicker slabs to adequately distribute the load and prevent cracking. A general rule of thumb is to use a minimum thickness of 100mm for small to medium-sized sheds, but this may need to be increased for larger or heavier structures. Consult with a concreting professional to accurately calculate the required slab thickness based on your specific shed specifications. Ignoring this step can result in a foundation that is unable to support the weight of the shed, leading to structural problems. For example, a workshop shed filled with tools and equipment will need a significantly thicker slab than a simple garden shed. The placement of support beams and walls within the shed should also be considered when determining the optimal slab thickness and reinforcement.
Soil Conditions: Assessing Stability and Drainage Needs
The type of soil on your property plays a significant role in the design and construction of your shed slab. Soil that is unstable or poorly drained can compromise the integrity of the foundation, leading to settling, cracking, and water damage. Before pouring the slab, it’s essential to assess the soil conditions and take appropriate measures to ensure stability and drainage. This may involve compacting the soil, adding a layer of gravel for drainage, or installing drainage pipes to divert water away from the foundation. In areas with reactive clay soils, which expand and contract with changes in moisture content, it may be necessary to use a reinforced slab or implement other soil stabilisation techniques. Proper site preparation, including excavation and soil compaction, is critical for long-term stability.
Local Council Regulations: Ensuring Compliance
Before commencing any construction work, it’s crucial to check with your local council regarding any regulations or permits that may apply to shed slabs. Many councils have specific requirements for slab thickness, reinforcement, and drainage, as well as restrictions on building setbacks and height limits. Failure to comply with these regulations can result in fines, delays, or even the need to demolish and rebuild the slab. Contact your local council planning department to obtain the necessary permits and ensure that your shed slab meets all applicable requirements. This is especially important in areas with specific environmental or heritage considerations. Ensure all plans are submitted and approved before any work commences. Neglecting council approvals could lead to costly rectification work.
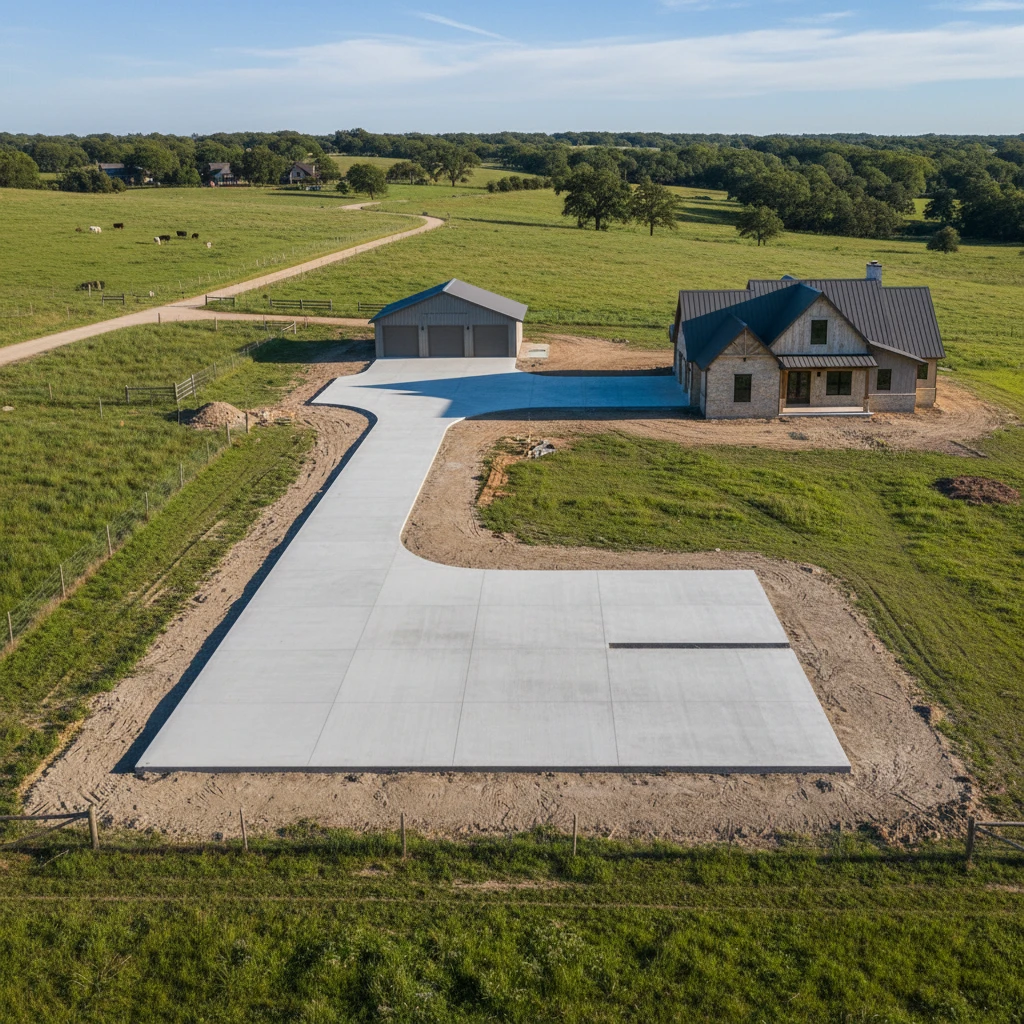
Preparing Your Site for a Concrete Shed Slab in Penrith
Site Clearing and Excavation Best Practices
Proper site preparation is paramount to the success of your shed slab. Start by clearing the area of all vegetation, debris, and topsoil. Excavate to the required depth, ensuring that the area is level and free of any obstructions. The depth of excavation will depend on the desired slab thickness and the type of sub-base material used. Remove any tree roots or large rocks that could compromise the stability of the slab. Use appropriate safety gear, including gloves, eye protection, and sturdy footwear, during the excavation process. If you are dealing with challenging terrain, such as rocky or sloping ground, it’s advisable to engage a professional excavation service. For complex excavation solutions in Penrith, consider services offered by companies that specialise in excavation and concrete work in difficult access areas.
Compacting the Sub-Base for Optimal Support
After excavation, a sub-base layer of compacted gravel or crushed rock is essential for providing optimal support and drainage for the concrete slab. This layer should be at least 100mm thick and compacted using a plate compactor or roller. Compaction helps to create a stable and level surface, preventing settling and cracking of the slab over time. Ensure that the sub-base is evenly compacted and that there are no soft spots or voids. Use a spirit level or laser level to verify that the surface is level before pouring the concrete. Insufficient compaction can lead to uneven settling and structural problems, so it’s crucial to take the time to do it right. The type of sub-base material should be chosen based on the soil conditions and the anticipated load-bearing requirements of the shed. Using the wrong type of material can compromise the stability of the foundation.
Creating Proper Drainage to Prevent Water Damage
Effective drainage is crucial for preventing water damage to your shed and its foundation. Water that accumulates around the slab can seep into the concrete, leading to cracking, spalling, and other forms of deterioration. Ensure that the site is graded to direct water away from the slab and that there are adequate drainage channels or pipes in place to remove excess water. Consider installing a French drain around the perimeter of the slab to collect and divert groundwater. Avoid placing the shed in a low-lying area where water is likely to accumulate. Proper drainage will not only protect the slab from water damage but also help to prevent pest infestations and mould growth. Regularly inspect the drainage system to ensure that it is functioning properly and free of obstructions. Clogged drains can quickly lead to water buildup and potential damage.
The Concrete Slab Pouring Process: Achieving a Perfect Finish
Selecting the Right Concrete Mix for Shed Slabs
Choosing the correct concrete mix is critical for ensuring the strength and durability of your shed slab. A standard concrete mix for shed slabs typically consists of cement, sand, aggregate, and water, with a specified compressive strength. The ideal mix will depend on factors such as the size and weight of the shed, the soil conditions, and the local climate. Consult with a concrete supplier or concreting professional to determine the appropriate mix for your specific needs. Consider adding admixtures to the concrete mix to enhance its workability, durability, or resistance to cracking. Avoid using a concrete mix that is too wet or too dry, as this can compromise its strength and finish. Using the correct mix from the outset will contribute significantly to the long-term performance of the shed slab.
Reinforcing with Steel Mesh or Rebar for Added Strength
Reinforcing the concrete slab with steel mesh or rebar significantly increases its strength and resistance to cracking. Steel reinforcement helps to distribute loads evenly throughout the slab and prevent it from flexing or shifting. The type and amount of reinforcement required will depend on the size and weight of the shed, the soil conditions, and the local building codes. Steel mesh is typically used for smaller sheds, while rebar is more suitable for larger or heavier structures. Ensure that the reinforcement is properly spaced and secured before pouring the concrete. Consider using a professional concreter to ensure that the reinforcement is installed correctly and that the slab meets all applicable building standards. Improperly installed reinforcement can actually weaken the slab and increase the risk of cracking. Prioritize quality reinforcement materials to ensure a durable and long-lasting foundation.
Levelling and Finishing Techniques for a Smooth, Durable Surface
Achieving a level and smooth finish is essential for both the aesthetics and the functionality of your shed slab. Use a concrete screed to level the concrete immediately after pouring, ensuring that the surface is flat and even. After screeding, use a float to smooth the surface and remove any imperfections. For a more polished finish, use a trowel to further refine the surface after the concrete has partially set. Avoid over-trowelling the concrete, as this can weaken the surface and increase the risk of cracking. Proper curing is also essential for achieving a durable and long-lasting finish. Keep the concrete moist for at least seven days after pouring by covering it with plastic sheeting or spraying it with water regularly. Curing helps to prevent cracking and ensures that the concrete reaches its full strength. The application of a sealant after curing can further protect the slab from staining and water damage. Precision and expertise are key in achieving a high-quality concrete finish.
Curing Your Concrete Shed Slab: Essential for Long-Term Strength
Importance of Proper Curing to Prevent Cracking
Curing is the process of maintaining adequate moisture content and temperature in concrete during its early hardening period. It’s absolutely critical for achieving the desired strength and durability of your shed slab. Without proper curing, the concrete can dry out too quickly, leading to a number of problems. Premature drying causes shrinkage, which inevitably results in cracking. These cracks, even if small at first, weaken the entire structure and allow water to penetrate, accelerating deterioration. The concrete’s surface may also become weak and dusty, a process known as crazing. Curing also impacts the concrete’s resistance to abrasion and freeze-thaw cycles, both of which are relevant for outdoor shed slabs in regions like the Blue Mountains, where weather conditions can be harsh. A well-cured slab will be significantly stronger, denser, and more resistant to damage than one that’s allowed to dry out too rapidly. This is a process we at Laser Concrete take extremely seriously, as the initial cure impacts the lifespan of the entire concrete placement.
Curing Methods: Water Curing, Chemical Curing, and Membrane Curing
There are several effective methods for curing a concrete shed slab, each with its own advantages and disadvantages. Water curing involves keeping the concrete surface continuously moist, usually by ponding, spraying, or covering it with wet burlap or hessian. This method is very effective but requires consistent monitoring and effort to ensure the concrete doesn’t dry out. Chemical curing uses curing compounds, which are sprayed onto the fresh concrete surface to form a membrane that seals in moisture. These compounds are convenient and require less labour than water curing, but it’s vital to select a product appropriate for the climate. Membrane curing is similar to chemical curing, creating a barrier to prevent moisture evaporation. Considerations in choosing include cost, the size of the slab, and availability of labour. For example, a large shed slab in a remote location might benefit from a chemical curing compound due to its ease of application, while a smaller slab closer to a water source might be effectively cured with water. It is also important to note, that different types of concrete benefit from different approaches; consult with your concrete supplier for best practices for the concrete mix you are using. The Portland Cement Association offers detailed resources on concrete curing methods. For expert shed slab solutions, including understanding the best curing options, you might want to view our shed slabs page.
Ideal Curing Timeframes for Different Weather Conditions
The ideal curing timeframe depends heavily on the weather. In hot, dry, and windy conditions, concrete can dry out extremely quickly, requiring extended and more intensive curing. For example, in Penrith during a hot summer day, water curing may need to be maintained continuously for at least seven days, or a high-quality curing compound should be applied immediately after finishing. In cooler, more humid conditions, the curing process can be less intensive and shorter. Generally, a minimum of three to seven days of curing is recommended for most shed slabs. However, this can be extended to 10-14 days in particularly hot or dry weather. Furthermore, the type of cement used in the concrete mix also influences the curing time; some cements require longer curing periods to achieve their full strength potential. Always consult with your concrete supplier or a qualified concrete contractor to determine the optimal curing timeframe for your specific project and local weather conditions. Failure to extend curing periods during hot or dry spells is a common mistake that can severely compromise the strength and durability of the slab.
Shed Slab Installation on Challenging Terrain in the Blue Mountains
Excavating on Slopes: Techniques for Leveling and Stability
Installing a shed slab on a sloping site in the Blue Mountains presents unique challenges. Proper excavation is crucial for creating a level and stable base. The first step is to accurately assess the slope and identify any potential issues, such as unstable soil or large rocks. Excavation typically involves cutting into the high side of the slope and filling the low side to create a level platform. Terracing can be used on steeper slopes to minimise the amount of cut and fill required and to improve stability. Retaining walls may also be necessary to support the excavated soil and prevent erosion. During excavation, it’s important to compact the fill material in layers to prevent settlement. Proper compaction is essential for creating a solid foundation for the shed slab. Laser levels and surveying equipment are invaluable tools for ensuring accurate leveling and grading. Our experience with excavation challenges means we have the right team for the job.
Managing Rocky Ground: Breaking and Removing Obstructions
Rocky ground is a common challenge in the Blue Mountains. Large rocks and boulders can obstruct excavation and make it difficult to create a level surface for the shed slab. The first step is to identify and map the location of any significant rocks. Smaller rocks can often be removed with an excavator or other heavy machinery. Larger boulders may require breaking with a rock breaker or jackhammer. In some cases, controlled blasting may be necessary, but this requires specialised expertise and permits. Once the rocks are broken or removed, the resulting voids should be filled with compacted gravel or other suitable fill material. It’s important to ensure that the fill is properly compacted to prevent settlement and maintain the stability of the slab. Consider hiring an excavation company with experience in rocky terrain to ensure the job is done safely and efficiently.
Drainage Solutions for Steep or Waterlogged Sites
Proper drainage is essential for protecting a shed slab from water damage, especially on steep or waterlogged sites. Water can erode the soil around the slab, leading to settlement and cracking. It can also penetrate the concrete, causing it to deteriorate over time. Effective drainage solutions include installing perimeter drains, such as French drains, to divert water away from the slab. These drains consist of perforated pipes buried in gravel-filled trenches. Surface drainage can be improved by grading the surrounding area to direct water away from the shed. Swales and channels can be used to collect and redirect runoff. On particularly steep sites, retaining walls can be used to create terraces and slow down the flow of water. For waterlogged sites, it may be necessary to install a sub-slab drainage system to remove groundwater from beneath the slab. This typically involves a network of perforated pipes embedded in a layer of gravel beneath the concrete. Consulting a civil engineer or drainage specialist can help you design an appropriate drainage system for your specific site conditions.
Common Mistakes to Avoid When Building a Shed Slab
Insufficient Site Preparation: Leading to Settlement and Cracking
One of the most common mistakes in shed slab construction is inadequate site preparation. This includes failing to properly remove topsoil and organic matter, neglecting compaction, and not ensuring a level base. Topsoil contains organic material that decomposes over time, causing the soil to settle. Insufficient compaction of the subgrade leads to uneven settlement, which can cause the slab to crack. Failing to create a level base results in uneven stress distribution, further increasing the risk of cracking. Before pouring the concrete, the site should be thoroughly cleared of all vegetation and topsoil. The subgrade should be compacted in layers using a plate compactor or roller. A layer of compacted gravel or crushed rock should be added to provide a stable and well-drained base. Accurate leveling is essential for ensuring a uniform slab thickness and even load distribution. Investing in proper site preparation is crucial for the long-term stability and durability of the shed slab.
Using the Wrong Concrete Mix: Compromising Strength and Durability
Using the wrong concrete mix can significantly compromise the strength and durability of a shed slab. Concrete mixes are designed for specific applications and load requirements. Using a mix that is too weak or not suitable for outdoor exposure can lead to premature failure. Factors to consider when selecting a concrete mix include the compressive strength, water-cement ratio, and aggregate size. The compressive strength should be appropriate for the expected loads. A higher compressive strength is generally required for larger sheds or those that will house heavy equipment. The water-cement ratio should be kept low to improve the concrete’s strength and durability. The aggregate size should be appropriate for the slab thickness and the spacing of the reinforcing steel. It is always advisable to consult with a concrete supplier or structural engineer to determine the optimal concrete mix for your specific project. They can take into account factors such as the local climate, soil conditions, and intended use of the shed to recommend a mix that will provide the necessary strength and durability. As experts in concrete solutions, we only use the highest quality materials.
Neglecting Proper Curing: Weakening the Slab Over Time
As mentioned earlier, neglecting proper curing is a critical mistake that can significantly weaken a shed slab over time. Proper curing is essential for ensuring that the concrete hydrates properly and achieves its full strength potential. Allowing the concrete to dry out too quickly can lead to cracking, surface dusting, and reduced durability. The curing process should begin as soon as the concrete has hardened sufficiently to prevent damage to the surface. Water curing, chemical curing, or membrane curing methods can be used. The curing process should be maintained for a minimum of three to seven days, and longer in hot or dry weather. Regularly inspect the concrete surface to ensure that it remains moist throughout the curing period. Address any signs of drying, such as cracking or surface dusting, immediately. Investing in proper curing is a simple but essential step that will significantly extend the lifespan of the shed slab. Skipping steps during the curing process can have long-term consequences for the integrity of the concrete shed foundation.
Signs Your Existing Shed Slab Needs Repair or Replacement
Extensive Cracking and Spalling: Indicating Structural Damage
Extensive cracking and spalling are clear signs that a shed slab may be suffering from structural damage and require repair or even replacement. Cracks can range from hairline fractures to wide, deep fissures. Spalling refers to the breaking away of the concrete surface, exposing the aggregate underneath. Hairline cracks may be cosmetic, but wider cracks indicate more serious problems, such as settlement or overloading. Spalling is often caused by freeze-thaw cycles, corrosion of reinforcing steel, or impact damage. The extent of the cracking and spalling will determine whether repair or replacement is necessary. Minor cracks can often be repaired with epoxy injection or patching compounds. However, if the cracking is widespread or the spalling is severe, replacement may be the only option. A structural engineer can assess the damage and recommend the appropriate course of action. Ignoring these signs can lead to further deterioration and potentially compromise the safety of the shed. At Laser Concrete, we offer concrete repairs and replacements, so we can provide a comprehensive evaluation of your slab.
Uneven Settlement: Affecting Shed Stability
Uneven settlement is another sign that a shed slab may be in need of repair or replacement. Settlement occurs when the soil beneath the slab compacts or shifts, causing the slab to sink in certain areas. This can lead to tilting, cracking, and structural instability. Signs of uneven settlement include doors and windows that are difficult to open or close, sloping floors, and visible cracks in the walls. If the settlement is minor, it may be possible to lift and level the slab using mudjacking or other slab jacking techniques. These techniques involve injecting grout or foam beneath the slab to raise it back to its original level. However, if the settlement is severe or widespread, replacement may be necessary. It’s important to address uneven settlement promptly to prevent further damage to the shed and to ensure its structural integrity. A geotechnical engineer can assess the soil conditions and recommend the best course of action. For example: Imagine a 3m x 4m shed slab settled 50mm on one corner. This caused the shed frame to warp, jamming the door and creating noticeable stress cracks in the cladding. This is a prime example of settlement affecting stability.
Water Damage and Erosion: Compromising the Foundation’s Integrity
Water damage and erosion can significantly compromise the integrity of a shed slab foundation. Water can penetrate the concrete through cracks or porous surfaces, leading to corrosion of the reinforcing steel and weakening of the concrete. Erosion can wash away the soil around the slab, undermining its support and leading to settlement. Signs of water damage include efflorescence (a white, powdery deposit on the concrete surface), staining, and dampness. Erosion can be identified by visible gaps between the slab and the surrounding soil, as well as signs of soil being washed away. Addressing water damage and erosion promptly is essential for preventing further deterioration. This may involve repairing cracks, improving drainage, and stabilising the soil around the slab. Sealants and waterproof coatings can be applied to protect the concrete from water penetration. If the damage is severe, replacement may be necessary. Regular inspections and preventative maintenance can help to identify and address potential problems before they become serious. Implementing effective drainage solutions is crucial for directing water away from the foundation and preventing future damage.
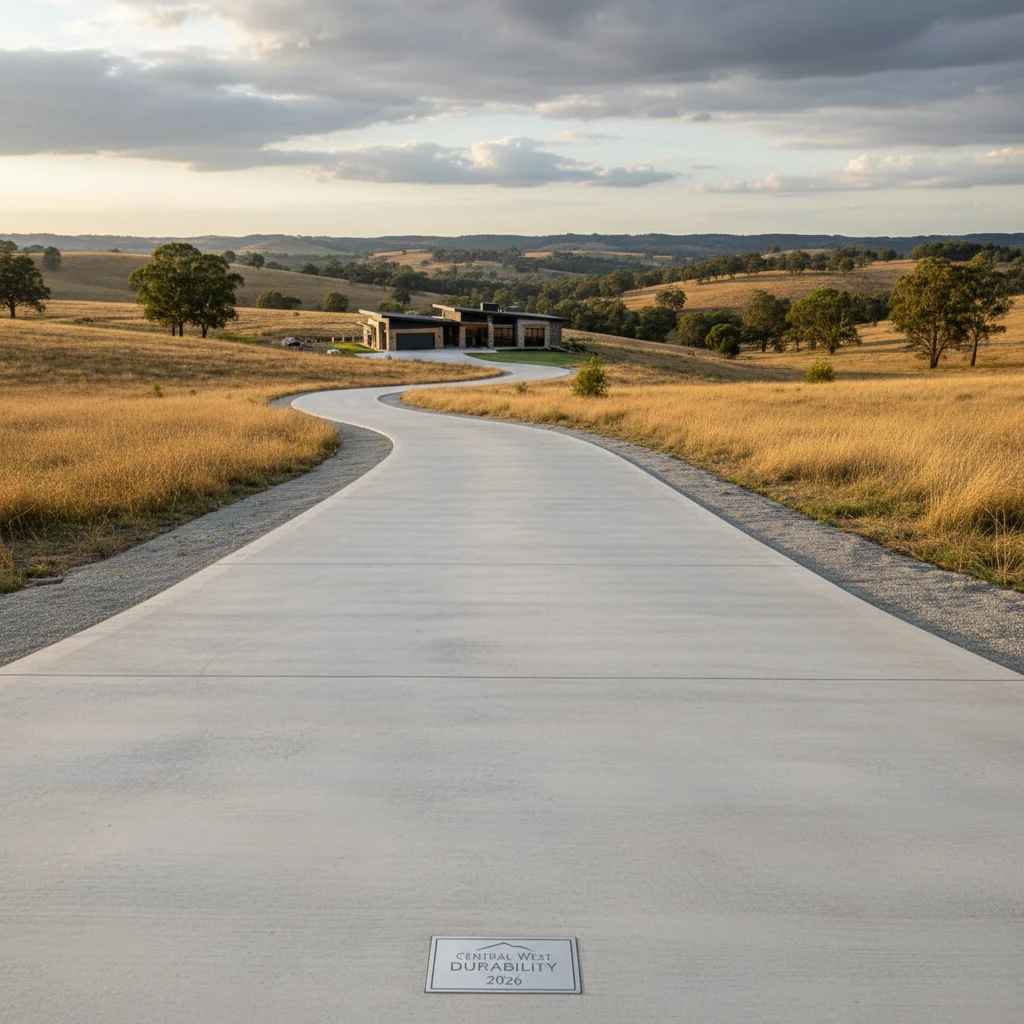
Extending the Life of Your Shed Slab: Maintenance Tips for Central West Conditions
A well-constructed shed slab can last for decades, but it requires some basic maintenance to withstand the diverse climate of the Central West. Regular upkeep will prevent premature deterioration and ensure your shed remains stable and secure for years to come. Ignoring maintenance can lead to costly concrete repairs and replacements down the track.
Regular Cleaning to Prevent Staining and Algae Growth
The Central West’s varying humidity and rainfall can encourage algae and mould growth on concrete surfaces. Regularly cleaning your shed slab with a stiff brush and mild detergent will prevent unsightly staining and slippery surfaces. Pressure washing can also be effective, but avoid using excessive pressure that could damage the concrete surface. Consider using a concrete cleaner specifically formulated to remove algae and mould without harming the concrete. Aim to clean your slab at least twice a year, or more frequently in shaded or damp areas. This simple task helps maintain the slab’s appearance and prevents potentially hazardous slip hazards. Example: A homeowner in Lithgow noticed significant algae growth on their shed slab. After regular cleaning with a diluted bleach solution and a stiff brush, the algae disappeared, and the slab looked significantly cleaner and safer.
Sealing the Slab to Protect Against Moisture and Chemical Damage
Sealing your shed slab is an excellent way to protect it from moisture penetration, oil spills, and other potential sources of damage. A good quality concrete sealer will create a barrier that prevents water from seeping into the concrete, which can cause cracking and deterioration over time. Choose a sealer that is appropriate for the intended use of your shed and the type of concrete slab you have. Acrylic sealers are a cost-effective option for general protection, while epoxy or polyurethane sealers offer superior resistance to chemicals and abrasion. Reapply the sealer every few years, or as recommended by the manufacturer, to maintain its protective properties. You can find suitable concrete sealers at most hardware stores, such as Bunnings. Before sealing, ensure the slab is clean and dry for optimal adhesion. Properly applied sealing dramatically extends the lifespan of the slab. One good resource for selecting the right sealer is the Portland Cement Association.
Promptly Repairing Cracks and Chips to Prevent Further Deterioration
Even minor cracks and chips in your shed slab can worsen over time if left unaddressed. Water can seep into these imperfections, freeze and expand in winter (particularly in areas like the Blue Mountains), causing further damage. Use a concrete patching compound to fill any cracks or chips as soon as you notice them. Clean the area thoroughly before applying the patching compound, and follow the manufacturer’s instructions carefully. For larger cracks or structural damage, it is best to consult with a professional concrete contractor to assess the situation and recommend the appropriate repair solution. Ignoring these small issues can lead to significant structural problems later on, resulting in a much more expensive repair bill. Example: A small crack formed near the edge of a shed slab in Oberon. The homeowner quickly filled it with concrete patching compound, preventing it from expanding and causing more significant damage during the winter frosts.
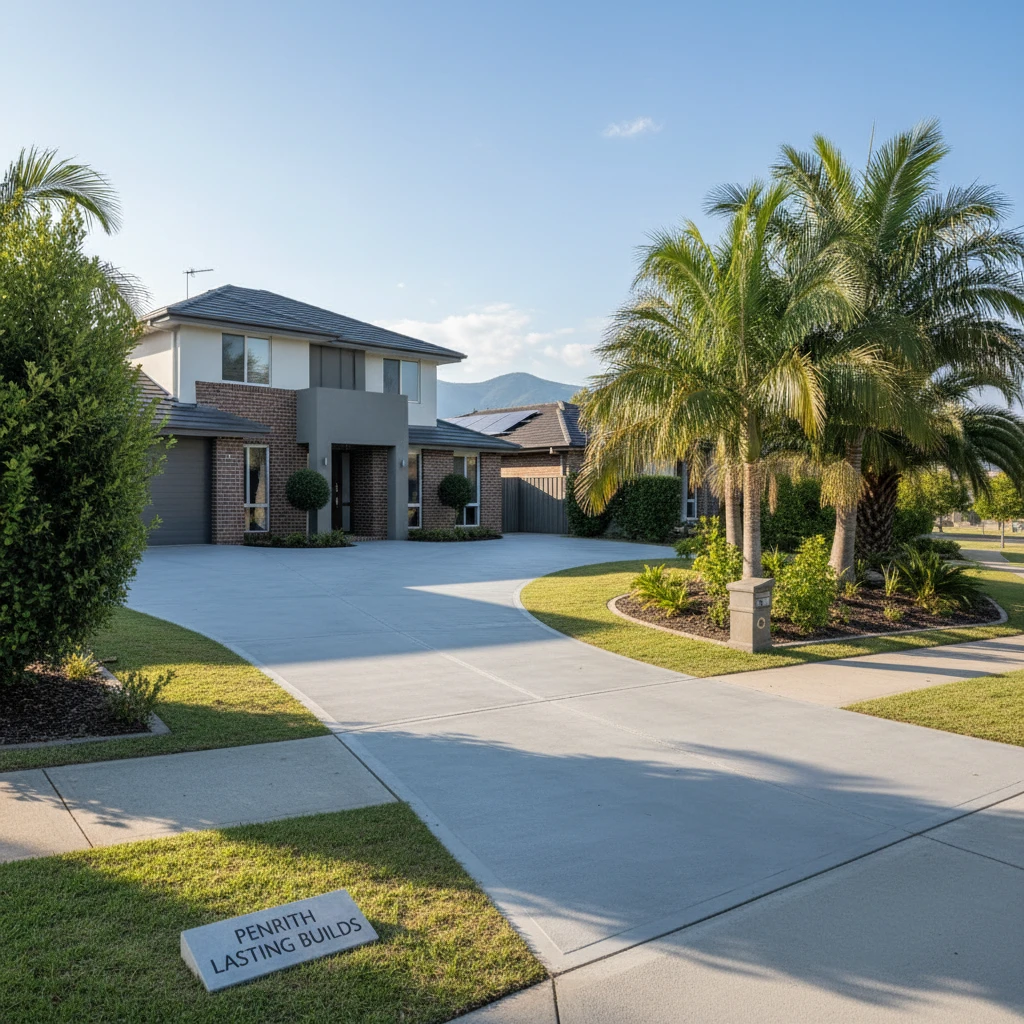
Working with Laser Concrete: Your Local Shed Slab Experts
When you need a reliable and experienced concreter for your shed slab project, Laser Concrete is the trusted choice in Penrith, the Blue Mountains, and the Central West. We bring extensive knowledge and expertise to every job, ensuring a solid and durable foundation for your shed.
Experience in Residential and Light Commercial Shed Slabs
Laser Concrete has a proven track record of success in both residential and light commercial shed slab construction. We understand the specific requirements of each type of project, and we tailor our approach to meet your individual needs. Whether you’re building a small garden shed or a larger workshop, we have the expertise to deliver a high-quality concrete slab that will stand the test of time. Our experience also extends to sites with challenging access or sloping terrain, where careful excavation and preparation are critical. Example: Laser Concrete successfully completed a shed slab for a hobby farm in the Blue Mountains on a sloping block. The team carefully excavated the site to create a level base, ensuring proper drainage and stability for the shed. Proper levelling is often essential, particularly when building on difficult terrain.
Professional Concreting Services Across Penrith, the Blue Mountains, and the Central West
We proudly serve the communities of Penrith, the Blue Mountains, and the Central West, providing professional concreting services with a focus on quality and customer satisfaction. Our team is familiar with the local building codes and environmental conditions, ensuring that your shed slab is built to the highest standards. From site preparation to concrete pouring and finishing, we handle every aspect of the project with meticulous attention to detail. Our local knowledge provides us with advantages that non-local companies often lack.
Commitment to Quality Workmanship and Reliable Service
At Laser Concrete, we are committed to providing our clients with quality workmanship and reliable service. We use only the highest quality materials and employ experienced concreters who are dedicated to delivering exceptional results. We understand that your shed slab is a significant investment, and we treat every project with the care and attention it deserves. Our goal is to exceed your expectations and provide you with a concrete foundation that you can rely on for years to come. We ensure that every project is completed on time, within budget, and to the highest standards. We also ensure clear communication throughout the process, so you’re always informed of progress. Example: Laser Concrete recently finished a shed slab in Bathurst. The customer was highly satisfied with the attention to detail, the prompt completion of the work, and the clear communication throughout the project.
Concrete Shed Slab Cost Factors in NSW: What to Expect
Understanding the factors that influence the cost of a concrete shed slab in NSW is essential for budgeting purposes. Several variables contribute to the overall price, and it’s important to consider these when planning your project.
Slab Size and Thickness
The size and thickness of the shed slab are two of the most significant factors affecting its cost. A larger slab will naturally require more concrete and labour, increasing the overall expense. Similarly, a thicker slab will require more concrete per square metre, adding to the material costs. Standard shed slabs often range from 100mm to 150mm in thickness, depending on the size of the shed and the intended load. Thicker slabs are generally required for heavier loads or for sheds that will house machinery or equipment. Example: A 6m x 4m shed slab with a thickness of 100mm will typically cost less than an 8m x 6m shed slab with a thickness of 150mm, assuming all other factors remain constant. Consider your shed’s planned use when deciding on the optimal size and thickness.
Site Accessibility and Preparation Requirements
The accessibility of your site and the level of preparation required can also significantly impact the cost of your shed slab. If the site is difficult to access with concrete trucks or other equipment, additional labour and equipment may be needed to transport the concrete to the pouring location. Similarly, if the site requires extensive excavation, levelling, or compaction, this will add to the overall cost. Sites with steep slopes, rocky terrain, or poor soil conditions may require more extensive preparation than relatively flat, easily accessible sites. As previously mentioned, sites with these challenges often need careful excavation to prepare the site. Laser Concrete specialises in working on challenging sites in Penrith, the Blue Mountains, and the Central West.
Concrete Mix and Reinforcement Specifications
The type of concrete mix and the amount of reinforcement used in your shed slab will also affect the cost. Higher-strength concrete mixes are more expensive than standard mixes but may be necessary for certain applications. Reinforcement, such as steel mesh or rebar, adds strength and durability to the slab, preventing cracking and increasing its load-bearing capacity. The amount of reinforcement required will depend on the size and thickness of the slab, the type of soil, and the intended use of the shed. Always ensure that the concrete mix and reinforcement specifications meet the relevant Australian Standards and building codes. Consulting with a structural engineer is always recommended for large or complex projects to confirm these specifications. Example: Using steel reinforcing mesh adds approximately 10-15% to the material cost of a typical shed slab, but significantly improves its long-term durability.
By understanding these cost factors and working with experienced professionals like Laser Concrete, you can ensure that your concrete shed slab is built to the highest standards while staying within your budget. This investment will provide a solid and reliable foundation for your shed for many years.