Investing in a shed is a great way to add storage or workspace to your property. However, without a proper foundation, your shed and its contents are vulnerable to a host of problems, from moisture damage to structural instability. That’s why a durable concrete slab is crucial for long-term reliability and value.
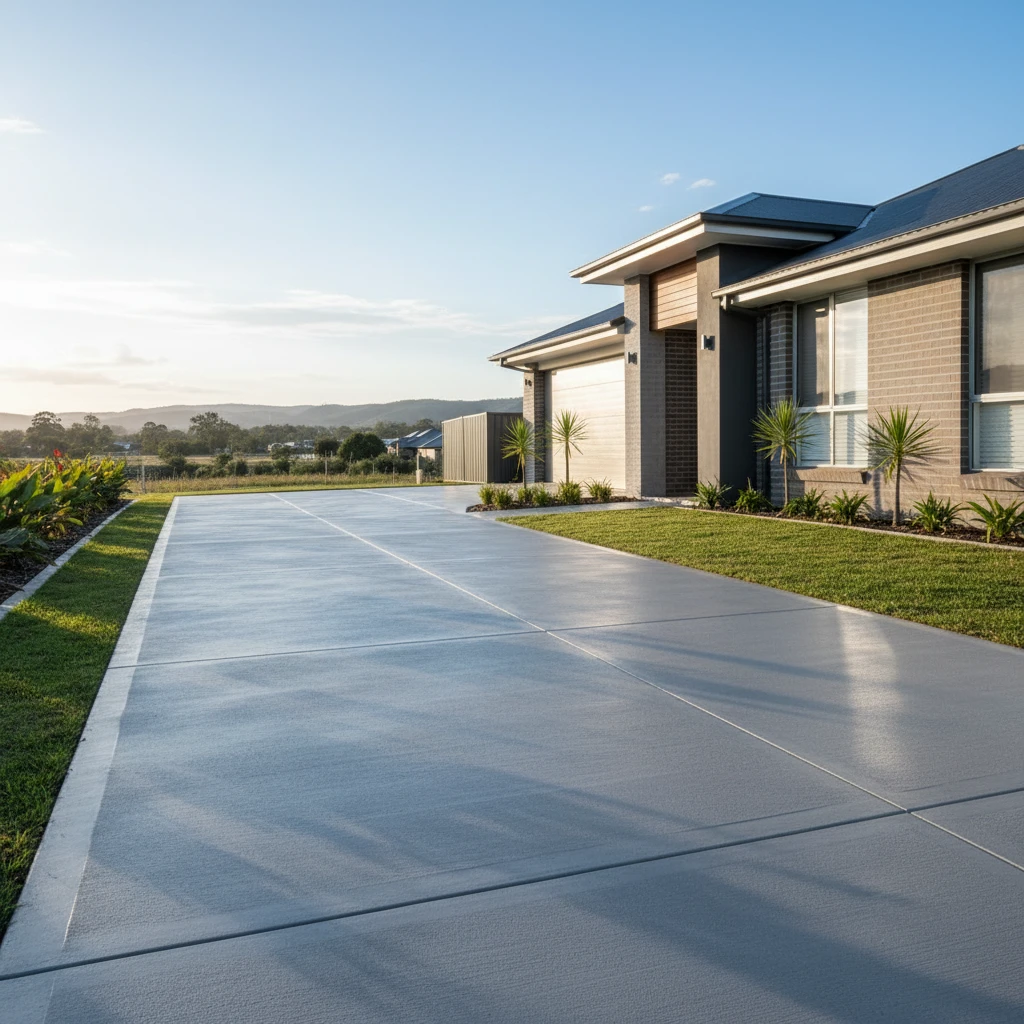
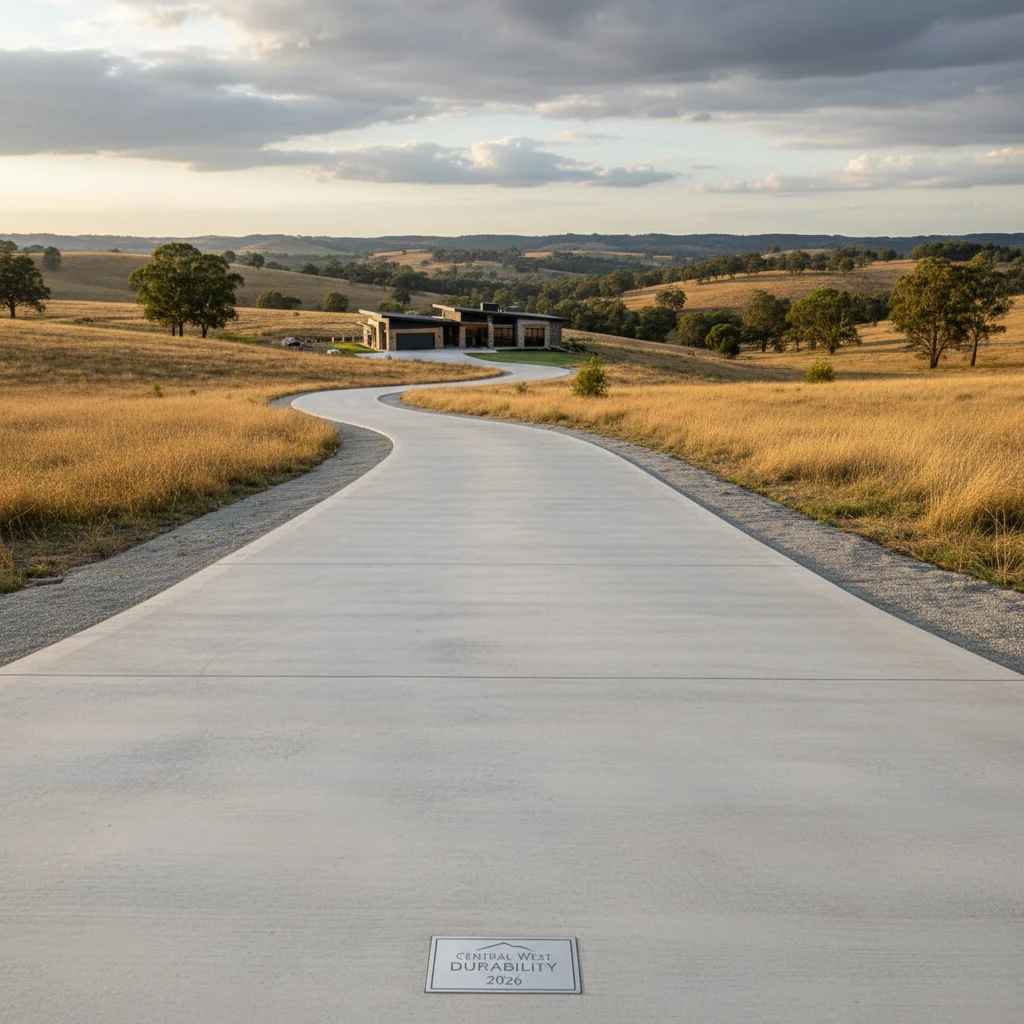
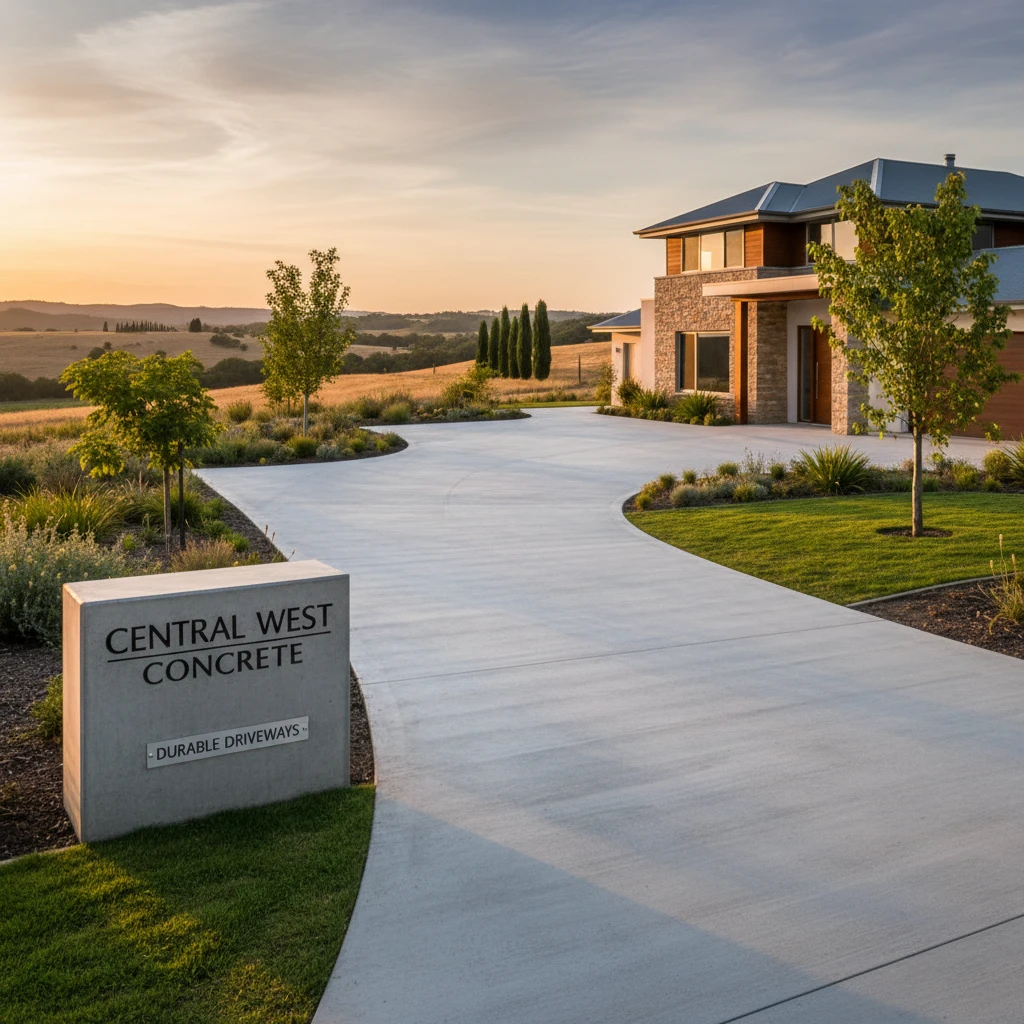
At Laser Concrete, we specialise in pouring high-quality concrete shed slabs for properties across Penrith, the Blue Mountains, and the Central West. We understand the unique challenges of the local terrain and are committed to providing our clients with foundations that stand the test of time. We don’t just pour concrete; we engineer solutions.
Why Your Shed Needs a Solid Concrete Slab Foundation in 2026
The Long-Term Cost of Neglecting Proper Foundations
Skipping a proper concrete slab foundation might seem like a cost-saving measure upfront, but the long-term consequences can be significant. Without a solid base, your shed is susceptible to settling, which can lead to uneven floors, warped walls, and doors that don’t close properly. Moisture can seep in, causing rust, rot, and mould growth that damages stored items and weakens the shed’s structure. Pests are also more likely to find their way in. Repairing these issues can easily exceed the initial cost of a concrete slab, making a solid foundation a worthwhile investment. Consider, for instance, the cost of replacing water-damaged tools or having to rebuild a shed that’s succumbed to structural failure after just a few years.
Meeting Council Regulations and Building Codes
In most areas, including Penrith and the Blue Mountains, sheds exceeding a certain size or intended for specific uses require council approval and must adhere to local building codes. These regulations often stipulate the need for a proper foundation, like a concrete slab, to ensure structural integrity and safety. Failing to comply with these regulations can result in fines, delays, and even the requirement to remove the shed entirely. Before starting any shed project, it’s crucial to check with your local council to understand the specific requirements and ensure your shed slab meets all applicable standards. This is particularly relevant in bushfire-prone areas of the Blue Mountains where stricter guidelines often apply. [External Link: Link to a relevant NSW government building code page about sheds]
Protecting Your Investment: Shed Contents and Structure
Your shed is likely to house valuable tools, equipment, or personal belongings. A concrete slab foundation provides a stable, dry, and secure environment that protects these items from damage caused by moisture, pests, and temperature fluctuations. Furthermore, a solid foundation supports the shed’s structure, preventing warping, cracking, and premature deterioration. This is especially important for larger sheds or those storing heavy equipment. A well-built shed slab ensures your investment is protected, both in terms of the shed itself and its contents. For example, a hobbyist restoring cars in their shed needs a level, strong slab to safely support jacks, engines, and the car itself. Without it, the whole project is at risk.
Laser Concrete: Your Local Shed Slab Experts in Penrith, Blue Mountains, and Central West
Years of Experience Pouring Durable Shed Slabs
Laser Concrete has been serving the Penrith, Blue Mountains, and Central West regions for years, providing reliable and durable concrete solutions. We’ve poured countless shed slabs, gaining invaluable experience in dealing with the diverse soil conditions and environmental challenges of the area. Our team of skilled concreters understands the importance of proper site preparation, accurate formwork, and precise concrete pouring to ensure a long-lasting and level foundation for your shed. We don’t cut corners; we prioritize quality workmanship and customer satisfaction.
Navigating Challenging Terrain: Slopes, Rocks, and Tight Access
Many properties in the Blue Mountains and Central West feature challenging terrain, including steep slopes, rocky outcrops, and limited access. These conditions can make pouring a concrete slab difficult, but Laser Concrete has the expertise and equipment to overcome these obstacles. We specialise in site preparation and excavation, including cutting and filling to create a level base, removing rocks and debris, and using specialised machinery to access tight spaces. We’ve successfully completed shed slab projects on some of the most difficult sites in the region, providing our clients with solid foundations they can rely on. This is where our experience with Blue Mountains concrete really shines.
Committed to Quality Workmanship and Long-Lasting Results
At Laser Concrete, we are committed to providing our clients with the highest quality workmanship and long-lasting results. We use only the best materials, follow industry best practices, and employ a team of experienced and skilled concreters. We stand behind our work and offer a satisfaction guarantee. Our goal is to provide you with a concrete shed slab that will provide a solid and reliable foundation for your shed for many years to come. We believe that investing in quality upfront saves you money and headaches in the long run. We would rather lose a job to a competitor who cuts corners than compromise on our standards. Example: A client in Katoomba had multiple quotes for a shed slab. We were not the cheapest, but they chose us after seeing our other work and trusting our explanation of the reinforcement required for the unstable soil. They were thrilled with the final product and confident it would last.
Concrete Shed Slab Design Considerations: Size, Thickness, and Reinforcement
Determining the Right Slab Size for Your Shed and Equipment
The size of your concrete shed slab should be carefully considered based on the dimensions of your shed and the equipment or items you plan to store inside. It’s generally recommended to extend the slab slightly beyond the shed’s perimeter to provide a stable base and prevent water from pooling around the edges. Account for any overhangs or features of the shed design when determining the slab dimensions. Also, consider future needs; if you anticipate storing larger or heavier items in the future, it’s wise to oversize the slab accordingly. A slab that’s too small can compromise the shed’s stability and limit its usability. For example, a 3m x 3m shed may require a 3.3m x 3.3m slab to account for a small overhang and provide adequate support.
Concrete Thickness and Load-Bearing Capacity: Getting it Right
The thickness of your concrete shed slab directly impacts its load-bearing capacity and durability. A thicker slab can support heavier loads and is less prone to cracking or damage. The appropriate thickness depends on the size of the shed, the type of soil, and the weight of the items you plan to store. For most residential sheds, a thickness of 100mm to 125mm is sufficient. However, for larger sheds or those storing heavy equipment, a thickness of 150mm or more may be necessary. Consulting with a professional concreter is essential to determine the optimal thickness for your specific needs. Example: A client wanted to store a ride-on mower and other garden equipment in their shed. We recommended a 125mm thick slab with reinforced mesh to ensure it could handle the weight without cracking.
Reinforcement Options: Mesh, Rebar, and Fibre Concrete
Reinforcing your concrete shed slab enhances its strength and prevents cracking. Common reinforcement options include steel mesh, rebar, and fibre concrete. Steel mesh is a grid of welded steel wires that is embedded within the concrete slab to provide tensile strength. Rebar consists of individual steel bars that are placed strategically within the slab to reinforce areas that are subject to high stress. Fibre concrete contains synthetic or steel fibres that are mixed into the concrete to improve its resistance to cracking. The choice of reinforcement depends on the size and thickness of the slab, the type of soil, and the anticipated loads. In areas with unstable soil, such as parts of the Blue Mountains, rebar may be necessary. We often use a combination of mesh and fibre reinforcement for optimal results, particularly when pouring Penrith concrete driveways and shed slabs. More information about reinforcement can be found on the American Concrete Institute (ACI) website.
Site Preparation: The Key to a Level and Stable Shed Slab
Excavation and Grading: Ensuring Proper Drainage
Proper site preparation is crucial for ensuring a level and stable foundation for your shed slab. The first step involves excavating the area to remove any topsoil, vegetation, and debris. The excavation should extend beyond the perimeter of the slab to allow for proper drainage. Once the excavation is complete, the area should be graded to create a level surface with a slight slope away from the shed to prevent water from pooling around the foundation. Accurate grading is essential for preventing moisture problems and ensuring the long-term stability of the shed. Use laser levelling to ensure absolute precision, or hire a professional.
Compaction Techniques for a Solid Base
After excavation and grading, the base needs to be properly compacted to create a solid and stable foundation for the concrete slab. Compaction involves using a plate compactor or roller to compress the soil, reducing air pockets and increasing its density. This prevents settling and ensures the slab remains level over time. Multiple passes with the compactor are typically required to achieve the desired level of compaction. It’s crucial to compact the base thoroughly, especially in areas with loose or unstable soil. A well-compacted base is essential for preventing cracks and ensuring the longevity of the shed slab.
Dealing with Problem Soils and Drainage Issues
Some sites have problem soils, such as clay or expansive soils, that can cause settling or cracking of the concrete slab. In these cases, it may be necessary to improve the soil conditions before pouring the slab. This can involve replacing the problem soil with a more stable material, such as gravel or crushed stone. Drainage issues can also compromise the stability of the slab. Proper drainage is essential for preventing water from accumulating around the foundation and causing damage. This may involve installing drainage pipes or creating a French drain to divert water away from the slab. At Laser Concrete, we have experience in dealing with a variety of soil and drainage challenges and can provide tailored solutions to ensure a solid and stable foundation for your shed. This is particularly important in the Blue Mountains, where drainage can be a significant issue. Example: We once worked on a property with heavy clay soil that retained a lot of water. Before pouring the slab, we installed a French drain system to redirect the water away from the foundation and prevent future problems.
The Concrete Pouring Process: Achieving a Smooth and Even Finish
Concrete Mix Design: Getting the Right Strength and Workability
The success of your shed slab hinges significantly on the concrete mix design. It’s not just about strength (measured in MPa, or megapascals); workability is equally crucial. A mix that’s too stiff will be difficult to pour and level, potentially leading to voids and unevenness. A mix that’s too wet, while easy to work with, can compromise the final strength and increase the risk of shrinkage cracking. For typical shed slabs, a concrete mix with a strength of 20-25 MPa is usually sufficient, but for heavier loads (e.g., supporting machinery), you may need to increase this. The water-cement ratio is the key determinant of strength; lower ratios generally yield stronger concrete, but at the expense of workability. Air entrainment can also be beneficial, particularly in the Blue Mountains concrete region, to improve freeze-thaw resistance. Consider adding a plasticiser to improve workability without increasing the water content. Always consult with a concrete supplier to determine the optimal mix design for your specific needs and soil conditions.
Pouring and Levelling Techniques for a Flawless Surface
Proper pouring and levelling are essential for a smooth, even shed slab. Start by carefully planning your pour, considering the volume of concrete needed and the accessibility of the site. Pour the concrete in manageable sections, working systematically across the formwork. Use a concrete vibrator to consolidate the concrete and eliminate air pockets, especially along the edges. Once poured, use a screed board to level the surface, pulling it across the formwork to remove excess concrete. Follow this with a bull float to smooth out any imperfections and bring bleed water to the surface. Allow the bleed water to evaporate before proceeding to the final finishing stages. For a non-slip surface, consider a broom finish, achieved by dragging a broom across the surface while the concrete is still plastic. For a smoother finish, use a steel trowel after the initial floating. Remember, timing is crucial; working the concrete too early can disrupt the surface, while waiting too long can make it difficult to achieve the desired finish.
Controlling Cracking: Expansion Joints and Curing Practices
Cracking is a common concern in concrete slabs, but it can be minimised with proper planning and execution. Concrete shrinks as it cures, and this shrinkage can create tensile stresses that lead to cracking. Expansion joints, or control joints, are deliberately created weak points that allow the concrete to crack in a controlled manner, preventing unsightly and structurally damaging random cracks. These joints should be placed at regular intervals, typically every 3-4 metres, and at points where stress concentrations are likely to occur, such as corners or around obstructions. Use a concrete saw to cut the joints to a depth of about one-quarter of the slab thickness within 12-24 hours of pouring. Proper curing is also critical. Curing provides moisture for cement hydration. See the next section for details. Remember that even with the best practices, some minor surface cracking may still occur. However, these cracks are typically not structural and can be addressed with appropriate repair methods.
Curing Your Concrete Shed Slab: Maximising Strength and Durability
The Importance of Proper Curing
Curing is arguably the most critical step after pouring a concrete shed slab. It involves maintaining adequate moisture content and temperature in the concrete to allow the cement to fully hydrate. Cement hydration is the chemical reaction that gives concrete its strength and durability. Without proper curing, the concrete can dry out too quickly, leading to weak and brittle concrete that is prone to cracking and surface scaling. Improper curing can reduce the concrete’s compressive strength by as much as 50%. Curing not only increases the strength of the concrete but also improves its resistance to abrasion, impact, and chemical attack. Furthermore, proper curing reduces permeability, making the concrete more resistant to water and other substances that can damage it over time. Think of curing as providing the essential nourishment for the concrete to reach its full potential.
Curing Methods: Wet Curing, Curing Compounds, and Plastic Sheeting
Several effective curing methods are available, each with its own advantages and disadvantages. Wet curing involves keeping the concrete surface continuously moist by covering it with wet burlap, hessian, or straw, and regularly re-wetting it. This method provides excellent hydration but requires constant monitoring and maintenance. Curing compounds are liquid chemicals that are sprayed onto the concrete surface to seal in moisture and prevent evaporation. They are easy to apply and require minimal maintenance, but they may not be as effective as wet curing in very hot or windy conditions. Plastic sheeting can also be used to cover the concrete surface and trap moisture. Overlap the edges of the sheeting and tape them down to prevent moisture loss. This method is relatively simple and cost-effective, but it can lead to uneven curing if the sheeting is not properly sealed or if condensation forms underneath. For larger slabs, consider using a combination of methods, such as wet curing followed by the application of a curing compound.
Curing Timeframes and Environmental Factors
The ideal curing timeframe depends on several factors, including the type of cement used, the concrete mix design, and the environmental conditions. Generally, concrete should be cured for at least 7 days, and preferably 14 days, to achieve optimal strength and durability. In hot, dry, or windy conditions, the curing time should be extended, as the concrete will dry out more quickly. Conversely, in cool, humid conditions, the curing time may be slightly shorter. Monitor the concrete surface regularly to ensure that it remains moist. If the surface starts to dry out, take immediate steps to re-wet it or apply additional curing measures. Remember that proper curing is an investment in the long-term performance of your shed slab. Following best practices will ensure that your shed slab remains strong, durable, and crack-resistant for years to come. Refer to Australian Standard AS 3600 for detailed guidance on concrete curing practices.
Avoiding Common Mistakes When Building a Shed Slab
Ignoring Site Preparation: The Foundation for Failure
A poorly prepared site is the most common cause of shed slab failures. Proper site preparation includes removing all vegetation, topsoil, and organic matter, as these materials can decompose and create voids beneath the slab. The area must then be compacted to provide a stable and level base. If the soil is unstable or poorly draining, consider adding a layer of gravel or crushed rock to improve drainage and load-bearing capacity. The depth of the compacted base should be at least 100mm, and more for heavier loads or poor soil conditions. Failure to compact the base adequately can lead to settlement and cracking of the slab. Ensure that the formwork is securely anchored and properly aligned to prevent concrete from escaping during the pour. Check that the site is level using a laser level or a traditional spirit level. Spending the time and effort to prepare the site properly is essential for ensuring the long-term stability and performance of your shed slab. Ignoring site preparation will almost certainly result in costly repairs down the line. For difficult sites, especially those with steep slopes, consider using Complex Concrete? Excavation Solutions 2026. For detailed information about proper site preparation for concrete projects, you can refer to resources from the Engineering ToolBox.
Using the Wrong Concrete Mix: Strength and Durability Concerns
As previously discussed, the concrete mix design is critical to the success of your shed slab. Using the wrong mix can lead to a variety of problems, including reduced strength, increased cracking, and premature deterioration. A mix that is too weak will not be able to support the loads imposed on the slab, while a mix that is too wet will be prone to shrinkage cracking. Always specify the appropriate concrete strength (MPa) for your shed slab, taking into account the intended use and the expected loads. Consider using a concrete mix with air entrainment in areas that experience freeze-thaw cycles. Discuss your specific needs with your concrete supplier to ensure that you are getting the right mix for your project. Don’t try to save money by using a cheaper, lower-quality concrete mix; this will almost certainly cost you more in the long run. Remember that the concrete mix is the foundation of your shed slab, and it is worth investing in a high-quality mix that is designed to meet your specific needs.
Skipping Reinforcement: Compromising Structural Integrity
Reinforcement, typically in the form of steel mesh or rebar, is essential for providing tensile strength to the concrete slab. Concrete is strong in compression but weak in tension, so reinforcement is needed to resist tensile stresses caused by bending, shrinkage, and temperature changes. Skipping reinforcement can significantly compromise the structural integrity of the slab and increase the risk of cracking and failure. Reinforcement should be placed in the middle of the slab thickness, typically supported by chairs or dobies to ensure proper positioning. The size and spacing of the reinforcement will depend on the slab thickness, the expected loads, and the soil conditions. Consult with a structural engineer or a qualified concrete contractor to determine the appropriate reinforcement requirements for your shed slab. Even a relatively thin layer of reinforcement will add significant strength. A good understanding of the reinforcement guidelines helps to determine the long-term viability of the project and protects it from structural issues.
Maintaining Your Concrete Shed Slab for Years to Come
Sealing and Protecting Your Concrete Surface
Sealing your concrete shed slab is an important step in protecting it from damage and extending its lifespan. A good quality concrete sealer will penetrate the surface and create a barrier that resists water, oil, chemicals, and other substances that can stain or degrade the concrete. There are several types of concrete sealers available, including acrylic sealers, epoxy sealers, and polyurethane sealers. Acrylic sealers are relatively inexpensive and easy to apply, but they are not as durable as epoxy or polyurethane sealers. Epoxy sealers provide excellent chemical resistance and abrasion resistance, but they can be more difficult to apply and are not as flexible as acrylic or polyurethane sealers. Polyurethane sealers offer a good balance of durability, chemical resistance, and flexibility. Before applying a sealer, make sure the concrete surface is clean, dry, and free of any loose debris. Follow the manufacturer’s instructions carefully when applying the sealer. Re-apply the sealer every few years, or as needed, to maintain its protective properties. Consider applying a penetrating sealer for enhanced protection against moisture intrusion.
Regular Cleaning and Inspection
Regular cleaning and inspection are essential for maintaining the appearance and integrity of your concrete shed slab. Clean the slab regularly with a mild detergent and water to remove dirt, dust, and debris. Avoid using harsh chemicals or abrasive cleaners, as these can damage the sealer or the concrete surface. Inspect the slab regularly for cracks, stains, or other signs of damage. Pay particular attention to areas that are exposed to heavy traffic or harsh weather conditions. Address any problems promptly to prevent them from escalating and causing more significant damage. Remove any spills or stains as soon as possible to prevent them from penetrating the concrete surface. Sweep or vacuum the slab regularly to remove loose debris that can scratch or damage the surface. Prevention is far better than cure; consistent upkeep ensures it lasts. If you are located in Penrith Concrete Driveways: Built for the Long Haul, or surrounds, regular maintenance is critical, given the weather variations. You can find useful information on concrete maintenance from the Portland Cement Association (PCA).
Repairing Cracks and Damage Promptly
Even with the best maintenance practices, cracks and damage can still occur in concrete shed slabs. It is important to repair these problems promptly to prevent them from worsening and compromising the structural integrity of the slab. Minor surface cracks can often be repaired with a concrete patching compound. Clean the crack thoroughly and remove any loose debris before applying the patching compound. Follow the manufacturer’s instructions carefully. For larger or more significant cracks, you may need to consult with a qualified concrete contractor. They can assess the damage and recommend the appropriate repair method. This may involve injecting epoxy into the crack or removing and replacing the damaged section of concrete. Addressing cracks and damage promptly will prevent water from penetrating the slab and causing further deterioration. Ignoring these problems can lead to costly repairs down the line. Ensure professional assessment is sought, before cracks develop further.
Shed Slab Cost Factors: Understanding Your Investment
The cost of a shed slab isn’t just about the concrete itself; it’s a multifaceted investment encompassing materials, labour, and site-specific considerations. Understanding these factors will help you budget accurately and avoid unexpected expenses. Ignoring proper preparation or choosing substandard materials can lead to cracking, sinking, and ultimately, costly repairs down the line. Consider a poorly prepared base leading to a cracked slab needing complete replacement within a few years – a far greater expense than the initial cost savings.
Materials (Concrete, Reinforcement, Formwork)
Concrete is the foundation (literally!) of your shed slab, and the type you choose directly impacts the price. Higher strength mixes, designed for heavier loads or harsher environments, will cost more per cubic metre. Reinforcement, typically steel mesh or rebar, adds significant strength and prevents cracking. The amount and type of reinforcement needed will depend on the shed size and anticipated load. Formwork, usually timber or steel, creates the shape of the slab during pouring. Complex shapes or thicker slabs require more formwork, increasing material costs. For example, a standard 100mm thick slab might use SL72 mesh, while a slab intended for a workshop with heavy machinery might require SL82 or even rebar reinforcement. Skimping on reinforcement can lead to early failure of the slab. Reputable concrete suppliers like Boral offer a range of concrete mixes suitable for shed slabs.
Labour Costs (Excavation, Pouring, Finishing)
Labour is a substantial portion of the overall cost. Excavation involves removing topsoil and preparing a level base for the slab. The extent of excavation depends on the existing site conditions; a level block requires minimal work, while a sloping site might need extensive earthworks. Pouring and finishing the concrete requires skilled tradespeople to ensure a level, smooth, and durable surface. Skilled finishers are crucial to prevent surface imperfections and ensure proper drainage. The size and complexity of the slab, as well as accessibility to the site, affect the amount of labour required. Consider a slab with decorative edging or a specific fall for water runoff; these features add time and expertise to the finishing process. Laser Concrete utilises precise levelling techniques to minimise variations and ensure optimal drainage.
Site Access and Complexity
Difficult site access can dramatically increase costs. If concrete trucks can’t directly access the pour site, concrete needs to be pumped, wheelbarrowed, or conveyed, adding time and labour. Sloping blocks require additional excavation and formwork. Rocky terrain can slow down excavation and necessitate specialised equipment. Consider the cost of potential delays due to weather or unforeseen site conditions. For instance, a site with significant rock may require jackhammering or even blasting, requiring permits and specialised operators, impacting the overall project budget. Before committing to a site, engage a professional for a thorough site assessment to identify potential challenges and factor these into your budget. We specialise in Complex Concrete? Excavation Solutions.
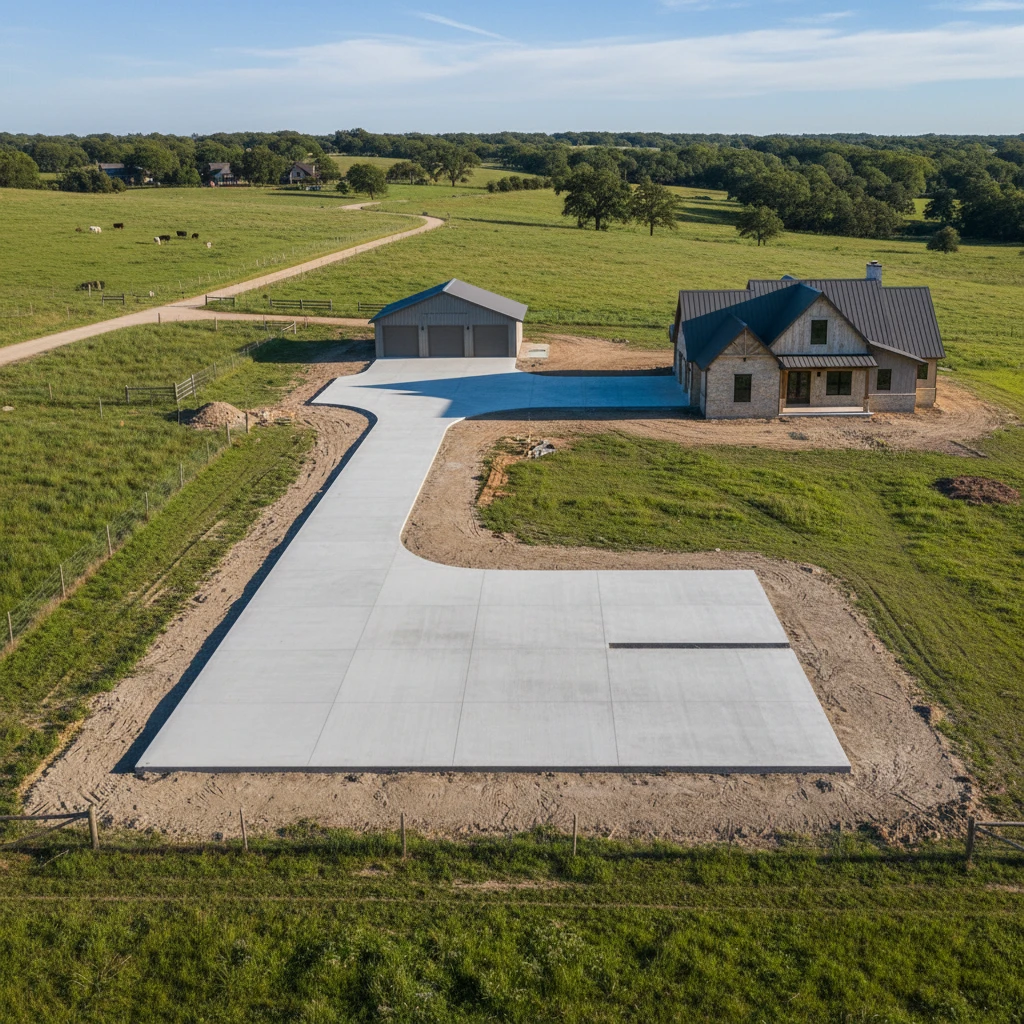
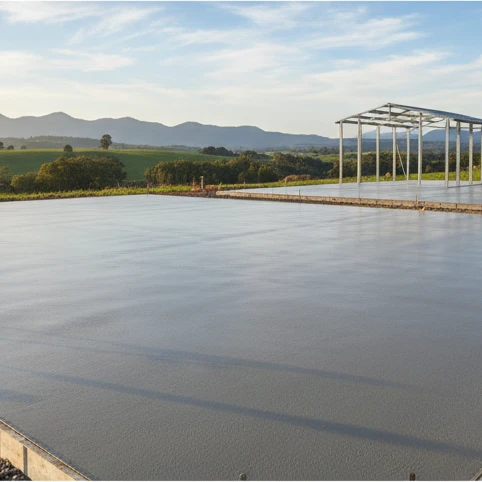
Real-World Examples: Laser Concrete Shed Slab Projects in the Blue Mountains and Central West
Our portfolio demonstrates our commitment to delivering durable and high-quality shed slabs across diverse terrains. We consistently overcome challenges posed by sloping blocks, difficult access, and specific client requirements, always ensuring customer satisfaction. Each project showcases our meticulous attention to detail and our use of premium materials for long-lasting results.
Showcasing Challenging Terrain Solutions
The Blue Mountains and Central West often present unique terrain challenges. We’ve successfully completed numerous shed slab projects on steep slopes, utilising tiered excavation and reinforced retaining walls to create stable and level foundations. In one Example near Katoomba, a client required a 6m x 8m shed slab on a 20-degree slope. We implemented a two-tiered excavation approach, using shotcrete to stabilise the uphill cut and installing a reinforced concrete retaining wall as part of the slab’s edge beam design. This eliminated the risk of soil erosion and created a perfectly level platform. Another Example in Mudgee involved a block riddled with rock. We used rock breakers and careful excavation techniques to prepare the base, ensuring the slab’s integrity. Such expertise mitigates risks associated with uneven settling and potential structural damage to the shed itself.
Highlighting Quality Finishes and Customer Satisfaction
Beyond structural integrity, we pride ourselves on delivering aesthetically pleasing and functional finishes. We offer a range of concrete finishes, from smooth trowel finishes to exposed aggregate, to complement your shed’s design and your property’s overall aesthetic. Customer satisfaction is paramount. For example, a recent client in Lithgow required a shed slab with a specific fall for water runoff. We precisely graded the slab to ensure efficient drainage, preventing water pooling and potential damage. The client reported, “Laser Concrete exceeded my expectations. The slab is perfectly level, drains beautifully, and looks fantastic. Highly recommend!” Another client near Bathurst praised our attention to detail, stating that the slab’s smooth finish and precise dimensions made shed installation a breeze. These examples illustrate our dedication to quality and customer-focused service. Our Blue Mountains Concrete: Quality That Lasts philosophy extends to every project.
Ready to Build Your Durable Shed Slab? Contact Laser Concrete Today
Don’t compromise on the foundation of your shed. Choose Laser Concrete for a durable, expertly crafted shed slab that will stand the test of time. We are committed to providing exceptional service and quality workmanship, ensuring your complete satisfaction.
Free Quotes and Expert Advice
We offer free, no-obligation quotes tailored to your specific needs and site conditions. Our experienced team will assess your site, discuss your requirements, and provide a detailed quote outlining all costs involved. We’re happy to answer any questions you may have and offer expert advice on the best solutions for your project. Understanding the right concrete mix, reinforcement needs, and drainage considerations is critical for a long-lasting shed slab.
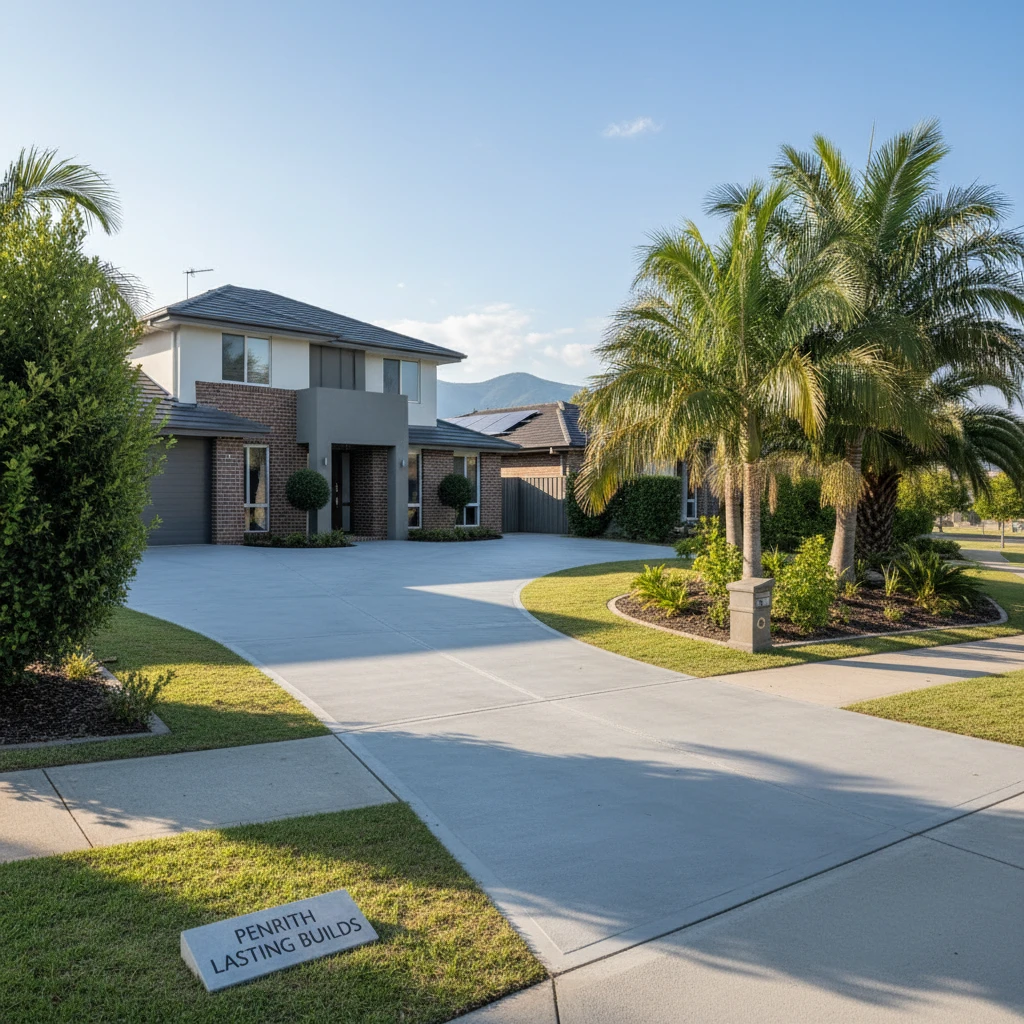
Servicing Penrith, the Blue Mountains, and the Central West
Laser Concrete proudly serves Penrith, the Blue Mountains, and the Central West. As a local business, we understand the unique challenges and requirements of these regions. Whether you’re in Penrith, Katoomba, Mudgee, or anywhere in between, we’re ready to deliver a high-quality shed slab solution. Contact us today to discuss your project and request a free quote. We offer Penrith Concrete Driveways: Built for the Long Haul and shed slabs!
Investing in a well-constructed shed slab is crucial for the longevity and functionality of your shed. By understanding the cost factors and choosing an experienced contractor like Laser Concrete, you can ensure a solid foundation that provides years of reliable service.