A shed slab is more than just a flat piece of concrete; it’s the bedrock of your storage solution, workshop, or hobby space. Investing in a professionally installed shed slab guarantees longevity, prevents structural issues, and protects your valuable belongings. Here’s what you need to know to ensure your shed stands the test of time.
From selecting the right concrete mix to meticulous site preparation, every step matters. We’ll walk you through the crucial elements of shed slab construction, covering concrete grades, site levelling, and reinforcement strategies, providing actionable advice for a durable and reliable foundation. Like a good concrete driveway, a shed slab is an investment, not just an expense.
Beyond the Shed: Why a Precision Concrete Slab Matters
Protecting your assets: Sheds as investments
Sheds are often underestimated, but they represent a significant investment. Whether used for storing valuable tools, equipment, or even serving as a workspace, the contents within a shed can be worth thousands of dollars. A poorly constructed shed slab can lead to moisture ingress, pest infestation, and structural instability, jeopardising these assets. A well-built shed slab, on the other hand, acts as a shield, preventing ground moisture from seeping upwards and creating a barrier against pests. It also provides a level, stable surface, preventing the shed’s frame from warping or buckling over time.
The hidden costs of a poorly constructed foundation
Ignoring the importance of a precision concrete slab can lead to a cascade of problems and unexpected expenses. A sinking or cracking slab can damage the shed structure itself, requiring costly repairs or even complete replacement. Moisture infiltration can ruin stored items, leading to financial loss and frustration. Furthermore, an unstable shed poses safety risks, especially if used as a workshop or storage for heavy equipment. Addressing these issues after the fact is often more expensive than investing in a quality shed slab from the outset. These are things to take into consideration when preparing your dream project.
How Laser Concrete delivers lasting value
At Laser Concrete, we understand that a shed slab is an investment in the long-term protection of your assets. We go beyond simply pouring concrete; we meticulously plan and execute each project, considering factors such as soil type, drainage, and intended shed usage. Our experienced team uses high-quality materials and employs precise techniques to ensure a level, durable, and crack-resistant slab. This commitment to quality translates to fewer repairs, reduced maintenance costs, and peace of mind knowing your shed is built on a solid foundation. We also provide guidance on selecting the appropriate concrete mix and reinforcement strategies to meet your specific needs. We treat every job, from quality footpaths, to shed slabs, with that lasting investment mentality.
Understanding Concrete Grades for Shed Slabs: Getting it Right
The role of concrete mix design
Concrete isn’t just concrete; it’s a carefully engineered mixture of cement, aggregates (sand and gravel), water, and sometimes admixtures. The proportions of these ingredients determine the concrete’s strength, durability, and workability. A well-designed concrete mix is crucial for achieving the desired performance characteristics of a shed slab. Factors to consider include the aggregate size and type, the water-cement ratio, and the use of additives like plasticisers or air-entraining agents. A properly designed mix ensures the concrete can withstand the anticipated loads and environmental conditions.
Choosing the right MPa rating for your shed’s purpose
The strength of concrete is measured in megapascals (MPa), which indicates its compressive strength. The appropriate MPa rating for your shed slab depends on the shed’s size, intended use, and the types of loads it will bear. For a small garden shed, a 20 MPa concrete mix might suffice. However, for a larger shed used to store heavy equipment or machinery, a 25 MPa or even 32 MPa mix may be necessary. Choosing the correct MPa rating ensures the slab can withstand the weight without cracking or failing. Always consult with a concreting professional to determine the optimal strength for your specific application. See the Cement Concrete & Aggregates Australia website for typical MPa ratings and applications [CCAA Website].
Factors that affect concrete strength (exposure, loading)
Several factors can influence the final strength and durability of a concrete shed slab. Exposure to harsh weather conditions, such as extreme temperatures or freeze-thaw cycles, can weaken the concrete over time. Similarly, excessive loading, whether from heavy equipment or concentrated weight, can cause stress and cracking. Proper drainage and site preparation are essential for preventing moisture damage and ensuring the slab remains stable. Furthermore, the curing process, which involves keeping the concrete moist for several days after pouring, plays a crucial role in achieving its full strength potential. Adequate curing is frequently overlooked, but it is vital for long-term durability.
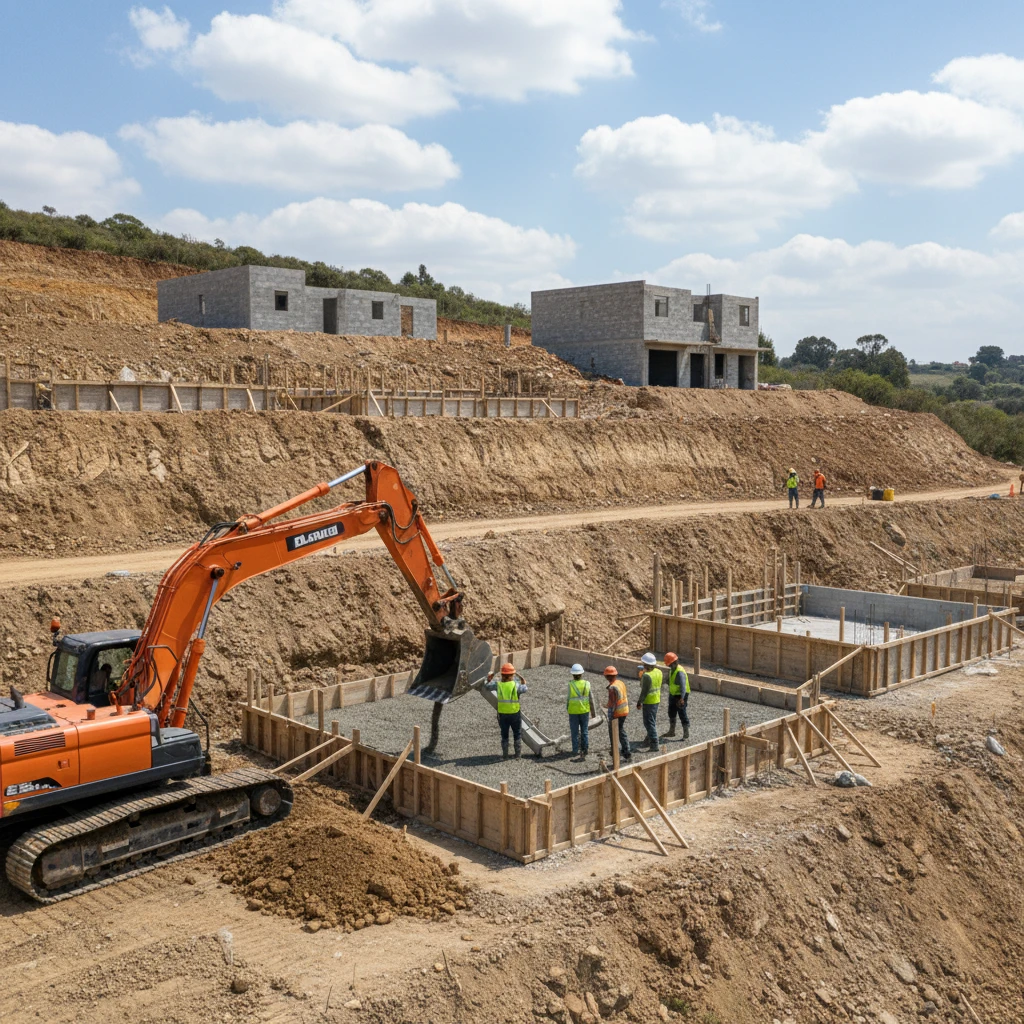
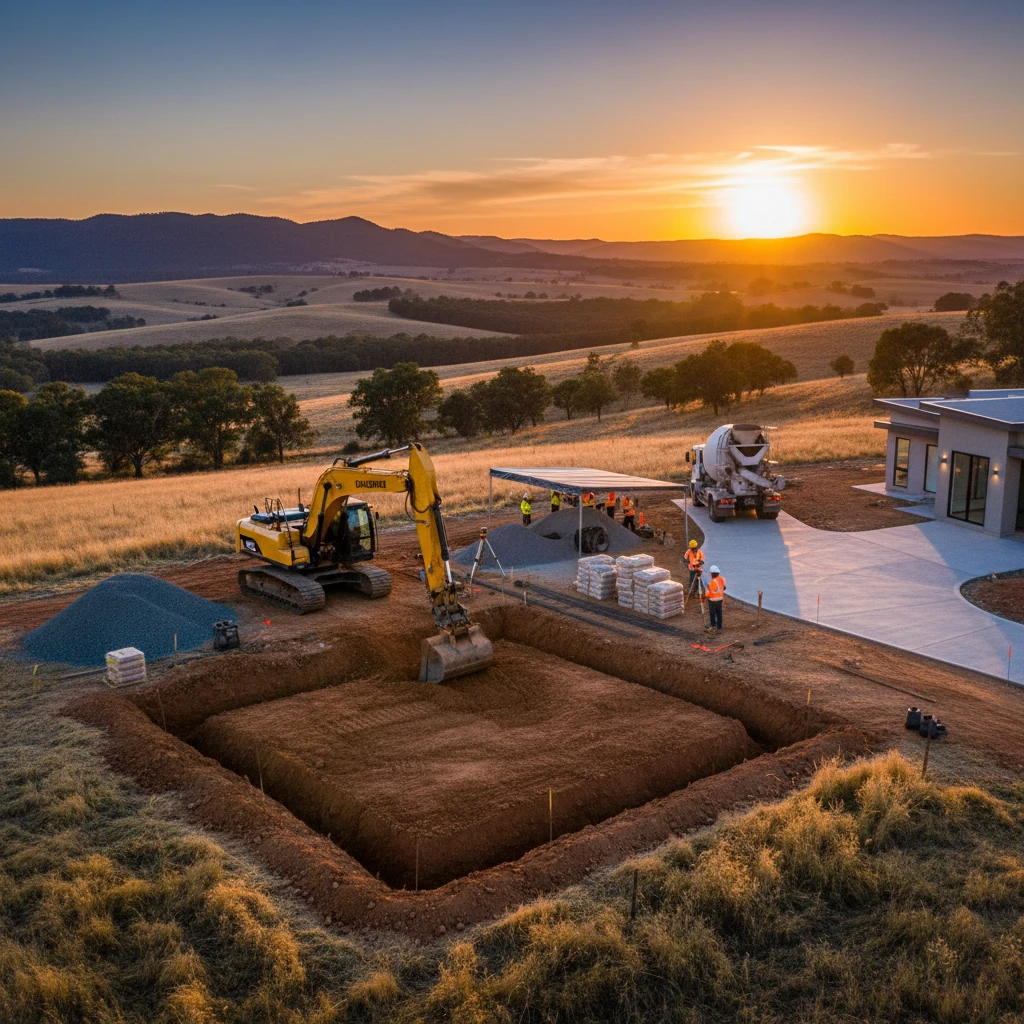
Site Preparation: The Unsung Hero of Slab Construction
Why proper excavation and levelling are crucial
Before pouring any concrete, thorough site preparation is paramount. This involves excavating the area to the appropriate depth, removing any vegetation or debris, and levelling the ground. Uneven ground can lead to inconsistent slab thickness, creating weak points and increasing the risk of cracking. Proper levelling ensures the concrete is evenly distributed, providing a stable and uniform surface. Furthermore, adequate excavation allows for the installation of necessary drainage and base materials, such as compacted gravel, which help prevent moisture buildup and improve the slab’s load-bearing capacity. Without correct excavation and levelling, even the strongest concrete mix will be susceptible to failure.
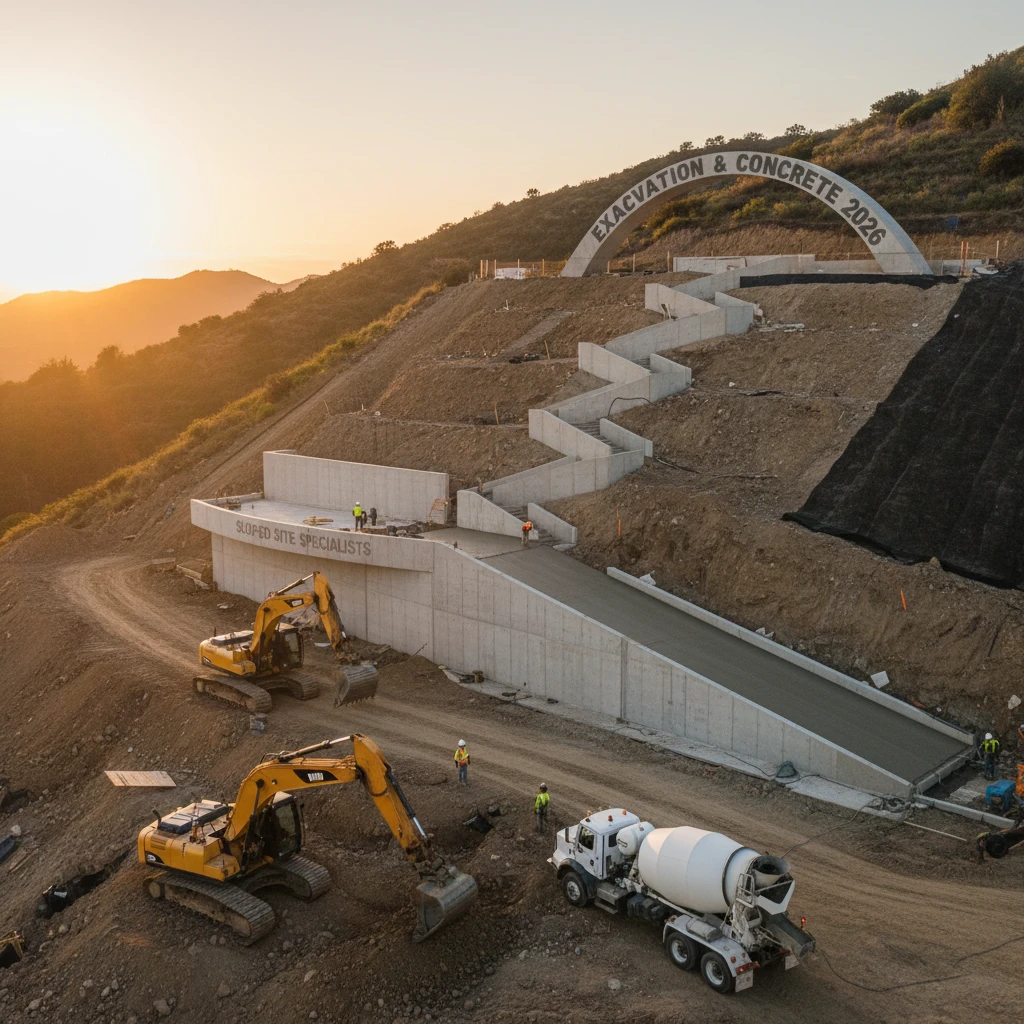
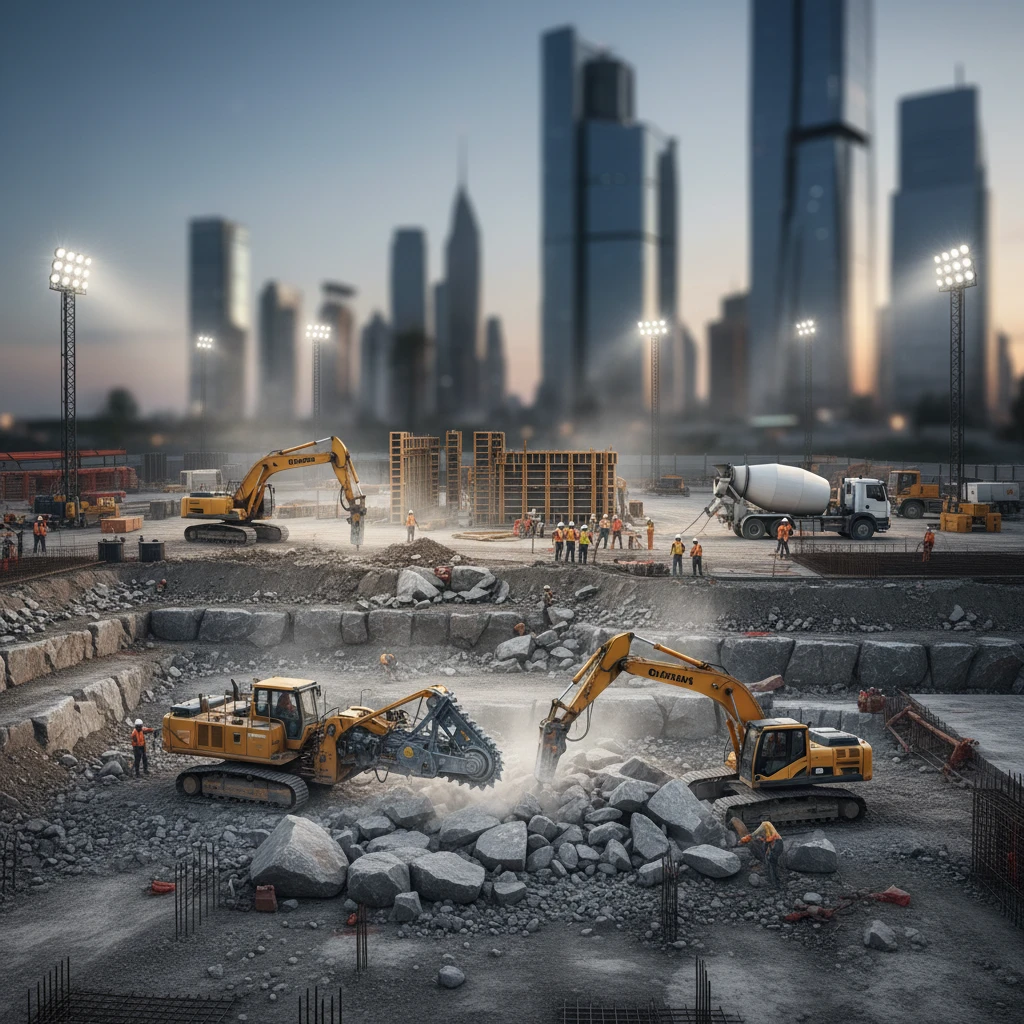
Dealing with sloping blocks in the Blue Mountains and Central West
The Blue Mountains and Central West regions often present unique challenges due to their sloping blocks and varied terrain. Building a shed slab on a slope requires careful planning and execution to ensure stability and prevent erosion. This may involve creating retaining walls, terracing the site, or using specialised excavation techniques. Proper drainage is especially crucial on sloping blocks to divert water away from the slab and prevent undermining. Laser Concrete specialises in sloped site solutions, employing innovative methods to overcome these challenges and deliver durable, level shed slabs. We have extensive experience with these specific terrains.
Compaction techniques for optimal slab performance
Compacting the base materials beneath the shed slab is essential for achieving optimal performance and preventing settling. Compaction involves using mechanical equipment, such as plate compactors or rollers, to compress the soil and gravel, creating a dense and stable foundation. Proper compaction reduces the risk of the slab sinking or shifting over time, particularly in areas with loose or unstable soil. The degree of compaction required depends on the soil type and the anticipated loads. A well-compacted base provides a solid platform for the concrete slab, ensuring its long-term stability and durability. When dealing with sloped blocks and complex excavation requirements, it’s best to engage experts who can provide excavation and concrete solutions tailored to your unique site needs. Excavation and concrete for sloping sites is our specialty.
Reinforcement Strategies: Steel Mesh and Beyond
Understanding the importance of steel reinforcement
Concrete is strong in compression (withstanding crushing forces) but weak in tension (withstanding pulling or stretching forces). Steel reinforcement is added to concrete to increase its tensile strength and prevent cracking. Steel mesh or reinforcing bars (rebar) are embedded within the concrete slab, creating a composite material that can withstand both compressive and tensile stresses. This reinforcement acts like a skeleton, holding the concrete together and preventing it from cracking under load or due to temperature changes. Steel reinforcement is a crucial component of any durable shed slab, particularly for larger sheds or those subject to heavy loads.
Different types of steel mesh: SL72, SL82, and more
Steel mesh comes in various sizes and strengths, each designated by a specific code, such as SL72 or SL82. These codes indicate the yield strength of the steel and the spacing of the wires. SL72 mesh, for example, is commonly used for residential slabs and light-duty applications. SL82 mesh, with its higher yield strength and closer wire spacing, is better suited for heavier loads or commercial applications. Choosing the appropriate type of steel mesh depends on the shed’s size, intended use, and the anticipated loads. Consult with a concreting professional to determine the optimal mesh for your specific needs. For a smaller shed storing light items, SL72 might be sufficient, but for a workshop with heavy machinery, SL82 or even heavier reinforcement would be recommended.
When to consider using reinforcing bar (rebar) for heavier loads
While steel mesh is suitable for most shed slab applications, reinforcing bar (rebar) may be necessary for heavier loads or more demanding situations. Rebar consists of individual steel bars that are strategically placed within the concrete slab to provide additional strength and support. Rebar is often used in conjunction with steel mesh to reinforce areas that are subject to high stress, such as corners or edges. For example, if your shed will house heavy machinery or equipment, or if the slab spans a large area, using rebar can significantly increase its load-bearing capacity and prevent cracking. Rebar reinforcement provides an extra layer of protection for heavy-duty applications.
The Laser Concrete Difference: Precision and Expertise in Action
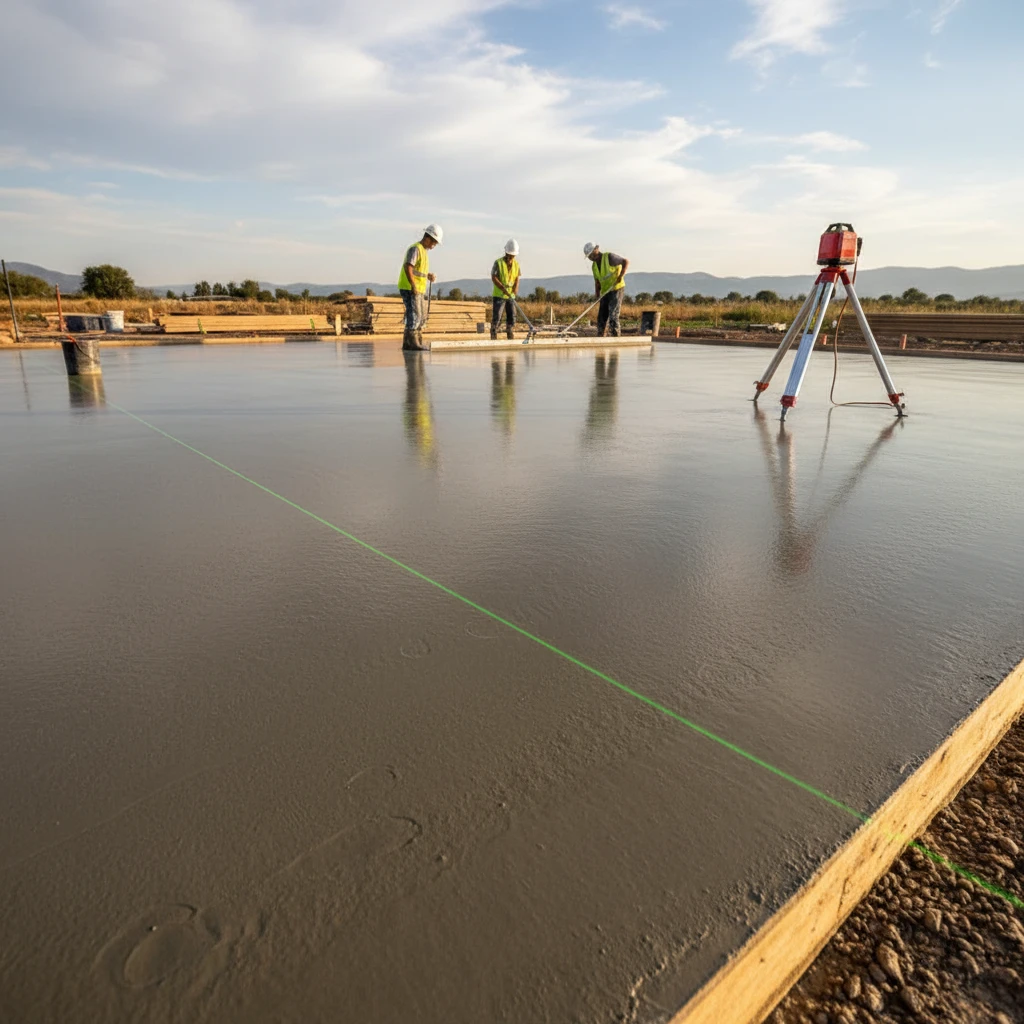
How laser levelling ensures a perfectly level surface
At Laser Concrete, we understand that a level shed slab is paramount for the stability and functionality of your shed. We utilise laser levelling technology to achieve unparalleled accuracy in surface preparation. Laser levels project a perfectly horizontal plane, which our skilled team uses as a guide during the excavation and formwork stages. This meticulous process ensures that the concrete is poured onto a uniformly level base, eliminating potential issues like uneven weight distribution, door and window alignment problems, and water pooling. Investing in laser levelling from the outset can save significant time and money in the long run, preventing costly rectifications later on. The use of laser levelling is particularly crucial when dealing with sloping blocks, as detailed further on our page about excavation and concrete for sloped site solutions.
Our experience with challenging sites in Penrith and surrounds
Our extensive experience working across Penrith, the Blue Mountains, and the Central West has equipped us with the expertise to handle even the most challenging sites. We have successfully completed numerous shed slab projects on steep slopes, rocky terrain, and sites with difficult access. For example, we recently completed a shed slab in Leura that required extensive excavation due to significant bedrock near the surface. We used specialised equipment and techniques to carefully remove the rock, ensuring the integrity of the surrounding landscape and the stability of the slab. Another project in Kurrajong Heights involved constructing a shed slab on a sloping block with a gradient of over 15 degrees. Our team employed terracing and retaining wall techniques to create a level platform for the slab, ensuring a structurally sound and visually appealing result. These projects showcase our ability to overcome site-specific obstacles and deliver exceptional outcomes. See our work in the Central West.
Quality control measures at every stage of the process
Quality control is at the heart of everything we do. From the initial site inspection to the final curing stage, we implement rigorous measures to ensure that every shed slab meets our exacting standards. These measures include: Thorough site assessment to identify potential challenges, precise excavation and formwork using laser levelling technology, reinforcement placement according to engineer specifications, using the correct concrete mix design for the intended load and environmental conditions, careful pouring and screeding to achieve a smooth and level surface, and proper curing to maximise concrete strength and durability. We also conduct regular inspections throughout the process to identify and address any potential issues promptly. For instance, we use slump tests to verify the workability of the concrete and air entrainment tests to ensure freeze-thaw resistance. Our commitment to quality control ensures that your shed slab is built to last. Following best practices ensures a concrete foundation built to last.
Slab Thickness and Size Considerations for Your Shed
Calculating the optimal slab thickness based on load requirements
Determining the correct slab thickness is crucial for ensuring the long-term structural integrity of your shed slab. The optimal thickness depends on several factors, including the size and weight of the shed, the intended use of the shed (e.g., storage, workshop, vehicle parking), the soil type, and the local climate. Generally, for a standard storage shed, a minimum slab thickness of 100mm (4 inches) is recommended. However, for heavier loads, such as vehicles or machinery, a thicker slab of 125mm (5 inches) or more may be necessary. A structural engineer can provide a precise calculation of the required slab thickness based on your specific needs and site conditions. They will consider the point loads from heavy equipment and the uniform distributed load from stored items. Ignoring these calculations can lead to cracking, settling, and ultimately, structural failure of the slab. A thorough assessment, as detailed on our page regarding preparing your Penrith site for concrete, is a critical first step.
Common shed sizes and corresponding concrete volumes
Shed sizes vary widely, and the amount of concrete required for the slab will depend on the dimensions of the shed. Here are a few common shed sizes and their approximate concrete volume requirements, assuming a slab thickness of 100mm: 3m x 3m shed: approximately 0.9 cubic metres of concrete. 3m x 6m shed: approximately 1.8 cubic metres of concrete. 6m x 6m shed: approximately 3.6 cubic metres of concrete. 6m x 9m shed: approximately 5.4 cubic metres of concrete. These figures are estimates, and the actual concrete volume may vary slightly depending on the slab thickness, the presence of thickened edges, and any other design features. It’s always best to consult with a concreting professional to get an accurate estimate of the concrete volume required for your specific shed size. Ordering slightly more concrete than estimated is advisable to account for spillage and variations in slab thickness. Overestimating by 5-10% is a common practice to avoid running short during the pour.
Accounting for overhangs and edge details
When planning your shed slab, it’s important to consider any overhangs or edge details that may be required. An overhang is a portion of the slab that extends beyond the walls of the shed, providing additional protection from the elements and preventing water from pooling around the base of the shed. Overhangs typically range from 100mm to 300mm, but the exact size will depend on the design of the shed and the local climate. Edge details, such as thickened edges or downturned edges, can also enhance the strength and durability of the slab, particularly in areas subject to heavy loads or high traffic. A thickened edge involves increasing the thickness of the slab around the perimeter, providing additional support and preventing cracking. A downturned edge involves extending the edge of the slab downwards into the ground, creating a footing that helps to anchor the slab and resist movement. These details need careful planning during the formwork stage to ensure a clean and professional finish.
The Concrete Pour: Techniques for a Flawless Finish
Best practices for pouring and screeding concrete
Achieving a flawless concrete pour requires careful planning and execution. The best practices include: Thoroughly preparing the sub-base by compacting it to the correct density. Ensuring the formwork is sturdy, level, and properly braced to prevent movement during the pour. Ordering the correct concrete mix design for the intended application and environmental conditions. Coordinating the concrete delivery to ensure a continuous pour. Pouring the concrete in layers, starting at the furthest point from the delivery truck and working your way back. Using a concrete vibrator to consolidate the concrete and remove air pockets. Screeding the concrete to achieve a smooth, level surface. Screeding involves using a straightedge to remove excess concrete and fill in any low spots. It’s important to screed immediately after pouring to prevent the concrete from setting unevenly. Following these practices will ensure a strong, durable, and aesthetically pleasing shed slab.
Achieving a smooth, level surface for optimal usability
A smooth, level surface is essential for optimal usability of your shed slab. After screeding, the concrete surface can be further refined using a float or trowel. A float is a flat, rectangular tool used to smooth out any imperfections and bring the fines (smaller aggregate particles) to the surface. A trowel is a flat, rectangular tool used to create a smooth, dense, and polished finish. The timing of floating and trowelling is critical. Floating should be done when the concrete surface is firm enough to support the weight of the worker but still plastic enough to be worked. Trowelling should be done after floating, when the concrete surface has stiffened slightly. Over-trowelling can lead to surface cracking and delamination, so it’s important to avoid working the concrete too much. A power trowel can be used for larger slabs to achieve a more consistent and efficient finish. This ensures the shed is easy to clean and move items around inside. Careful excavation, as explained on our page about excavation and concrete shed slabs, contributes to a superior final result.
Avoiding common concrete pouring mistakes
Several common mistakes can compromise the quality and durability of your concrete pour. These include: Failing to properly prepare the sub-base, leading to settling and cracking. Using the wrong concrete mix design, resulting in weak or brittle concrete. Pouring concrete in excessively hot or cold weather without taking appropriate precautions. Adding too much water to the concrete mix, reducing its strength and durability. Neglecting to vibrate the concrete, leaving air pockets that weaken the slab. Allowing the concrete to dry out too quickly, causing cracking and shrinkage. Starting the curing process too late. To avoid these mistakes, it’s essential to work with experienced concreters who understand the best practices for pouring and curing concrete. Always consult with a professional for advice on the appropriate concrete mix design, pouring techniques, and curing methods for your specific project. Investing in quality workmanship will ensure a long-lasting and reliable shed slab.
Curing Concrete: The Key to Long-Term Strength and Durability
Why proper curing is essential for concrete hydration
Curing is the process of maintaining adequate moisture content and temperature in concrete to allow it to hydrate properly and achieve its full strength potential. Concrete hydration is a chemical reaction between the cement and water in the concrete mix. This reaction produces calcium silicate hydrate (CSH), the primary binding agent that gives concrete its strength. Proper curing ensures that this hydration process continues for an adequate period, resulting in a strong, durable, and crack-resistant shed slab. Without proper curing, the concrete may dry out too quickly, leading to incomplete hydration, reduced strength, and increased susceptibility to cracking. Curing is often overlooked, but it is arguably the most critical step in the concrete pouring process. Skimping on curing to save time and money is a false economy that can lead to costly repairs or replacements down the line. [Source: Cement.org – Curing Concrete]
Different curing methods: water curing, membrane curing, etc.
Several different curing methods can be used to maintain adequate moisture content in concrete. The most common methods include: Water curing: This involves keeping the concrete surface continuously wet by flooding, ponding, or spraying it with water. Water curing is one of the most effective curing methods, but it can be labor-intensive and may not be practical for all projects. Membrane curing: This involves applying a liquid curing compound to the concrete surface, which forms a waterproof membrane that prevents moisture from evaporating. Membrane curing is a convenient and cost-effective method, but it’s important to choose a high-quality curing compound that meets the relevant Australian standards. Wet coverings: This involves covering the concrete surface with wet burlap, hessian, or other absorbent materials. The coverings are kept wet by regularly spraying them with water. Steam curing: This method uses steam to accelerate the hydration process and is commonly used in precast concrete plants. The choice of curing method will depend on the size and location of the shed slab, the climate, and the availability of resources.
Curing times and temperature considerations in NSW
The curing time for concrete depends on several factors, including the concrete mix design, the ambient temperature, and the humidity. Generally, concrete should be cured for at least seven days, but longer curing times may be required in colder weather or for high-strength concrete mixes. In NSW, the summer months can be particularly challenging for concrete curing due to high temperatures and low humidity, which can cause the concrete to dry out too quickly. During these months, it’s important to take extra precautions to keep the concrete surface moist, such as using multiple layers of wet coverings or applying a double coat of curing compound. In the winter months, curing times may need to be extended to compensate for the slower hydration rate at lower temperatures. Concrete should be protected from freezing temperatures during the curing process, as this can cause significant damage. Regularly checking the concrete surface and adjusting the curing method as needed will ensure optimal hydration and long-term durability. It’s important to plan ahead when preparing for your dream project and factor in the curing time required based on the season.
Avoiding Common Shed Slab Problems: A Checklist for Success
Preventing cracking: expansion joints and control joints
Cracking is a primary concern for any concrete slab, and shed slabs are no exception. To minimise the risk, understand the critical roles of expansion joints and control joints. Expansion joints are designed to accommodate movement due to thermal expansion and contraction of the concrete. These are particularly important for larger slabs or those exposed to significant temperature fluctuations. A good rule of thumb is to consider expansion joints for slabs exceeding 6 metres in any dimension. Conversely, control joints (also called contraction joints) are shallow cuts made in the concrete surface to create weakened planes. These encourage cracking to occur along these predetermined lines, rather than randomly across the slab.
Spacing control joints appropriately is essential. For a typical 100mm thick shed slab, a spacing of 2.5 to 3 metres is generally recommended. Always use a saw cutter within 12 to 24 hours of the concrete pour to create these joints. Don’t underestimate the impact of proper curing on crack prevention. Curing involves keeping the concrete moist for several days after the pour, allowing it to hydrate properly and gain strength. Inadequate curing can lead to surface shrinkage and cracking. Wet burlap, plastic sheeting, or commercially available curing compounds are effective methods. Ignoring this crucial step can significantly shorten the lifespan of your slab.
Example: A homeowner in the Blue Mountains decided to save money by skipping the saw cutting of control joints. Within a year, large, unsightly cracks appeared randomly across the slab, compromising its integrity. Corrective repairs cost over $1,500, a painful lesson in the importance of proper planning. Consulting with a professional concreter is always advisable to determine the optimal joint layout and curing strategy for your specific site conditions.
Managing drainage and preventing water damage
Effective drainage is crucial to prevent water from pooling around the shed slab, which can lead to several problems including foundation damage, dampness, and accelerated deterioration. Ensure the slab is slightly sloped away from the shed (a minimum fall of 1 in 100 is a good starting point). This allows water to run off easily, preventing it from seeping into the foundation or causing dampness inside the shed. Before pouring the slab, carefully assess the existing site drainage and make any necessary improvements. This might involve installing French drains or other drainage systems to divert water away from the area. For more challenging sites, our team offers tailored excavation and concrete solutions.
The choice of backfill material around the slab can also significantly impact drainage. Use a well-draining material such as gravel or crushed rock, rather than clay-based soil, which tends to retain water. Ensure the backfill is properly compacted to prevent settling and the formation of water-collecting depressions. Consider installing gutters and downpipes on your shed to collect rainwater and direct it away from the slab. This simple measure can significantly reduce the amount of water that comes into contact with the foundation. Regular maintenance, such as clearing debris from gutters and drains, is also essential to ensure they function effectively.
Example: A homeowner in Penrith built a shed on a poorly drained slab. After heavy rainfall, water consistently pooled around the base of the shed, leading to rising damp and wood rot. The cost to rectify the drainage issues, including excavation and the installation of a drainage system, amounted to over $2,000, highlighting the importance of addressing drainage proactively.
Protecting the slab from frost heave in colder regions
In regions prone to freezing temperatures, frost heave poses a significant threat to concrete slabs. Frost heave occurs when moisture in the soil freezes and expands, exerting upward pressure on the slab. This can cause cracking, lifting, and ultimately, structural damage. To mitigate this risk, proper site preparation and insulation are essential. Begin by excavating the site to a depth below the frost line (the maximum depth to which the ground freezes in a particular area). In colder regions of the Blue Mountains, this could be 450mm or more. Consult local building codes or experienced concreters to determine the appropriate frost line depth for your location.
Replace the excavated soil with a layer of compacted gravel or crushed rock. This provides a well-draining base that reduces the amount of moisture available to freeze. Consider installing insulation beneath the slab to further protect it from frost heave. Rigid foam insulation boards are a popular choice, providing a thermal barrier that prevents the ground beneath the slab from freezing. Ensure the insulation is properly installed and protected from moisture. Also, consider using air-entrained concrete, which contains tiny air bubbles that provide space for water to expand when it freezes, reducing the pressure on the concrete.
Example: A shed slab in Oberon, built without proper frost protection, experienced significant cracking and lifting after a particularly harsh winter. The homeowner had to completely replace the slab at a cost of $3,500, a costly lesson in the importance of frost protection. Always consult with a qualified engineer or concreter to determine the appropriate frost protection measures for your specific site conditions and climate.
Shed Slab FAQs: Your Questions Answered
What permits are required for a shed slab in Penrith?
Permit requirements for shed slabs in Penrith can vary depending on the size and location of the shed, as well as local council regulations. Generally, sheds exceeding a certain size (typically 10 square metres) or located within a specific distance of property boundaries may require a development application (DA) or complying development certificate (CDC) from Penrith City Council. This ensures that the structure meets relevant building codes and planning regulations. It’s always best to contact Penrith City Council directly to confirm the specific requirements for your project. You can find information on their website or by calling their planning department. Failure to obtain the necessary permits can result in fines or even the requirement to remove the shed. A good concrete professional will understand these regulations and advise you appropriately.
Even if a full DA or CDC isn’t required, you may still need to comply with certain building codes and standards, such as those relating to structural integrity, drainage, and fire safety. These standards are designed to ensure the safety and durability of the structure. Ignoring them can lead to serious problems down the line. Always consult with a qualified builder or concreter to ensure your shed slab meets all relevant requirements. Engaging professionals early in the process can save you time, money, and headaches in the long run.
Consider engaging a private certifier to streamline the approval process. Private certifiers are accredited professionals who can assess your plans and issue building approvals on behalf of the council. This can often be a faster and more efficient route than going through the council directly. However, it’s still essential to ensure that all plans and documentation comply with council regulations. Check the NSW Government’s Planning Portal for more information and resources regarding building and development approvals: https://www.planningportal.nsw.gov.au/.
How long does it take to complete a shed slab project?
The timeframe for completing a shed slab project can vary depending on several factors, including the size and complexity of the slab, site conditions, weather, and the availability of materials and labour. A simple, straightforward shed slab might take as little as 2-3 days to complete, including excavation, formwork, pouring, and curing. However, more complex projects, such as those involving difficult site access, extensive excavation, or intricate designs, can take a week or longer. Site preparation is a crucial factor that can affect the overall timeline. If the site is uneven, rocky, or requires significant clearing, excavation and levelling can take considerable time. Our team specialises in preparing challenging sites in the Penrith region.
Weather conditions can also significantly impact the timeline. Rain can delay excavation and pouring, while extreme temperatures can affect the curing process. It’s essential to factor in potential weather delays when planning your project. The curing process itself typically takes several days. Concrete needs to be kept moist for at least 3-7 days to properly hydrate and gain strength. During this time, the slab cannot be subjected to heavy loads or traffic. Finally, allow for some buffer time in your schedule to account for unforeseen delays, such as material shortages or unexpected site issues.
Example: A homeowner in the Central West had a relatively simple shed slab poured in just three days during a period of favourable weather. However, their neighbour, attempting a similar project during a week of heavy rain, experienced significant delays, ultimately taking ten days to complete the job. Proper planning and flexibility are essential for managing project timelines effectively.
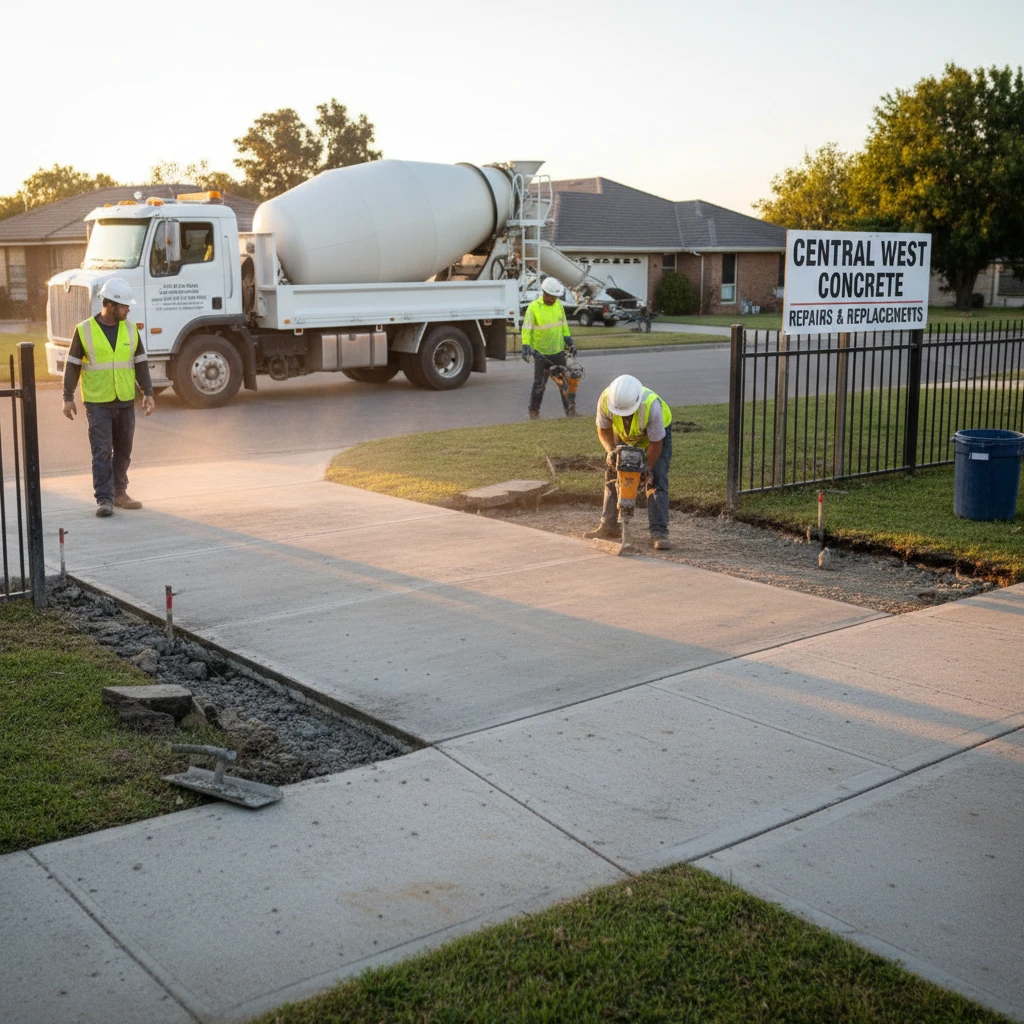
Can I pour a shed slab myself, or should I hire a professional?
Pouring a shed slab yourself can be a tempting option, especially if you’re looking to save money. However, it’s essential to carefully assess your skills, experience, and resources before taking on this task. While smaller, simpler slabs might be manageable for experienced DIYers, larger or more complex projects are best left to professionals. Consider your level of experience with concrete work. Have you poured concrete before? Are you familiar with the different types of concrete, proper mixing techniques, and finishing methods? Concrete work requires specific skills and knowledge, and mistakes can be costly to rectify.
Assess your physical capabilities. Concrete work is physically demanding, requiring lifting heavy materials, operating machinery, and working in awkward positions. If you have any physical limitations, it’s best to hire a professional. Consider the time commitment involved. Pouring a shed slab can take several days, including preparation, pouring, finishing, and curing. Do you have the time and availability to dedicate to the project? Professionals bring experience, the right equipment, and established processes to ensure a quality outcome and minimise potential problems. They also understand local building codes and regulations, ensuring your shed slab meets all necessary requirements.
Example: A DIY enthusiast attempted to pour a shed slab himself to save money. However, he lacked the necessary experience and equipment, resulting in an uneven slab with poor drainage. He ended up hiring a professional to redo the job, ultimately costing him more than if he had hired a professional from the start. Weigh the potential cost savings against the risks and challenges involved before making a decision. For reliable shed slabs in the Central West, contact our Central West Concrete experts.
Investing in a Quality Shed Slab: A Long-Term Perspective
The value of a durable foundation for your shed and its contents
A durable and well-constructed shed slab is more than just a concrete platform; it’s a foundation that protects your investment in the shed and its contents for years to come. A weak or poorly constructed slab can lead to a host of problems, including structural damage to the shed, water damage to stored items, and premature deterioration. Investing in a quality shed slab provides stability and support for the entire structure. A solid foundation ensures the shed remains level and prevents it from shifting or settling over time. This is particularly important in areas with unstable soil or sloping terrain.
A well-constructed slab also provides protection from moisture and pests. A properly sealed slab prevents ground moisture from seeping into the shed, which can cause dampness, mould, and rot. It also creates a barrier against pests, such as termites and rodents, which can damage the shed and its contents. By choosing the right concrete mix, reinforcement, and construction techniques, you can create a shed slab that withstands the elements and provides long-lasting protection. Consider factors such as the climate, soil conditions, and intended use of the shed when selecting the appropriate materials and construction methods.
Example: A homeowner in a flood-prone area invested in a reinforced shed slab with a raised edge to protect their stored belongings from water damage. During a recent flood event, the shed remained dry, and all the contents were saved. This highlights the value of investing in a quality shed slab that is designed to withstand specific environmental challenges.
Minimising maintenance and repair costs over time
While the initial cost of a high-quality shed slab might be higher than a DIY or budget option, it can save you significant money in the long run by minimising maintenance and repair costs. A poorly constructed slab is more susceptible to cracking, settling, and water damage, which can require costly repairs or even replacement. Investing in proper site preparation, quality materials, and professional installation can significantly extend the lifespan of your shed slab and reduce the need for repairs. This includes ensuring the site is properly excavated, levelled, and compacted, and using a durable concrete mix with appropriate reinforcement.
Regular maintenance can also help to prevent costly repairs. This includes cleaning the slab regularly to remove dirt and debris, sealing any cracks or gaps that may appear, and ensuring proper drainage around the shed. By taking these simple steps, you can protect your investment and extend the life of your shed slab. Choose a concreter who offers a warranty on their work, providing you with peace of mind and protection against defects in materials or workmanship.
Example: A homeowner who opted for a cheaper shed slab experienced significant cracking and settling within a few years. The cost to repair the slab and reinforce the shed’s foundation amounted to over $2,000. In contrast, their neighbour, who invested in a quality shed slab from the outset, has had no issues and has saved money on repairs over the years.
Adding value to your property with a professionally installed shed slab
A professionally installed shed slab not only provides a durable foundation for your shed but also adds value to your property. A well-constructed shed with a solid foundation enhances the overall appearance and functionality of your property, making it more attractive to potential buyers. A shed with a poorly constructed slab can detract from the overall value of your property. Potential buyers may be concerned about the cost of repairing or replacing the slab, which can reduce the property’s appeal. A professionally installed shed slab demonstrates that you have taken care of your property and invested in quality improvements.
Consider the long-term benefits of investing in a quality shed slab when making your decision. While the initial cost may be higher, the added value to your property, combined with reduced maintenance and repair costs, can make it a worthwhile investment. Ensure that the shed slab is properly permitted and complies with all local building codes and regulations. This provides assurance to potential buyers that the structure is safe and compliant. Consider obtaining a certificate of compliance from a building inspector to further demonstrate the quality and compliance of the shed slab.
Example: A homeowner in Katoomba was selling their property. The presence of a well-maintained shed with a professionally installed concrete slab was a significant selling point, attracting more potential buyers and ultimately increasing the sale price of the property by $5,000. This highlights the potential for a quality shed slab to add tangible value to your property.
Investing in a shed slab isn’t just about the immediate need for a foundation; it’s about making informed decisions that protect your shed, its contents, and your overall property value for many years into the future. Proper planning, quality materials, and professional expertise are the keys to achieving a durable and long-lasting result.