Investing in a shed for your Penrith or Blue Mountains property is a significant decision. But without a properly prepared and expertly poured concrete slab, you risk undermining that investment from the start. A well-constructed shed slab provides a solid, level foundation, protecting your valuable equipment and adding lasting value to your property. We ensure that every shed slab we create is built to withstand the unique challenges of the local environment.
This guide explores the crucial elements of shed slab construction, from site preparation and concrete thickness considerations to reinforcement options and the pouring process. We’ll provide practical insights to help you understand why quality workmanship is paramount for a shed slab that will endure for years to come. You can rely on Laser Concrete for Expert Excavation & Concreting Across Penrith.
Why a Quality Shed Slab is a Smart Investment for Penrith & the Blue Mountains
Protecting Your Investment: Equipment, Vehicles & More
A robust shed slab is more than just a place to store things; it’s a shield protecting your valuable investments. Whether you’re storing gardening equipment, tools, a ride-on mower, or even a classic car, a level and durable concrete foundation prevents damage caused by uneven surfaces, moisture, and ground movement. Consider the cost of replacing damaged equipment due to poor storage conditions – a quality shed slab is a cost-effective preventative measure. Furthermore, the slab provides a stable base for jacking up vehicles for maintenance, ensuring safety and preventing damage to the vehicle’s undercarriage. Without a suitable slab, heavy equipment can sink into the ground, creating significant retrieval and repair headaches.
Preventing Damage from Moisture & Pests
Moisture and pests are constant threats to sheds and their contents, particularly in the humid climate of Penrith and the Blue Mountains. A properly constructed concrete slab acts as a barrier against rising damp, preventing moisture from seeping into your shed and damaging stored items. It also eliminates ground contact, depriving termites and other pests of a direct pathway into your shed. Consider applying a sealant to the slab surface for added protection against water damage. The small investment in a quality sealant will help protect your shed and its contents.
Adding Value to Your Property Long-Term
A well-built shed with a solid concrete slab adds significant value to your property. It demonstrates attention to detail and quality construction, making your property more attractive to potential buyers. A flimsy, poorly constructed shed can be a detractor, suggesting potential maintenance issues. A shed slab designed for longevity reduces the likelihood of future repairs or replacements, further enhancing its value. It’s an investment that pays off not only in the short term through protected storage but also in the long term through increased property value. Many buyers will assess the quality of the shed slab as an indication of the quality of the whole property. Ensure you use high-quality materials and workmanship.
Understanding Concrete Shed Slab Thickness & Reinforcement Requirements
Slab Thickness Guide: Considering Shed Size & Load
The ideal thickness of your shed slab depends on the shed’s size and the expected load. For small garden sheds (e.g., 3m x 3m) storing light items, a 75mm to 100mm thick slab might suffice. However, for larger sheds (e.g., 6m x 6m or larger) housing heavy equipment, vehicles, or workshops, a thickness of 125mm to 150mm is recommended. If you plan to store exceptionally heavy items, such as a mechanic’s hoist or several tonnes of materials, consult with a structural engineer to determine the appropriate thickness and reinforcement. Remember that exceeding minimum requirements provides a safety margin and enhances the slab’s durability. Choosing the right thickness can help avoid costly repairs in the future.
Reinforcement Options: Steel Mesh, Rebar, and Fibre
Reinforcement is crucial for preventing cracking and increasing the load-bearing capacity of your shed slab. Steel mesh (e.g., SL72 or SL82) is a common and cost-effective option for general-purpose sheds. For heavier loads or larger spans, rebar (reinforcing bars) provide superior strength and are often used in combination with steel mesh. Fibre reinforcement, which involves adding synthetic fibres to the concrete mix, can also enhance the slab’s resistance to cracking. The choice of reinforcement depends on the expected load and the size of the slab. For heavy-duty applications, consider a combination of steel mesh and rebar. Reinforcement should always be placed in the middle of the slab depth to optimise its effectiveness. [External link: Link to relevant Australian Standard for concrete reinforcement, e.g., Standards Australia]
Calculating Concrete Volume: A Simple Formula
Accurately calculating the concrete volume needed for your shed slab is essential to avoid shortages or excess material. The formula is straightforward: Volume (cubic metres) = Length (metres) x Width (metres) x Thickness (metres). For example, a 4m x 5m shed slab with a thickness of 0.1m (100mm) would require 4 x 5 x 0.1 = 2 cubic metres of concrete. Always add a small buffer (5-10%) to account for uneven ground and spillage. It’s always better to have a little extra than to run short. A reliable concrete supplier can also assist with volume calculations based on your specific dimensions. Knowing the volume precisely allows you to obtain accurate quotes and manage costs effectively.
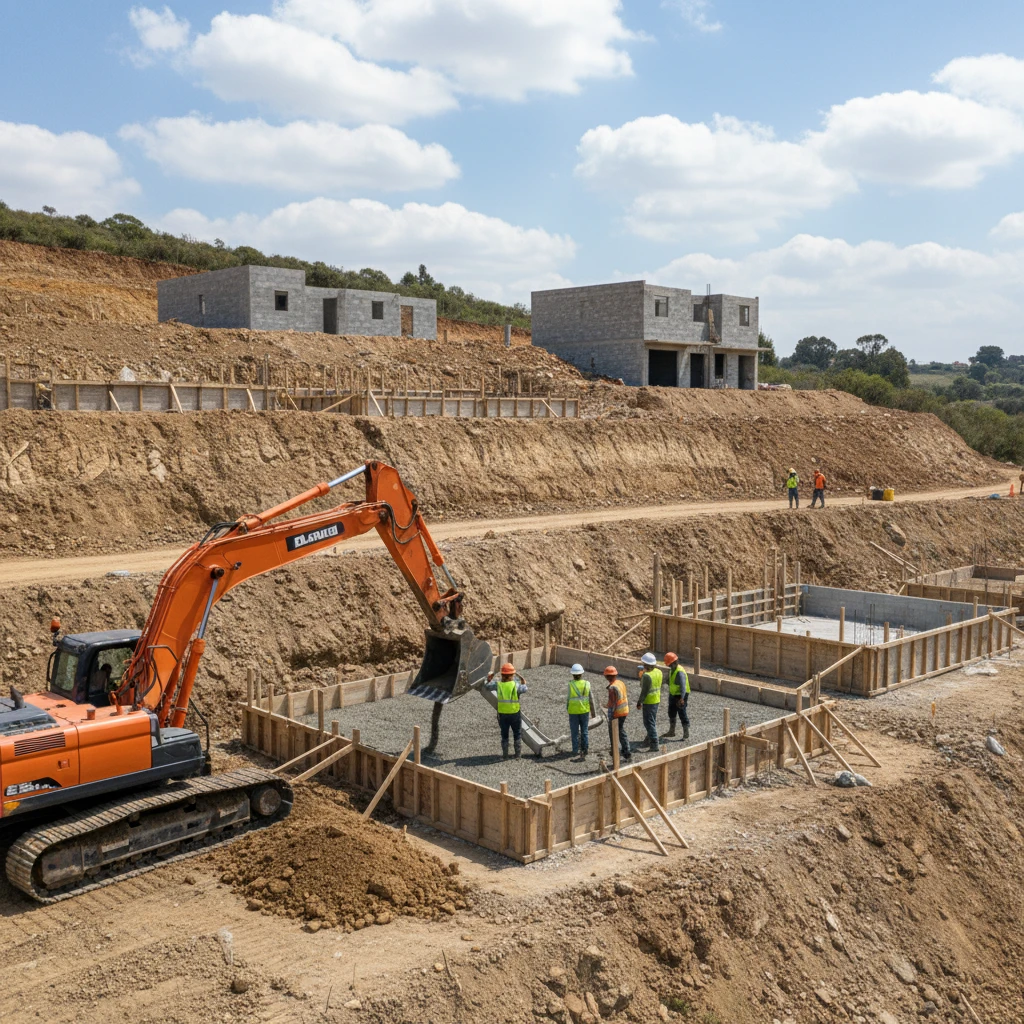
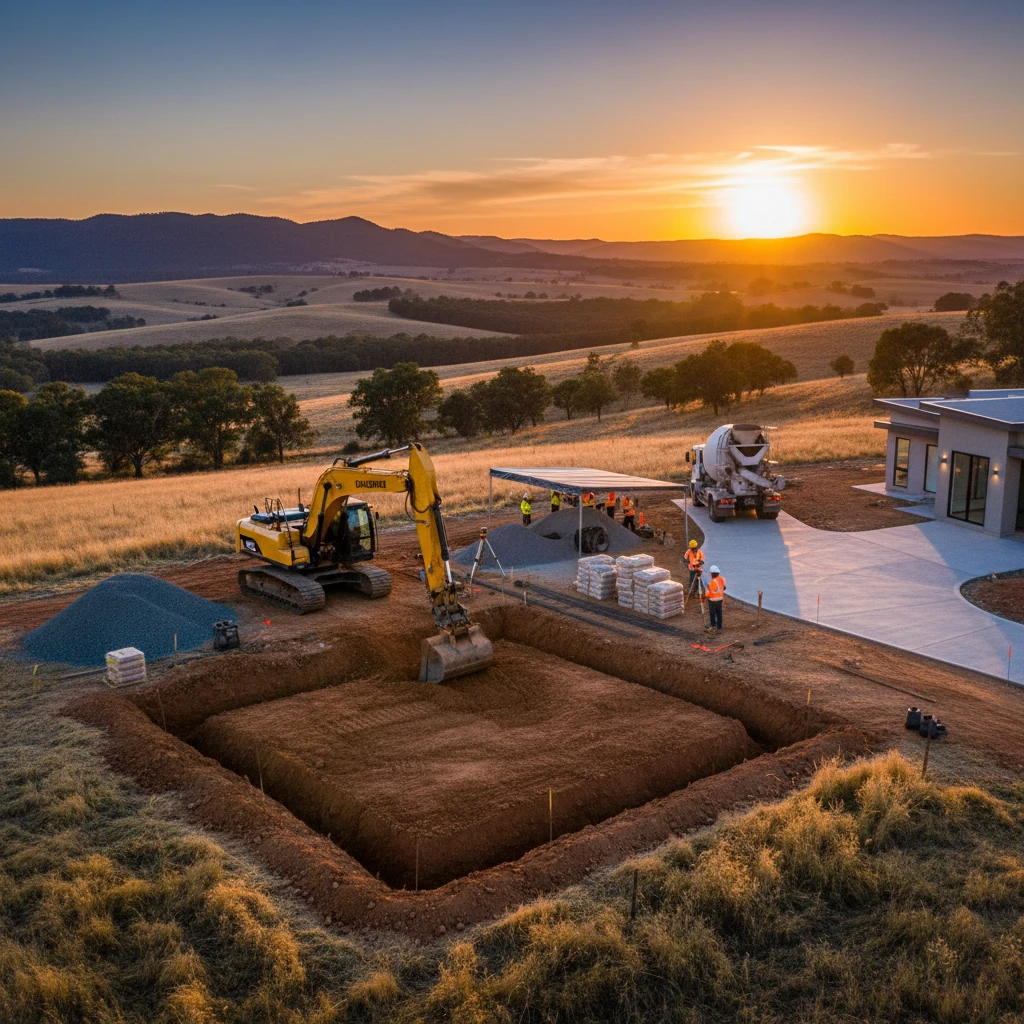
Site Preparation is Key: Excavation & Leveling for a Durable Shed Slab
Clearing Vegetation & Removing Topsoil
Proper site preparation is the foundation of a durable shed slab. Start by clearing all vegetation, including grass, weeds, and tree roots, from the area. Remove the topsoil, which is typically rich in organic matter and prone to decomposition, to a depth of at least 100mm. Topsoil is unsuitable as a base for concrete as it can lead to settlement and cracking. Dispose of the removed vegetation and topsoil responsibly. This initial clearing ensures a stable and level base for the subsequent layers of the slab foundation. Failure to remove organic matter will almost certainly lead to future problems.
Proper Compaction: Preventing Future Settling
Compaction is the process of compressing the soil or gravel base to increase its density and stability. After removing the topsoil, spread a layer of compacted gravel or crushed rock (typically 75-100mm thick) over the excavated area. Use a plate compactor or roller to compact the base material in layers, ensuring each layer is thoroughly compacted before adding the next. Proper compaction prevents future settling and ensures a level and stable surface for the concrete slab. Inadequate compaction is a common cause of cracking and slab failure, so it’s crucial to invest the time and effort into this step. Check local council regulations regarding compaction requirements.
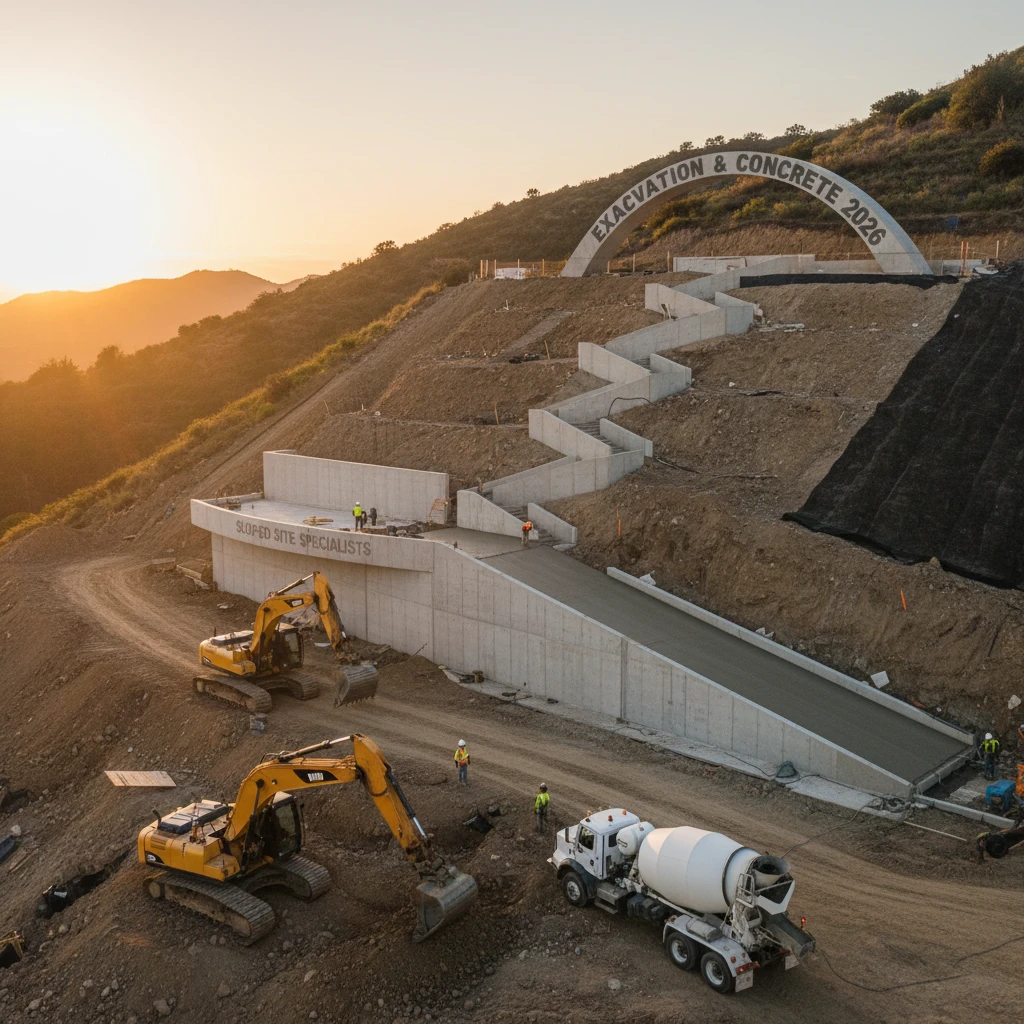
Addressing Drainage Issues on Sloped Sites
Sloped sites present unique challenges for shed slab construction. Proper drainage is essential to prevent water from pooling around the slab and undermining its foundation. Consider installing drainage systems, such as French drains or surface drains, to divert water away from the shed. Leveling the site may require significant excavation and backfilling. Retaining walls may be necessary to prevent soil erosion and maintain a level surface. On sloping blocks, adequate subsoil drainage is critical to avoid water accumulating beneath the slab. Failing to address drainage issues can lead to costly repairs and even structural damage. We’re experts in Blue Mountains Concrete: Precision and Durability and will ensure your slab is installed correctly, even on difficult sites.
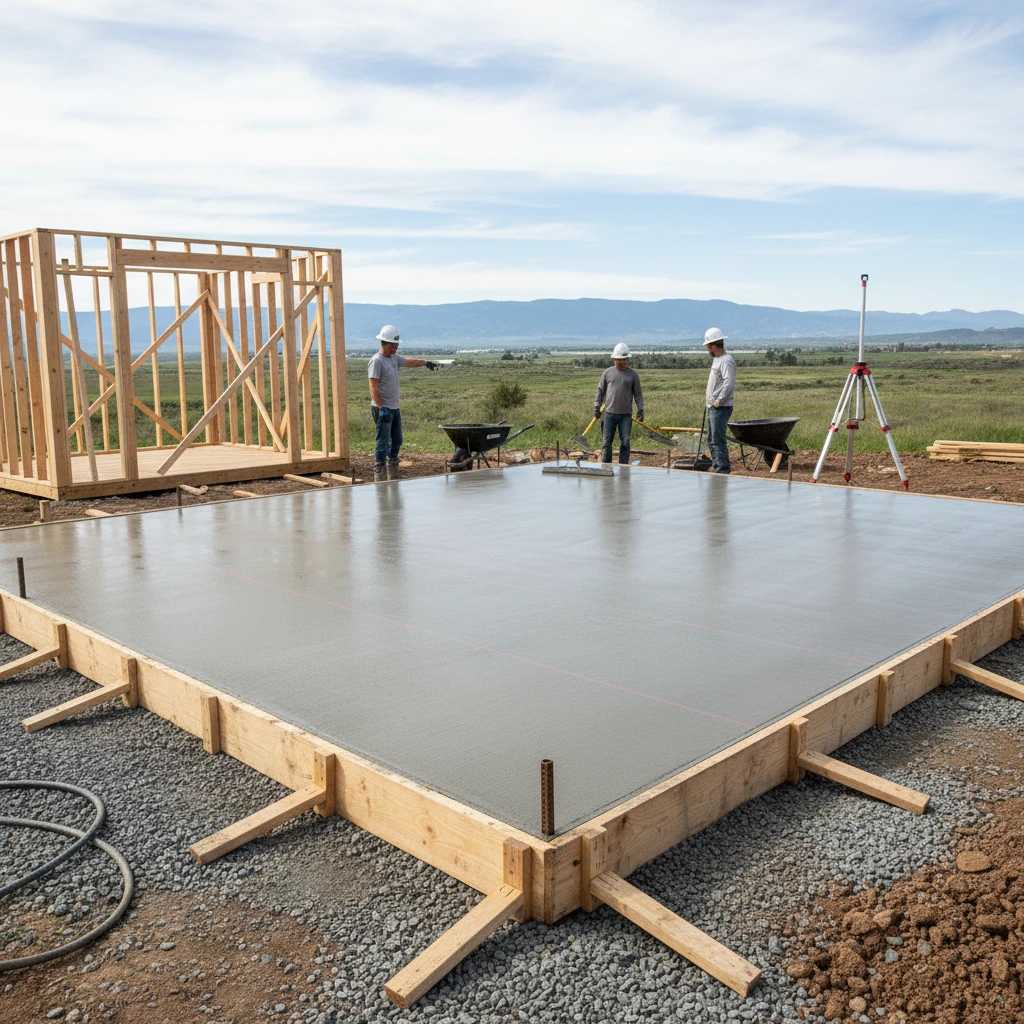
The Concrete Pouring Process: Achieving a Smooth & Level Finish
Mixing Concrete: Consistency is Crucial
Whether you’re mixing concrete manually or using a concrete mixer, consistency is crucial for achieving a strong and durable shed slab. Follow the manufacturer’s instructions for the correct water-to-cement ratio. Too much water weakens the concrete, while too little makes it difficult to work with. Mix the concrete thoroughly until it has a uniform colour and consistency. Avoid adding extra water to make the concrete easier to pour, as this will compromise its strength. The ideal consistency should be similar to thick porridge. For larger slabs, consider ordering ready-mix concrete from a reputable supplier to ensure consistent quality and save time and effort. A well-mixed concrete will ensure a strong and durable slab.
Pouring & Spreading the Concrete Evenly
Pour the concrete onto the prepared site, starting from one corner and working your way across. Use a shovel or rake to spread the concrete evenly, ensuring it fills all the corners and edges of the formwork. Avoid dropping large quantities of concrete in one spot, as this can create uneven distribution and weak spots. Use a concrete vibrator to remove air pockets and consolidate the concrete. Overlapping passes with the vibrator ensures complete consolidation. Take your time and ensure the concrete is evenly distributed before moving on to the leveling stage. Evenly distributed concrete means even strength throughout the slab.
Using Laser Screeds for Precision Leveling
For achieving a perfectly level and smooth finish, a laser screed is invaluable, especially for larger shed slabs. A laser screed uses a laser beam to guide the leveling process, ensuring the concrete is poured to the precise desired height. This eliminates the guesswork involved in manual leveling and produces a far superior result. While laser screeds can be expensive to rent or purchase, the investment is worthwhile for achieving a professional-grade finish. For smaller slabs, a manual screed board and level can be used, but it requires skill and experience to achieve the same level of precision. The use of laser screeds ensures that the finished slab is perfectly level, which is vital for the proper functioning of the shed and the safe storage of equipment.
Curing Your Concrete Shed Slab: Maximising Strength & Durability
Why Curing is Essential: Preventing Cracking
Curing is the process of maintaining adequate moisture content and temperature in concrete during its early stages, allowing it to properly hydrate and gain strength. Skipping this crucial step can lead to a significantly weaker and more brittle slab, prone to cracking and surface defects. The hydration process, where cement reacts with water, requires moisture. Without it, the reaction stops prematurely, hindering the concrete’s ability to achieve its designed strength. Specifically, inadequate curing leads to plastic shrinkage cracking, which occurs when the surface of the concrete dries too quickly. This is especially critical in Penrith, the Blue Mountains, and the Central West due to fluctuating temperatures and often dry conditions. Choosing the correct curing method is essential to a long-lasting concrete shed slab.
Curing Methods: Wet Curing vs. Chemical Curing
There are two main approaches to curing: wet curing and chemical curing. Wet curing involves keeping the concrete surface continuously moist for the recommended curing period. Common methods include ponding (covering the slab with water), spraying or fogging (regularly applying a fine mist of water), and covering the slab with wet burlap or plastic sheeting. This method is particularly effective but requires consistent monitoring to prevent the concrete from drying out. Chemical curing involves applying a curing compound to the concrete surface. These compounds form a membrane that seals in moisture, reducing evaporation. While less labour-intensive than wet curing, the choice of compound is crucial. Some compounds may not be suitable for all types of concrete or may affect the application of subsequent coatings. Consider the specific requirements of your project and the environmental conditions when choosing a curing method. For example, in exposed areas of the Blue Mountains, where wind is a factor, wet curing might require frequent re-wetting. Talk to your local concrete expert from Blue Mountains Concrete: Precision and Durability for site-specific recommendations.
Curing Time: How Long to Wait Before Use
The ideal curing time depends on factors such as the type of cement used, the concrete mix design, and the ambient temperature. However, a general rule of thumb is to cure concrete for at least 7 days, with 28 days being the optimal curing period for achieving full design strength. After the initial curing period, it’s still essential to avoid placing heavy loads on the slab for several weeks. Before using your shed slab, check with your concrete contractor regarding load-bearing capacity and expected curing progress. Early use of the slab before it’s fully cured can lead to premature cracking and structural damage. A good concrete provider, such as those who provide Penrith Concrete Driveways: Expert Installation, will provide guidance on timelines for concrete curing.
Common Shed Slab Problems & How to Avoid Them
Cracking: Causes & Prevention Strategies
Cracking is a frequent problem with concrete slabs, often stemming from shrinkage during curing, ground movement, or excessive loads. To minimise cracking, ensure proper site preparation, including compaction of the subgrade. Use a well-designed concrete mix with appropriate water-cement ratio. Control joints are also crucial. These are intentionally weakened planes in the concrete that encourage cracks to form in a controlled manner, preventing random, unsightly cracking. Reinforcement, such as steel mesh or rebar, also helps distribute stresses and prevent cracking. Expansion joints should be incorporated if the slab abuts another structure, allowing for movement without transferring stress. Addressing drainage issues during site prep will minimise future slab movement, and prevent water from undermining the concrete.
Settling: Addressing Soil Instability
Settling occurs when the soil beneath the slab compacts or shifts, leading to uneven support and potential cracking. Before pouring your shed slab, it is essential to ensure the ground is properly compacted to prevent future settling. In areas with unstable soil, such as reactive clay soils common in some parts of the Central West, consider using engineered fill or soil stabilisation techniques. Piling or piering may be necessary for extremely unstable sites. A geotechnical assessment can identify potential soil issues and recommend appropriate solutions. Consider adding extra thickness to the slab in particularly unstable areas.
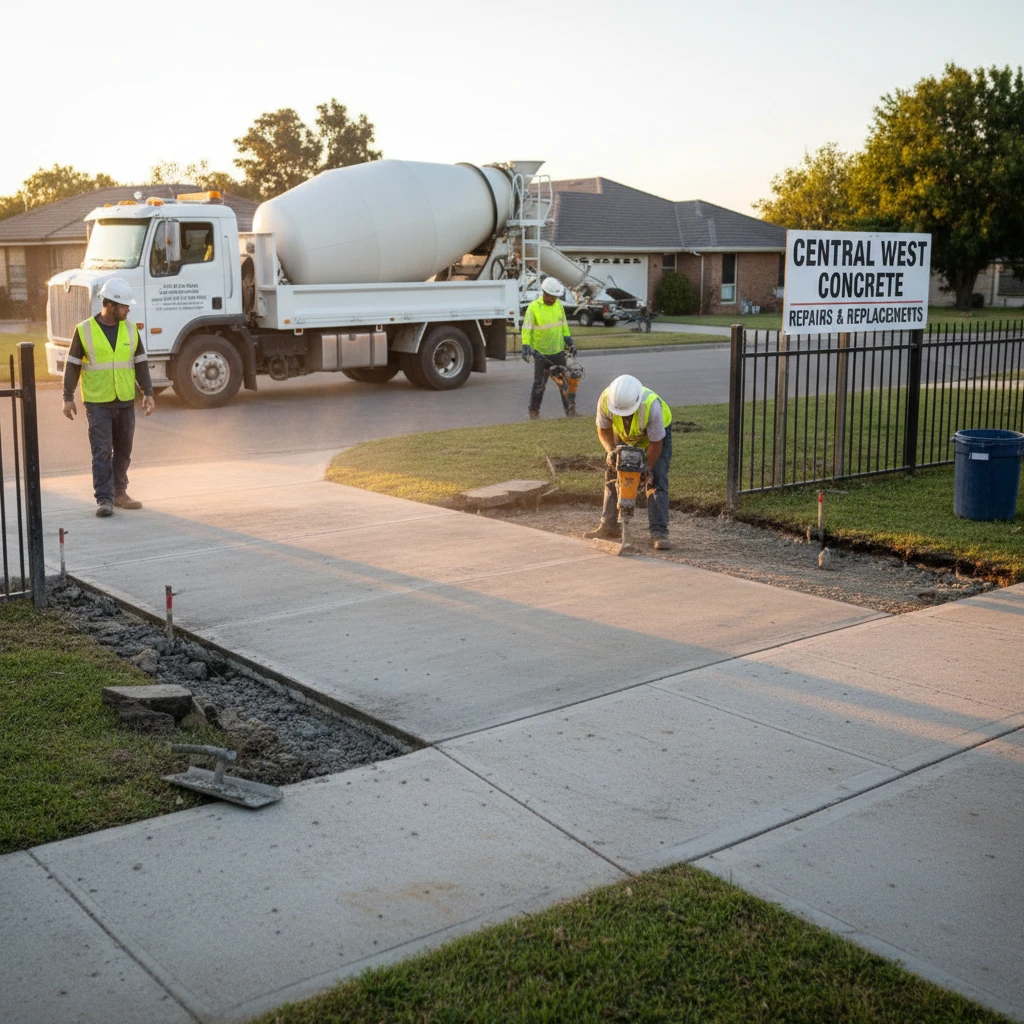
Water Damage: Implementing Proper Drainage
Water damage can significantly reduce the lifespan of a concrete shed slab. Poor drainage can lead to water pooling around the slab, saturating the subgrade, and causing erosion or frost heave. Ensure the site is graded to direct water away from the slab. Install perimeter drains to collect and remove excess water. Consider using a vapor barrier beneath the slab to prevent moisture from wicking up from the ground. Proper drainage is essential not only for the longevity of the slab but also for preventing moisture problems within the shed itself. This is particularly relevant in the Blue Mountains, where heavy rainfall is common. Check your local council regulations regarding stormwater management before commencing any work. You can learn more about the importance of drainage from organisations like the NSW Environment Protection Authority.
Alternatives to Concrete Shed Slabs (and When to Choose Them)
Gravel Shed Bases: Cost-Effective but Less Durable
Gravel shed bases offer a more affordable alternative to concrete slabs, particularly for smaller sheds. They consist of a compacted layer of gravel that provides a level surface for the shed. However, gravel bases are less durable than concrete and may require periodic maintenance to address settling or erosion. They are also less suitable for heavy loads or sheds that require a perfectly level floor. The lifespan of a gravel base is heavily dependent on drainage; poor drainage can lead to significant settling and instability. Furthermore, gravel bases do not provide the same level of protection against pests and moisture as concrete slabs.
Timber Shed Floors: Suitable for Lightweight Structures
Timber shed floors involve building a wooden frame on a base of concrete piers or timber posts. This option can be suitable for lightweight sheds used for storage or hobbies. Timber floors offer a warmer feel compared to concrete but are susceptible to rot, insect damage, and warping. Regular maintenance, including sealing and pest control, is essential. Consider using treated timber to improve its resistance to the elements. Timber floors may not be suitable for heavy equipment or situations where moisture is a concern. If you are in an area prone to termites, like parts of Penrith, consult with a pest control expert before building a timber floor.
Paved Areas: An Aesthetically Pleasing Option
Paved areas, constructed from pavers or flagstones, can provide an aesthetically pleasing base for a shed. Pavers offer more design flexibility than poured concrete and can be easier to repair. However, they are generally more expensive and time-consuming to install. Like gravel bases, paved areas require proper compaction of the subgrade and good drainage to prevent settling. Paved areas are best suited for sheds that are used for recreational purposes or where aesthetics are a priority. It’s essential to select pavers that are durable enough to withstand the anticipated load. The finished height of the pavers relative to the surrounding ground is an important factor in water management. Consider the aesthetic you want to achieve, and that which is allowed by council approval processes.
Shed Slab Cost Factors in Penrith, Blue Mountains, & Central West
Concrete Volume & Reinforcement Costs
The cost of concrete is directly related to the volume required for your shed slab. Larger sheds will naturally require more concrete, increasing the overall cost. Concrete prices can fluctuate depending on market conditions and the availability of materials. The type and amount of reinforcement (steel mesh or rebar) also contribute to the cost. Reinforced concrete is stronger and more resistant to cracking, but it also adds to the material expense. Complex slab shapes will also increase the formwork required, potentially also requiring more reinforcing material. Obtain quotes from multiple concrete suppliers to compare prices and ensure you are getting the best value. Different concrete mixes impact cost: higher PSI mixes and mixes with special additives (like fibre reinforcement) will increase expenses.
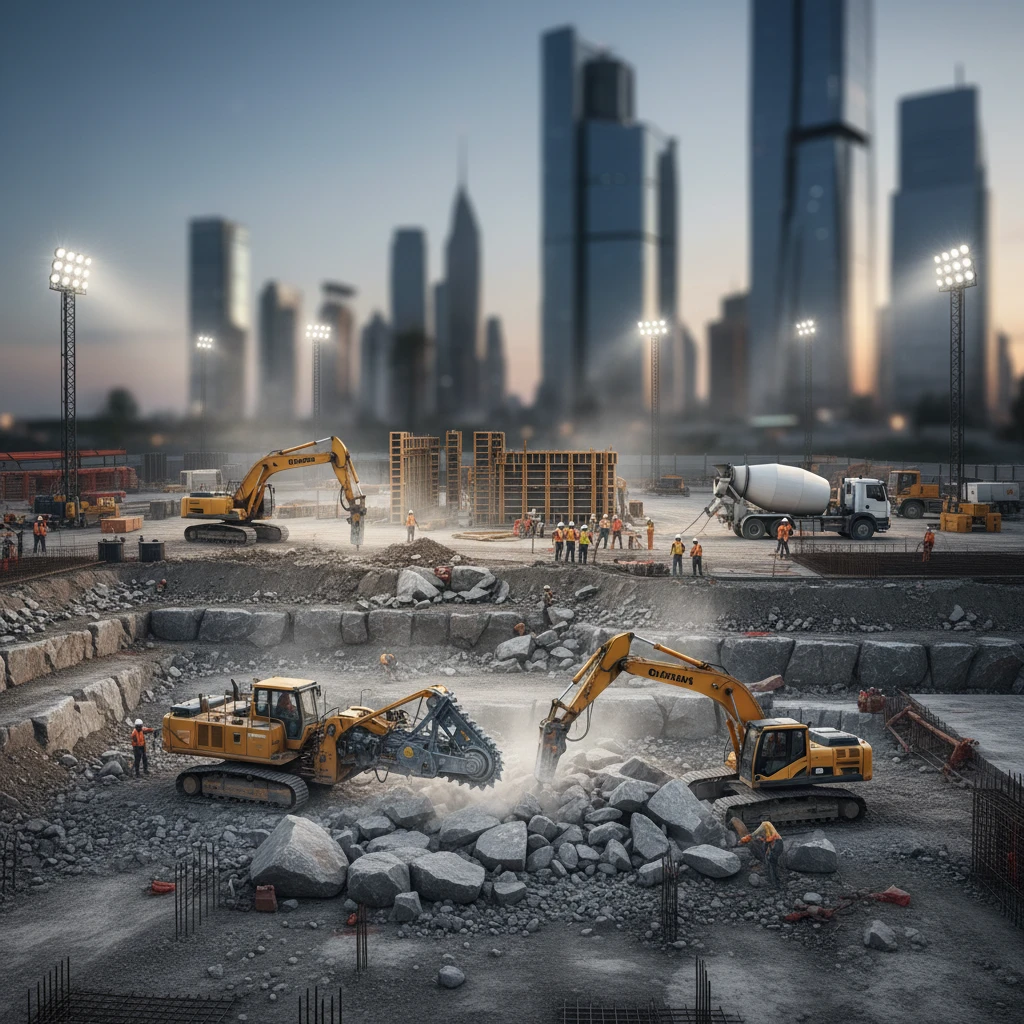
Site Preparation & Excavation Expenses
Site preparation is a crucial step in shed slab construction, and it can significantly impact the overall cost. This includes clearing vegetation, levelling the ground, compacting the subgrade, and building formwork. If the site is uneven or has existing structures that need to be removed, excavation costs will increase. Sites with difficult access, steep slopes, or rocky terrain, which are common in the Blue Mountains, may require specialised equipment and expertise, adding to the expense. Proper site preparation is essential for ensuring the stability and longevity of the slab, so it’s worth investing in professional services. Consult with Expert Excavation & Concreting Across Penrith for advice about site preparation.
Labour Costs & Equipment Hire
Labour costs represent a significant portion of the total shed slab cost. Experienced concrete contractors will charge higher rates but can ensure a quality finish and adherence to building codes. Equipment hire, such as excavators, concrete mixers, and compaction equipment, also contributes to the expense. Consider the size and complexity of your project when estimating labour and equipment costs. More complex projects require skilled tradespeople and specialised equipment, increasing the overall expense. Be aware that labour shortages can impact availability and prices. Obtain detailed quotes from multiple contractors that clearly outline the scope of work, materials, and labour costs. Compare multiple quotes to get the best labour rates.
## Permits & Regulations for Shed Slabs: A Local Council Guide (2026)
Building a shed slab often requires navigating local council regulations. Ensuring compliance from the outset prevents costly rework and potential legal issues. This guide provides a general overview for Penrith, the Blue Mountains, and the Central West regions as of 2026, but it is crucial to confirm details directly with your local council.
### When a Building Permit is Required
Generally, a building permit is required for shed slabs exceeding a certain size. This size is often measured by the floor area of the shed that will sit on the slab. Many councils specify a threshold – for example, sheds exceeding 10 square metres often require a permit. The intended use of the shed also plays a role. A simple garden shed may have different requirements than a workshop or storage space intended for commercial purposes. In addition, certain features, such as plumbing or electrical connections, almost always trigger the need for a permit, regardless of the shed’s size. Check with your local council about the allowable area without a permit. Also, be aware that even if the shed itself doesn’t require approval, associated earthworks (like significant excavation for the slab) *might* need approval, particularly on sloping blocks.
### Understanding Setbacks & Boundary Requirements
Setback requirements dictate the minimum distance a structure must be from property boundaries. These requirements vary depending on your council and zoning. For example, a shed slab in a rural zone might have different setback requirements than one in a residential zone. Corner blocks may also have unique considerations. Before pouring your shed slab, carefully review your property’s survey plan and your council’s setback guidelines to ensure compliance. Failure to meet setback requirements can result in orders to remove or relocate the structure. Furthermore, consider any easements or covenants affecting your property. These legal agreements may further restrict where you can build.
### Council Contact Information for Penrith, Blue Mountains, & Central West
Obtain the most up-to-date information by contacting your local council directly. Here are some key contacts:
* **Penrith City Council:** Visit their website at www.penrithcity.nsw.gov.au”>https://www.penrithcity.nsw.gov.au”>www.penrithcity.nsw.gov.au or call them on (02) 4732 7777.
* **Blue Mountains City Council:** Check their website at www.bmcc.nsw.gov.au”>https://www.bmcc.nsw.gov.au”>www.bmcc.nsw.gov.au or call (02) 4780 5000.
* **Various Central West Councils:** Contact details for councils such as Bathurst Regional Council, Orange City Council, and Dubbo Regional Council can be found on their respective websites. Search “[Council Name] NSW” in your preferred search engine to find their official website.
## Laser Concrete: Your Trusted Partner for Quality Shed Slabs
Laser Concrete specialises in providing durable and expertly crafted shed slabs for residential and light commercial purposes across Penrith, the Blue Mountains, and the Central West. We understand the importance of a solid foundation and ensure that every slab is built to withstand the test of time.
### Experience with Challenging Terrain & Complex Sites
Our team possesses extensive experience working on challenging terrain, including steep slopes and rocky ground. The Blue Mountains region, in particular, often presents unique site conditions that require specialised expertise. We are skilled in excavation and earthworks, ensuring proper site preparation before laying the slab. This includes managing drainage, stabilising the ground, and creating a level surface, especially on uneven blocks. Our excavation services are ideal for complex builds.
### Commitment to Quality Materials & Workmanship
Laser Concrete prioritises using only high-quality materials and adhering to strict workmanship standards. We understand that a shed slab is an investment, and we strive to deliver a product that provides lasting value. Our concrete mixes are carefully selected to suit the specific application and environmental conditions. We also use appropriate reinforcement to ensure the slab’s structural integrity and resistance to cracking. Our team of experienced concreters takes pride in their work, ensuring that every slab is poured, finished, and cured to perfection.
### Serving Penrith, Blue Mountains, & the Central West Regions
Laser Concrete is a local company committed to serving the needs of homeowners and property owners across Penrith, the Blue Mountains, and the Central West regions. We understand the unique challenges and opportunities of each area and are dedicated to providing tailored solutions to meet our clients’ specific needs. Whether you’re in need of Penrith concrete driveways or a sturdy shed slab in the Blue Mountains, we’ve got you covered.
## Case Study: A Perfectly Level Shed Slab on a Sloping Block in Katoomba
This example highlights our ability to deliver exceptional results on difficult sites.
### The Challenge: A Steep Slope & Rocky Ground
A homeowner in Katoomba contacted us seeking a shed slab for their backyard. The block had a significant slope and was riddled with rocks, making it challenging to create a level and stable base. The slope meant considerable excavation was needed to achieve a level surface. The rocky terrain complicated the excavation process and increased the risk of instability.
### The Solution: Excavation, Retaining Walls & Precise Levelling
Our team began by carefully excavating the site, removing rocks and soil to create a level platform. To prevent soil erosion and ensure the stability of the slab, we constructed small retaining walls along the edges of the excavated area. We then poured and reinforced the slab, paying close attention to levelling to ensure a perfectly flat surface. Laser levelling equipment was used for utmost accuracy, and drainage was carefully considered to divert water away from the shed.
### The Result: A Durable & Functional Shed Slab
The homeowner was delighted with the finished shed slab. It provided a stable and level foundation for their shed, despite the challenging site conditions. The retaining walls prevented soil erosion and enhanced the overall aesthetics of the backyard. The project exemplifies our ability to overcome obstacles and deliver high-quality concrete solutions, even on the most difficult sites in areas like the Blue Mountains Concrete market.
In summary, constructing a shed slab requires careful planning, adherence to local council regulations, and expert execution. Laser Concrete is equipped to guide you through the process, delivering a durable and level shed slab that meets your specific needs and complies with all applicable regulations.
Permits & Regulations for Shed Slabs: A Local Council Guide (2026)
Before commencing any shed slab construction, it’s crucial to understand the permits and regulations set forth by your local council. These regulations are in place to ensure the safety, structural integrity, and environmental impact of the project. These requirements are always subject to change; always check with the relevant council to confirm current standards.
When a Building Permit is Required
Generally, a building permit is required for shed slabs exceeding a certain size or if the shed is intended for habitable use. The specific size thresholds vary between councils. For example, in some areas, sheds smaller than 10 square meters may not require a permit, while larger sheds will. Check with your local council for the current requirements in your specific area.
Understanding Setbacks & Boundary Requirements
Setback regulations dictate the minimum distance a shed must be from property boundaries. These setbacks are designed to prevent encroachment on neighboring properties and ensure adequate space for access and maintenance. It’s essential to consult your council’s planning guidelines to understand the setback requirements for your specific property. Ignoring these requirements can result in costly rework and potential legal issues. Always review the NSW planning portal for details.
Council Contact Information for Penrith, Blue Mountains, & Central West
- Penrith City Council: Visit their website for planning and building information.
- Blue Mountains City Council: Check their website for regulations and permit applications.
- Central West Councils: Contact the relevant council within the Central West region for specific requirements.
Laser Concrete: Your Trusted Partner for Quality Shed Slabs
With years of experience and a commitment to excellence, Laser Concrete is your reliable partner for all your shed slab needs. We bring expertise, precision, and a customer-focused approach to every project.
Experience with Challenging Terrain & Complex Sites
Our team has extensive experience working on challenging terrain and complex sites, similar to the Katoomba example. We are equipped to handle sloping blocks, rocky ground, and other site-specific obstacles. Our expertise in excavation, retaining wall construction, and precise levelling ensures a stable and level shed slab, regardless of the site conditions.
Commitment to Quality Materials & Workmanship
We are committed to using only high-quality materials and adhering to the highest standards of workmanship. Our concrete is sourced from reputable suppliers, ensuring durability and longevity. Our skilled team employs proven techniques and attention to detail to deliver a shed slab that will stand the test of time. From concrete slabs in Sydney to regional NSW, we’re ready to help.
Serving Penrith, Blue Mountains, & the Central West Regions
Laser Concrete is proud to serve homeowners and property owners across Penrith, the Blue Mountains, and the Central West regions. We have a deep understanding of the local conditions and regulations, allowing us to provide tailored solutions that meet your specific needs and comply with all applicable requirements. Contact us today to discuss your shed slab project and receive a free quote.
Case Study: A Perfectly Level Shed Slab on a Sloping Block in Katoomba
The Challenge: A Steep Slope & Rocky Ground
In Katoomba, we encountered a project where the homeowner wanted to build a shed on a significantly sloping block with rocky ground. The uneven terrain presented a challenge for creating a stable and level base for the shed. The steep slope also raised concerns about potential erosion and water runoff issues.
The Solution: Excavation, Retaining Walls & Precise Levelling
To overcome these challenges, we implemented a comprehensive solution that involved careful excavation to create a level platform, construction of retaining walls to stabilize the slope, and precise levelling to ensure a perfectly flat surface for the shed slab. The retaining walls were designed to manage soil pressure and prevent erosion, while the precise levelling ensured that the shed would be structurally sound and aesthetically pleasing.
The Result: A Durable & Functional Shed Slab
The result was a durable and functional shed slab that provided a solid foundation for the homeowner’s shed. The combination of excavation, retaining walls, and precise levelling ensured that the shed was stable, level, and resistant to the effects of the sloping terrain. The homeowner was extremely satisfied with the outcome, which transformed a challenging site into a valuable and usable space.