A solid shed slab provides the foundation for more than just a storage space; it’s an investment in the longevity of your shed and the protection of its contents. Poorly constructed slabs can lead to a cascade of problems, from structural damage to water ingress and pest infestations, ultimately costing you more in the long run.
At Laser Concrete, we understand that a well-built shed slab is crucial, especially in the diverse climate of Penrith, the Blue Mountains, and the Central West. Our commitment to quality materials, precise execution, and understanding of local conditions ensures that your shed slab is built to last.
Why a High-Quality Shed Slab Matters for Your Peace of Mind
Protecting Your Investment: Shed Contents and Structure
A properly constructed concrete shed slab acts as a barrier against ground moisture, preventing dampness and rot that can damage stored items. Imagine storing valuable tools, equipment, or sentimental belongings in a shed only to find them ruined by rising damp. A well-built slab elevates the shed structure, minimising contact with the ground and creating a dry, stable environment. Furthermore, a level and stable base prevents structural stress on the shed itself. Uneven ground can cause the shed walls to warp, doors to jam, and the entire structure to become unstable. This is especially important if you plan to use the shed for a workshop or any activity that requires a solid, level surface.
Long-Term Durability in the Australian Climate
The Australian climate, particularly in regions like the Blue Mountains, presents unique challenges for concrete structures. Temperature fluctuations, heavy rainfall, and intense sunlight can all contribute to premature deterioration. A high-quality shed slab is designed to withstand these extremes. We use concrete mixes that are specifically formulated for local conditions, ensuring resistance to cracking, spalling, and other forms of weather damage. Proper reinforcement with steel mesh or bars is crucial for preventing cracks and maintaining the structural integrity of the slab over time. This is especially vital in areas prone to soil movement or seismic activity. A durable slab can withstand years of exposure without compromising its functionality or appearance.
Avoiding Costly Repairs Down the Track
Investing in a high-quality shed slab upfront can save you significant money in the long run. A poorly constructed slab is prone to problems like cracking, settling, and water damage, which can lead to costly repairs or even the need for a complete replacement. Repairing a cracked slab can involve patching, resurfacing, or even underpinning, all of which are disruptive and expensive. Replacing an entire shed slab is even more costly, requiring demolition, excavation, and the pouring of a new slab. By choosing Laser Concrete for your shed slab, you can avoid these potential headaches and enjoy peace of mind knowing that your shed is built on a solid foundation for years to come. Consider it an investment in preventative maintenance.
The Laser Concrete Approach: Shed Slabs Built to Last
Our Commitment to Quality Materials and Workmanship
At Laser Concrete, we never compromise on quality. We use only the highest-grade concrete mixes, reinforcement materials, and sealants to ensure the durability and longevity of your shed slab. We carefully select materials based on the specific requirements of your project, taking into account factors like soil conditions, climate, and intended use. Our team of experienced concrete professionals takes pride in their workmanship, paying meticulous attention to detail at every stage of the process. From accurate formwork to precise concrete placement and thorough curing, we ensure that every aspect of your shed slab is executed to the highest standards.
Precision Laser Levelling for a Perfectly Flat Surface
Achieving a perfectly flat and level surface is crucial for a shed slab. It ensures proper drainage, prevents water from pooling, and provides a stable base for your shed structure. We use state-of-the-art laser levelling equipment to achieve unparalleled precision. This technology allows us to create a perfectly level surface, even on sloping or uneven terrain. Unlike traditional levelling methods, laser levelling eliminates the guesswork and ensures consistent accuracy across the entire slab. This is particularly important for larger shed slabs where even small variations in level can have a significant impact on the overall performance of the structure. The result is a shed slab that is perfectly flat, level, and ready to support your shed for years to come. Laser levelling integrates very well with the processes used to lay durable concrete driveways. See: Durable Concrete Driveways for Penrith Homes
Experience Handling Challenging Terrain in the Blue Mountains and Beyond
The Blue Mountains region presents unique challenges for concrete construction due to its steep slopes, rocky terrain, and difficult access. At Laser Concrete, we have extensive experience working in these challenging environments. We have the specialised equipment and expertise to handle even the most difficult sites. Our team is skilled in excavation, site preparation, and concrete placement on steep slopes, ensuring that your shed slab is built on a solid and stable foundation. We also have experience working in tight access areas, allowing us to build shed slabs in locations that other contractors may deem impossible. Whether you have a sloping block, a rocky site, or difficult access, you can trust Laser Concrete to deliver a high-quality shed slab that meets your specific needs.
Concrete Slab Design Considerations: What You Need to Know
Slab Thickness and Reinforcement Requirements
The thickness of your shed slab and the type and amount of reinforcement required will depend on several factors, including the size of the shed, the type of soil, and the intended use of the shed. A thicker slab with more reinforcement is generally required for larger sheds, sheds that will be used to store heavy equipment, and sheds that are located on unstable soil. We will assess your specific needs and recommend the appropriate slab thickness and reinforcement. Typically, shed slabs range from 100mm to 150mm thick, with reinforcement consisting of steel mesh or bars. The type and size of the mesh or bars will depend on the load-bearing requirements of the slab. Proper reinforcement is crucial for preventing cracks and ensuring the long-term durability of the slab. Failing to specify the correct reo and slab thickness is one of the biggest design pitfalls to avoid. You can find information about concrete slab design in the Portland Cement Association’s guide to understanding concrete cracking.
Load-Bearing Capacity: Planning for Heavy Equipment
If you plan to store heavy equipment or machinery in your shed, it’s essential to consider the load-bearing capacity of the slab. The slab must be designed to withstand the weight of the equipment without cracking or settling. We can calculate the load-bearing capacity of the slab based on the weight and distribution of the equipment. This may involve increasing the slab thickness, using a higher-strength concrete mix, and adding additional reinforcement. It’s also important to consider the type of equipment you will be storing. For example, a forklift will require a different slab design than a lawnmower. Providing us with accurate information about the type and weight of the equipment you plan to store will allow us to design a slab that is specifically tailored to your needs.
Drainage and Slope: Preventing Water Damage
Proper drainage is essential for preventing water damage to your shed and its contents. The slab should be sloped slightly away from the shed to allow water to run off. We can create a subtle slope during the concrete pouring process to ensure proper drainage. The slope should be gradual enough to be unnoticeable but steep enough to effectively drain water away from the shed. It’s also important to consider the surrounding landscape and ensure that water is not pooling around the slab. If necessary, we can install drainage systems to divert water away from the shed. Failing to address drainage issues can lead to water damage, mould growth, and structural problems. Addressing water run-off is especially important where footpaths adjoin the shed; see: Footpaths and Concrete Stairs Built to Last
Choosing the Right Concrete Mix for Your Shed Slab
Understanding Concrete Grades and Their Applications
Concrete is not a one-size-fits-all material. Different concrete grades offer varying levels of strength, durability, and resistance to environmental factors. Selecting the appropriate concrete grade for your shed slab is crucial for ensuring its long-term performance. Concrete grades are typically expressed as a number followed by “MPa,” which stands for megapascals, a unit of compressive strength. For example, a 25MPa concrete mix is designed to withstand a compressive force of 25 megapascals. Common concrete grades used for shed slabs range from 20MPa to 32MPa. The specific grade you choose will depend on the size of your shed, the load-bearing requirements of the slab, and the local climate conditions. We can help you select the appropriate concrete grade based on your specific needs.
Considering Additives for Enhanced Durability and Strength
Concrete additives can be used to enhance the performance of your shed slab in various ways. Additives can improve workability, increase strength, reduce permeability, and enhance resistance to cracking, shrinkage, and chemical attack. For example, air-entraining agents can be added to concrete to improve its resistance to freeze-thaw cycles, which is particularly important in colder climates. Water-reducing agents can be added to reduce the amount of water needed to achieve the desired consistency, resulting in a stronger and more durable concrete mix. Fibre reinforcement can be added to improve the concrete’s resistance to cracking and shrinkage. We can recommend the appropriate additives for your shed slab based on your specific needs and the local climate conditions. Careful consideration of additives ensures a long-lasting result. For example, the addition of a waterproofing admixture will protect the steel reo from rust caused by water ingress.
The Importance of Proper Curing for Optimal Results
Curing is the process of keeping concrete moist for a period of time after it has been poured. Proper curing is essential for achieving the desired strength and durability of the concrete. During the curing process, the concrete undergoes hydration, a chemical reaction between the cement and water that results in the hardening and strengthening of the concrete. If the concrete is allowed to dry out too quickly, the hydration process will be incomplete, resulting in weaker and more brittle concrete. There are several methods for curing concrete, including covering it with plastic sheeting, spraying it with water, and applying a curing compound. We will use the appropriate curing method based on the weather conditions and the type of concrete used. Proper curing can take several days, and it is crucial to follow our instructions carefully to ensure optimal results. Proper curing ensures that the concrete achieves its full potential strength and durability. You can read more about concrete curing best practices in this document from the National Ready Mixed Concrete Association.
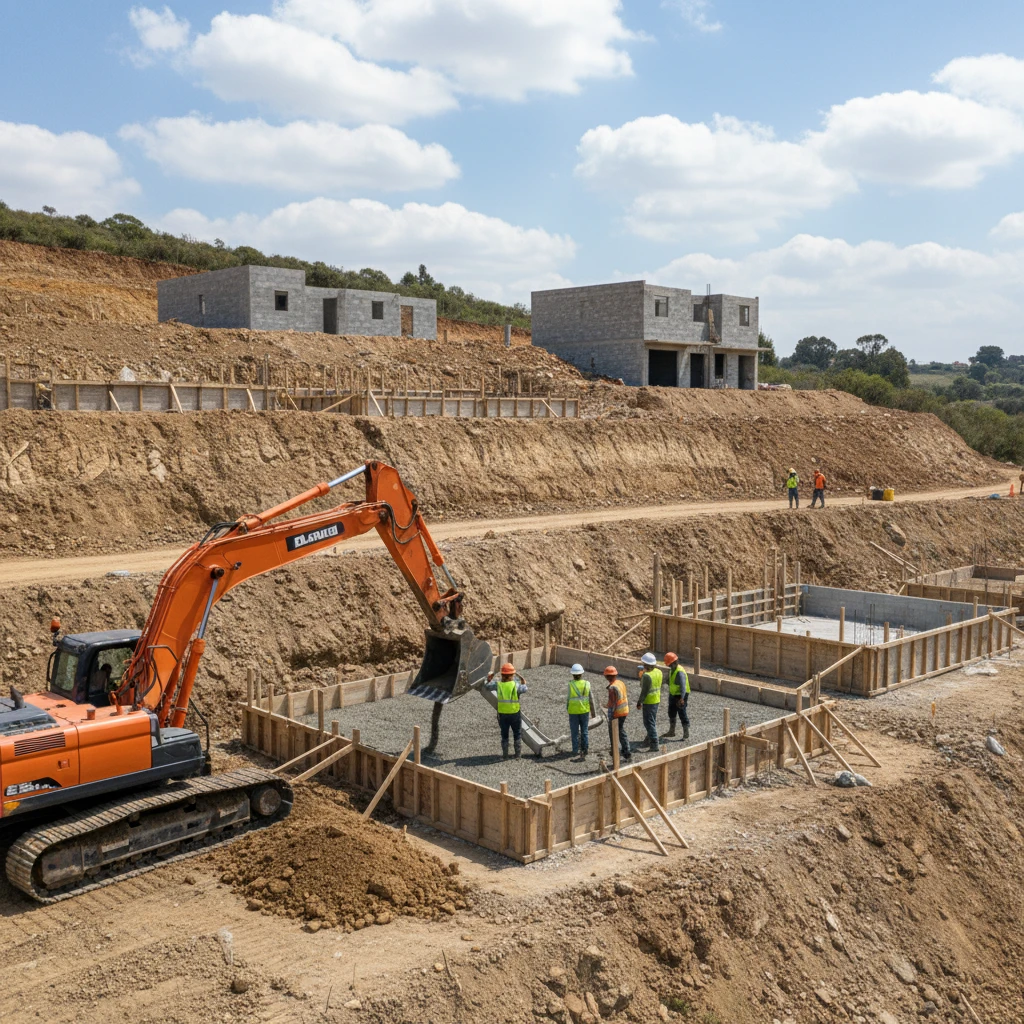
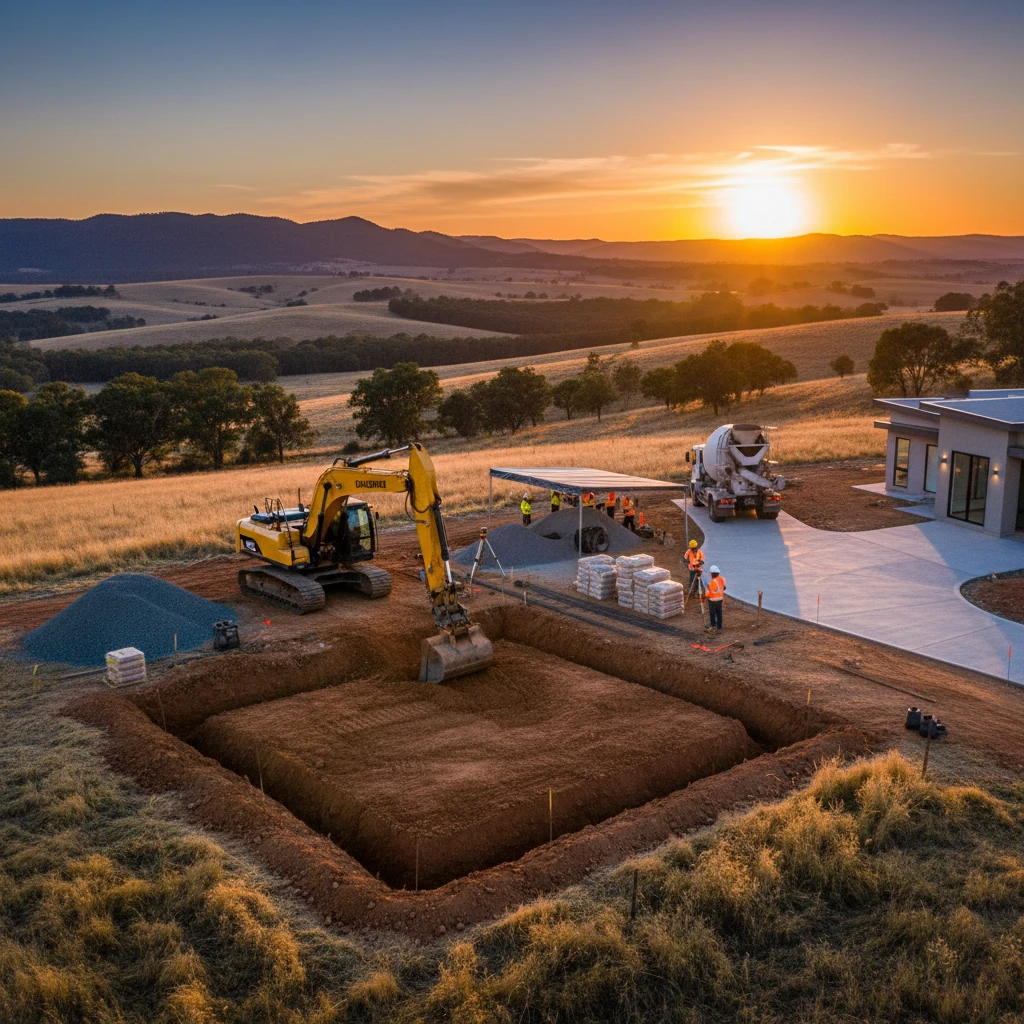
Site Preparation is Key: Excavation and Base Course
The longevity of your shed slab hinges on meticulous site preparation. This involves far more than simply clearing the ground. Proper excavation ensures a level surface and adequate drainage, while a well-compacted base course provides essential support, preventing settling and cracking over time. Neglecting these crucial steps will almost certainly lead to costly repairs and a significantly shortened lifespan for your shed. We often see that initial cost savings achieved by skimping on preparation are dwarfed by the expenses incurred down the line. It’s an investment in the future of your shed and its contents.
Proper Excavation Techniques for Stable Foundations
Excavation must be precise. The depth will depend on the soil type and the intended use of the shed, but generally, a minimum of 100-150mm of topsoil should be removed. This removes organic matter that will decompose and cause voids. After topsoil removal, ensure the excavation extends beyond the intended slab perimeter by at least 200mm on all sides. This allows for proper formwork installation and compaction. Sloping the ground slightly away from the shed location is crucial for effective drainage. Use surveying equipment or a laser level to guarantee accurate grades. Any soft spots or unstable areas must be excavated further and backfilled with suitable compacted fill material. Avoid using topsoil as fill, as it’s too organic and compresses too much. Improper excavation is a common cause of slab failure, leading to cracking and uneven settling.
Compacting the Base Course for Optimal Support
The base course provides a stable platform for the concrete slab. Use a well-graded gravel or crushed rock material, typically 75-100mm thick after compaction. This should comply with local building codes. Compaction is paramount. Use a plate compactor or roller to achieve at least 95% of maximum dry density. Compact in layers (lifts) of no more than 75mm to ensure uniform compaction throughout the base. Overlapping each pass by at least 50% is recommended. Check compaction density using a field density test. Inadequate compaction leads to settlement and slab cracking. A weak base course undermines the entire structure, regardless of the concrete’s strength. Remember, the base course is not just fill; it’s an engineered support system.
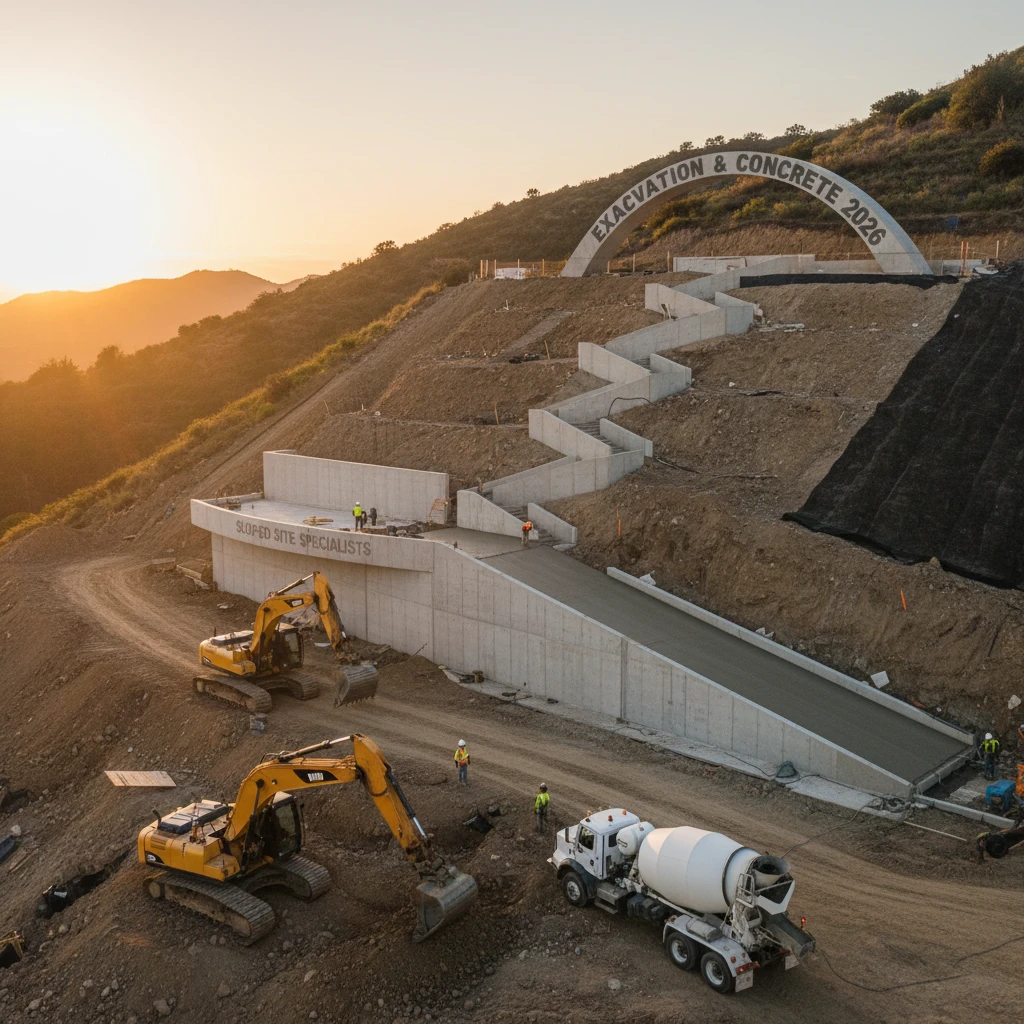
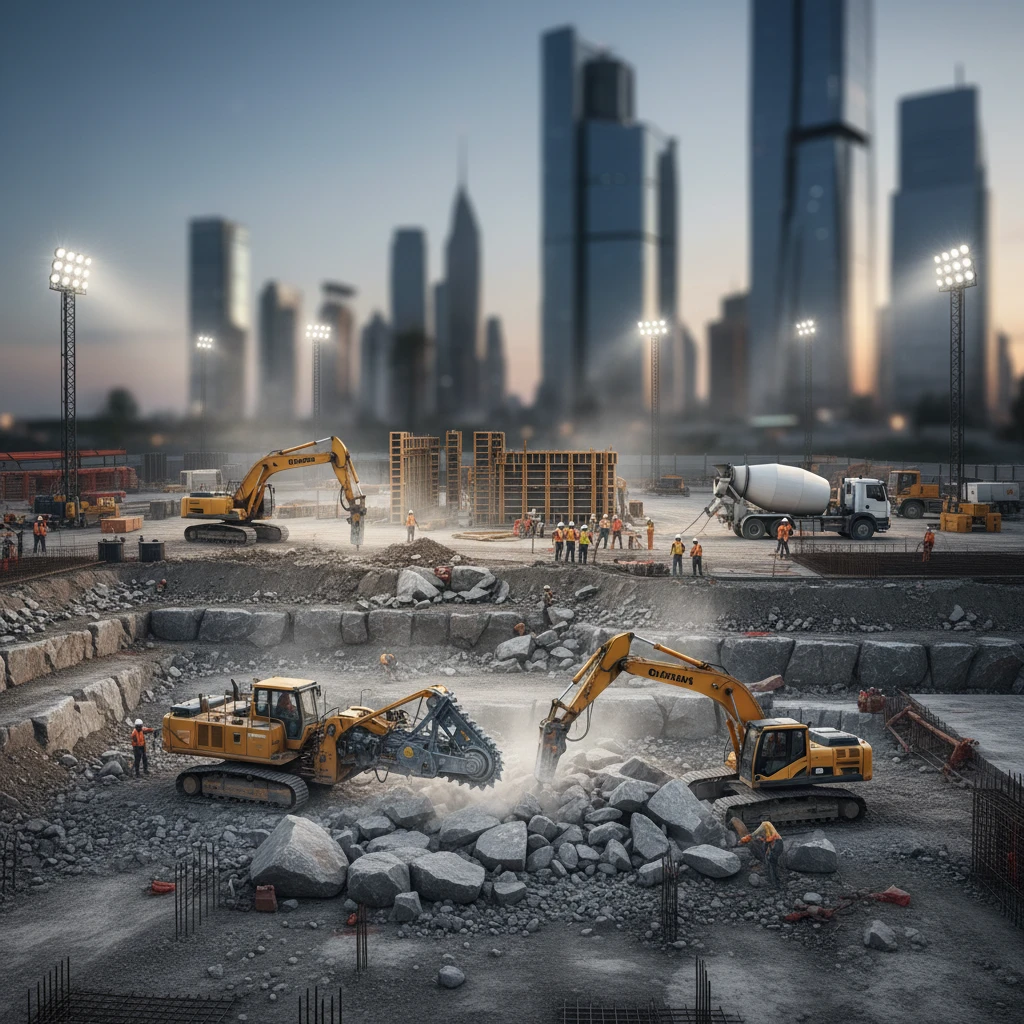
Dealing with Rocky Terrain and Uneven Ground in the Central West
The Central West often presents challenges with rocky terrain and uneven ground. Careful consideration is required. If large rocks are present, they must be removed entirely and replaced with compacted fill. Blasting may be necessary in extreme cases, requiring permits and specialized expertise. For uneven ground, consider using a stepped foundation or retaining walls to create a level building platform. These require structural engineering input and building approval. Terracing can also be an option. Ensure proper drainage around the terraced areas to prevent water accumulation. Ignoring these site-specific challenges can lead to significant structural problems and costly rectifications later. Thorough geotechnical investigations are highly recommended for complex sites. For example, imagine a scenario (Example) where a homeowner in Lithgow built a shed slab without properly addressing the sloping ground. Within a year, cracks started appearing in the slab due to uneven settling, requiring costly underpinning repairs to stabilise the structure.
Reinforcement Strategies: Ensuring a Strong and Stable Slab
Reinforcement is crucial for enhancing the tensile strength of the concrete slab. Concrete is strong in compression but weak in tension. Reinforcement, typically steel, resists tensile forces, preventing cracking and improving the slab’s overall durability. Choosing the right type and quantity of reinforcement, and placing it correctly within the slab, are critical for ensuring a long-lasting and stable structure. Poorly reinforced slabs are susceptible to cracking, especially under load or in areas with unstable soil conditions. Correct reinforcement distribution is paramount for managing stress concentrations.
Steel Mesh vs. Steel Reinforcing Bars: Choosing the Right Option
Steel mesh (also known as welded wire fabric) is a cost-effective option for general shed slabs with light to moderate loads. It’s easy to install and provides uniform reinforcement. Reinforcing bars (rebar) are preferred for heavier loads, larger slabs, or areas prone to significant stress, such as near corners or load-bearing walls. Rebar provides superior strength and crack control. The size and spacing of both mesh and rebar should be determined by a structural engineer based on the specific load requirements and soil conditions. For example, for a standard garden shed, SL72 mesh might be sufficient, whereas a workshop housing heavy machinery might require 12mm rebar at 200mm centres. Combining mesh and rebar is also an option for enhanced strength and crack resistance. Consider the long-term use of the shed when selecting your reinforcement. See the Australian Standard AS 2870 for residential slabs and footings for more information on reinforcement requirements. Standards Australia is a good resource for accessing relevant Australian Standards.
Proper Placement and Overlap of Reinforcement
Reinforcement should be positioned within the concrete slab to maximize its effectiveness. The ideal location is in the bottom third of the slab, where tensile stresses are highest. Ensure adequate concrete cover (typically 25-50mm) to protect the steel from corrosion. Use chairs or supports to maintain the correct position during the concrete pour. Proper overlap of reinforcement is essential for maintaining continuity. Overlap should be at least 300mm or 40 times the bar diameter, whichever is greater. Secure overlaps with tie wire. Incorrect placement or insufficient overlap can significantly reduce the effectiveness of the reinforcement and increase the risk of cracking. Always follow engineering specifications for placement and overlap requirements. Consider using plastic bar chairs instead of metal ones to reduce the risk of corrosion spots appearing on the concrete surface.
Minimising the Risk of Cracking and Movement
Several factors contribute to cracking and movement in concrete slabs. These include inadequate site preparation, insufficient reinforcement, poor concrete mix design, improper curing, and expansive soil conditions. To minimise these risks, ensure thorough site preparation, use the correct type and amount of reinforcement, specify a concrete mix appropriate for the application, and implement proper curing procedures. Control joints are also essential for controlling cracking. These joints create planned lines of weakness, allowing the concrete to crack in a controlled manner. Space control joints appropriately, typically at intervals of 3-4 metres. Consider using fibre reinforcement in addition to steel reinforcement for enhanced crack resistance. Expansive soils require special consideration, such as using deeper footings or soil stabilisation techniques. A proactive approach to crack prevention is always more cost-effective than repairing cracks later.
The Concrete Pouring Process: Achieving a Smooth and Level Finish
The concrete pouring process is critical for achieving a smooth, level, and durable shed slab. Proper concrete placement ensures uniform distribution and consolidation, eliminating voids and weak spots. Precision levelling is essential for achieving a flat surface, while the final surface finish determines the appearance and functionality of the slab. Neglecting any of these steps can compromise the structural integrity and aesthetics of the slab. A well-executed concrete pour is the foundation for a long-lasting and visually appealing shed.
Proper Concrete Placement and Consolidation Techniques
Begin by evenly distributing the concrete throughout the formwork, avoiding large piles in one area. Use shovels or rakes to spread the concrete uniformly. Consolidation is essential for removing air pockets and ensuring proper bonding between the concrete and the reinforcement. Use a concrete vibrator to consolidate the concrete, being careful not to over-vibrate, which can cause segregation. Overlap each vibrator insertion by at least 150mm. Pay particular attention to consolidating the concrete around the edges of the formwork and around any penetrations. Insufficient consolidation can lead to honeycombing and weak spots in the slab. Remember to wear appropriate safety gear, including gloves, eye protection, and boots.
Using Laser Screeds for Precision Levelling
Laser screeds provide unparalleled accuracy in levelling concrete slabs, especially for larger areas. The laser screed uses a rotating laser beam to guide the levelling process, ensuring a perfectly flat surface. This technology significantly reduces the amount of manual labor required and improves the overall quality of the slab. While laser screeds are a significant investment, they can save time and money on larger projects by reducing the need for rework. For smaller shed slabs, traditional screeding methods using a straight edge and level are still effective, but require more skill and attention to detail. Regularly check the level with a spirit level during the screeding process.
Achieving a Desired Surface Finish: Broom Finish vs. Smooth Finish
The surface finish determines the appearance and functionality of the shed slab. A broom finish provides a non-slip surface, ideal for areas that may get wet or where traction is important. To achieve a broom finish, drag a broom across the surface of the concrete after it has been floated. A smooth finish is more aesthetically pleasing and easier to clean, suitable for enclosed sheds or workshops. To achieve a smooth finish, use a steel trowel to smooth the surface of the concrete after it has been floated. The timing of the finishing process is critical. Start floating the concrete once the bleed water has disappeared from the surface. Avoid over-working the surface, as this can weaken the concrete. For a very smooth finish, multiple passes with the steel trowel may be required. Consider the intended use of the shed when selecting the appropriate surface finish. See https://laserconcrete.com.au/footpaths-and-concrete-stairs-built-to-last/ for concrete finish options.
Curing Your Shed Slab: Protecting Your Investment in the Long Term
Curing is the process of maintaining adequate moisture and temperature in the concrete slab after it has been poured and finished. Proper curing is essential for achieving the concrete’s full strength and durability. It allows the cement to hydrate properly, leading to a stronger and more durable slab. Neglecting curing can result in a weaker slab that is prone to cracking, dusting, and scaling. Curing is often overlooked, but it’s one of the most critical steps in ensuring the longevity of your shed slab.
The Importance of Proper Hydration for Concrete Strength
Concrete gains strength through a chemical process called hydration, where the cement reacts with water. Proper hydration requires maintaining adequate moisture and temperature levels for a sufficient period. Insufficient moisture leads to incomplete hydration, resulting in a weaker and more porous concrete. The ideal curing temperature is between 10°C and 25°C. Extreme temperatures can negatively impact the hydration process. In hot weather, the concrete can dry out too quickly, while in cold weather, the hydration process can slow down or even stop. Proper curing ensures that the concrete achieves its intended strength and durability, protecting your investment for years to come. Without proper hydration, your concrete slab will be significantly weaker and more prone to damage.
Curing Methods: Water Curing, Curing Compounds, and Plastic Sheeting
Several curing methods are available, each with its own advantages and disadvantages. Water curing involves keeping the concrete surface continuously wet for a period of 7-14 days. This can be achieved by flooding the surface with water, using soaker hoses, or covering the slab with wet burlap. Curing compounds are liquid coatings that are applied to the concrete surface to seal in moisture. They are easy to apply and require minimal maintenance. Plastic sheeting can also be used to trap moisture and prevent evaporation. Overlap the sheets by at least 300mm and seal the edges to prevent moisture loss. The choice of curing method depends on the size of the slab, the weather conditions, and the available resources. Curing compounds are a popular choice for their convenience, while water curing is often considered the most effective method. Always follow the manufacturer’s instructions for applying curing compounds.
Protecting the Slab from Extreme Weather Conditions
Extreme weather conditions can negatively impact the curing process. In hot weather, protect the slab from direct sunlight and wind to prevent rapid evaporation. Consider using shade cloths or misting the surface with water to keep it cool. In cold weather, protect the slab from freezing temperatures. Freezing can damage the concrete and prevent proper hydration. Use insulating blankets or heaters to maintain a temperature above 5°C. Rain can also damage freshly poured concrete, so cover the slab with plastic sheeting if rain is expected. Taking precautions to protect the slab from extreme weather conditions will ensure proper curing and prevent costly damage. Always monitor the weather forecast and take appropriate measures to protect your investment. Ignoring weather conditions during curing can significantly reduce the strength and durability of your shed slab.
Extending the Life of Your Shed Slab: Maintenance and Care Tips
A well-constructed shed slab is an investment, and like any investment, it requires proper maintenance to ensure its longevity. Neglecting maintenance can lead to premature cracking, staining, and even structural issues. This section provides essential care tips to help you maximise the lifespan of your shed slab.
Regular Cleaning and Inspection
Regular cleaning is the first line of defence against wear and tear. Debris such as leaves, dirt, and gravel can trap moisture and contribute to staining and deterioration. Aim to sweep or hose down your shed slab at least once a month, more frequently in areas prone to heavy foliage or spills. Look for signs of cracking, pitting, or discoloration during cleaning. Early detection of these issues allows for prompt repairs, preventing minor problems from escalating into major structural concerns. For stubborn stains, consider using a mild detergent and a stiff brush. Avoid harsh chemicals or abrasive cleaners, as these can damage the concrete surface and potentially weaken the sealant, if applied. Pressure washing can be used, but exercise caution; a low-pressure setting is recommended to prevent erosion of the concrete surface. Remember to inspect the perimeter of the slab, checking for soil erosion or gaps that could compromise its stability. Addressing these issues promptly will significantly extend the life of your shed slab.
Sealing the Slab to Prevent Staining and Water Damage
Applying a concrete sealer is crucial for protecting your shed slab from moisture penetration and staining. Sealers create a barrier that prevents water, oil, and other liquids from being absorbed into the concrete, which can lead to cracking, spalling (surface flaking), and unsightly stains. Choose a high-quality concrete sealer specifically designed for outdoor use, and follow the manufacturer’s instructions carefully. The frequency of resealing will depend on the type of sealer used and the level of exposure to the elements, but generally, resealing every 2-3 years is recommended. Before applying the sealer, ensure the slab is clean and dry. Address any existing cracks or repairs beforehand. Consider using a penetrating sealer for added protection, as these sealers penetrate deep into the concrete pores, providing long-lasting resistance against water damage. Furthermore, applying a sealer can improve the overall aesthetic appeal of your shed slab, giving it a clean and polished look. If you’re unsure which type of sealer is best for your needs, consult with a concrete professional.
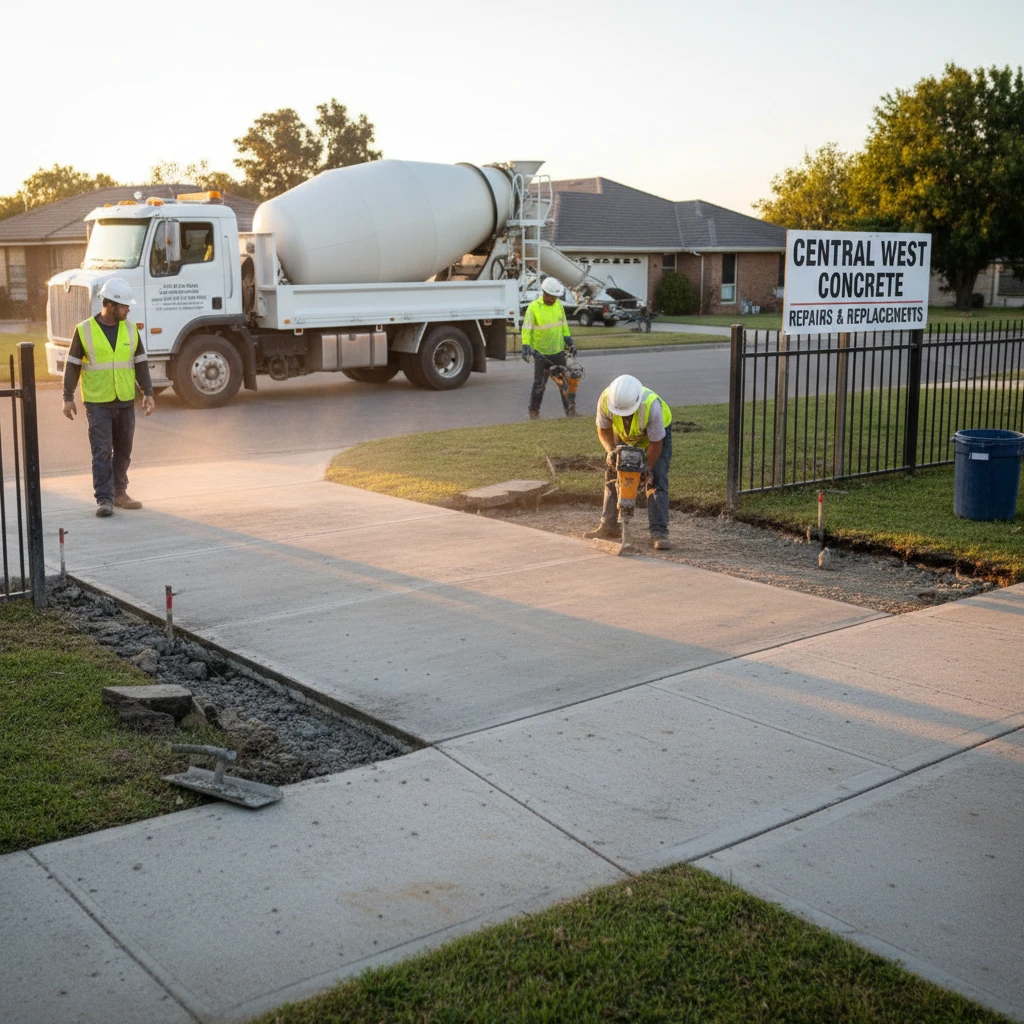
Addressing Cracks and Repairs Promptly
Even with diligent maintenance, cracks can still appear in your shed slab over time due to settling, temperature fluctuations, or heavy loads. It’s essential to address these cracks promptly to prevent water from seeping into the slab and causing further damage. Small hairline cracks can often be repaired with a concrete crack filler. Clean the crack thoroughly, remove any loose debris, and apply the filler according to the product instructions. For larger cracks (wider than 1/4 inch), consider using a concrete patching compound. These compounds are typically stronger and more durable than crack fillers, providing a more robust repair. In severe cases, where the cracks are extensive or the slab is significantly damaged, professional repair or even replacement may be necessary. Ignoring cracks can lead to structural instability, which could compromise the integrity of your shed and the items stored within. Regular inspections and timely repairs are crucial for maintaining the long-term performance of your shed slab. See also our page on Footpaths and Concrete Stairs Built to Last for similar repair principles.
Common Shed Slab Mistakes to Avoid: Learn From Our Experience
Throughout our years of experience installing shed slabs across Penrith, the Blue Mountains, and the Central West, we’ve witnessed many common mistakes that property owners make, often leading to costly repairs or even complete slab failure. By understanding these pitfalls, you can avoid them and ensure your shed slab provides years of reliable service.
Shed Slab Project Planning: Timeline and What to Expect Working With Us
Planning a shed slab project requires careful consideration and a clear understanding of the process. At Laser Concrete, we pride ourselves on transparent communication and efficient project management. Here’s what you can expect when working with us:
Initial Consultation and Site Assessment
The first step is a thorough consultation to understand your specific needs and requirements. We’ll discuss the size and purpose of your shed, the type of equipment or materials you plan to store, and any specific load-bearing requirements. A site assessment is crucial to determine the soil conditions, drainage, and any potential challenges, such as sloping ground or rocky terrain. We assess access for equipment and materials. This step may involve soil testing to ensure adequate ground stability. We take all necessary measurements and consider any existing structures or utilities that may need to be factored into the design. Based on this assessment, we’ll provide you with a detailed proposal outlining the scope of work, materials, and estimated cost. The initial consultation typically takes about 1-2 hours, and the site assessment may require additional time depending on the complexity of the site. We’ll address any questions or concerns you may have before moving forward.
Design and Planning Phase
Once you approve the proposal, we move into the design and planning phase. This involves creating a detailed plan that outlines the exact dimensions of the slab, the type of concrete to be used, and any reinforcement requirements. We’ll consider factors such as the thickness of the slab, the type of mesh or rebar reinforcement, and the placement of any necessary footings. We’ll also obtain any necessary permits or approvals from the local council. This process can take anywhere from 1-3 weeks, depending on the complexity of the project and the council approval timelines. We’ll work closely with you to ensure the design meets your specific needs and complies with all relevant building codes. Clear communication and collaboration are key during this phase to ensure a smooth and successful project.
Construction and Completion
With the design and planning complete and permits secured, we move into the construction phase. This typically begins with site preparation, which includes clearing the area, excavating to the required depth, and installing any necessary drainage. We’ll then construct the formwork for the slab and install the reinforcement. The concrete is poured and finished to the required specifications. After the concrete has cured, we’ll remove the formwork and conduct a final inspection to ensure the slab meets our high standards of quality. The construction phase usually takes between 2-5 days, depending on the size and complexity of the slab, and weather conditions. We’ll keep you informed throughout the entire process, providing regular updates on the progress of the project. Our goal is to minimise disruption and complete the project efficiently and to your complete satisfaction. We can also advise you about Durable Concrete Driveways for Penrith Homes.
Ready for a Shed Slab Built to Last? Contact Laser Concrete Today
Serving Penrith, the Blue Mountains, and the Central West
Laser Concrete proudly serves the Penrith, Blue Mountains, and Central West regions. Our local knowledge and experience allow us to provide tailored concrete solutions that meet the unique challenges of these areas. We understand the specific soil conditions, climate, and building regulations in each region, ensuring that your shed slab is built to withstand the local environment.
Request a Quote and Discuss Your Project Needs
Ready to start your shed slab project? Contact us today to request a free quote and discuss your specific needs. Our experienced team will guide you through the process, from initial consultation to project completion. We’ll provide you with a detailed and transparent quote, outlining all costs involved, so you can make an informed decision. We are committed to providing exceptional customer service and delivering high-quality concrete solutions that exceed your expectations. We’re here to answer your questions and help you bring your vision to life.
Investing in Quality Concrete Solutions for Your Property
Choosing Laser Concrete means investing in a quality concrete solution that will add value and longevity to your property. Our commitment to excellence, combined with our local expertise, makes us the ideal partner for your shed slab project. We use only the highest quality materials and employ skilled tradespeople to ensure that your slab is built to last. Our reputation for reliability and customer satisfaction is a testament to our dedication to providing exceptional service.
With proper maintenance and a well-built foundation, your new shed slab will provide years of reliable service. Contact us today to learn more and get your project started.