In the Central West, a shed is more than just a storage space; it’s an investment. Whether it houses valuable equipment, serves as a workshop, or provides extra storage, the foundation is paramount. A poorly constructed shed slab can lead to a host of problems, from structural instability to water damage, ultimately costing you more in the long run.
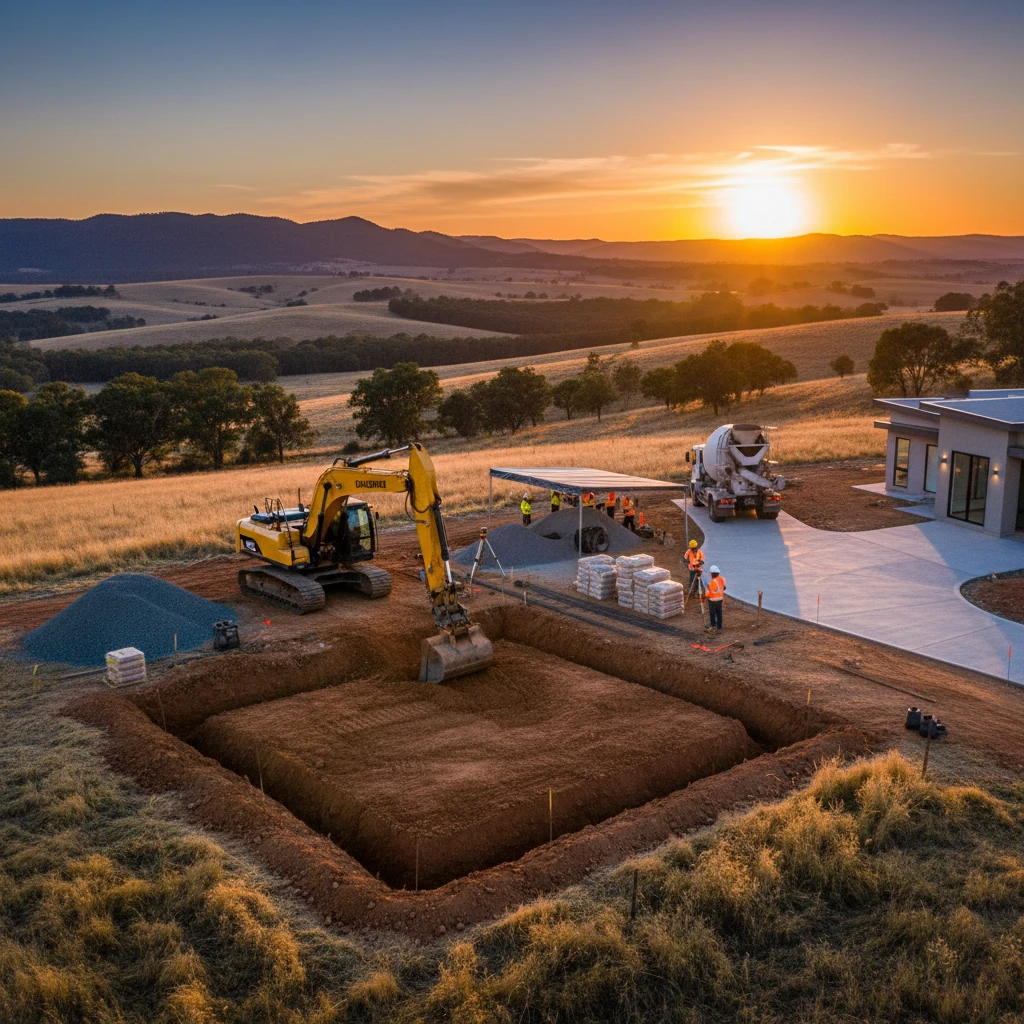
At Laser Concrete, we understand the importance of a solid foundation. We combine expert excavation with superior concrete work to deliver shed slabs that are built to last, even in the challenging terrain often found in Penrith, the Blue Mountains, and beyond. Here’s why choosing the right concrete and excavation team is critical.
Why a Solid Shed Slab is More Than Just Concrete in the Central West
The Foundation of a Long-Lasting Investment
A shed slab is the bedrock of your shed, and its quality directly impacts the structure’s lifespan and usability. A well-constructed slab provides a level, stable base, preventing sagging, warping, and other structural issues that can arise from uneven ground or inadequate support. Think of it like this: investing in a quality shed slab is like buying insurance for your shed and everything inside it. Consider the cost of repairing or replacing damaged equipment due to a failed shed foundation. This up-front investment saves you from potentially much larger expenses later on. One critical decision is the concrete mix used. Using the correct strength (measured in MPa – Megapascals) for the intended load of the shed and its contents is crucial. For instance, a standard garden shed might only require a 20MPa mix, whereas a workshop housing heavy machinery could need 32MPa or even higher. Don’t underestimate the importance of steel reinforcement either. Reinforcement helps distribute weight and resist cracking. Ensuring a durable shed slab is paramount.
Protecting Your Equipment and Assets
Beyond structural integrity, a quality shed slab protects your valuable equipment and assets from moisture damage, pests, and other environmental factors. A properly sealed concrete slab acts as a barrier against rising damp, preventing rust, corrosion, and mold growth. This is especially crucial in areas prone to flooding or high humidity. Furthermore, a solid concrete base makes it harder for pests like rodents and insects to gain access to your shed, protecting your stored items from damage. Example: A hobbyist who stores valuable woodworking tools in their shed found that their previous timber floor allowed moisture to seep in, causing rust and requiring frequent maintenance. After switching to a concrete slab, they noticed a significant reduction in moisture and a much cleaner storage environment, ultimately saving them money on tool maintenance and replacement. A key consideration here is the application of a sealant. Quality sealants not only prevent moisture ingress but also protect the concrete from staining and wear.
Ensuring Compliance with Local Building Codes
Building codes and regulations vary depending on your location within the Central West. A professional concrete contractor will be familiar with these regulations and ensure that your shed slab meets all necessary requirements. This includes factors such as slab thickness, reinforcement specifications, and proper drainage. Failing to comply with local building codes can result in fines, delays, or even the need to redo the entire project. Example: A homeowner in the Blue Mountains attempted to build a shed slab themselves without proper permits. They were later fined by the local council and required to demolish and rebuild the slab to meet the required specifications. Working with a qualified and experienced contractor like Laser Concrete ensures that your project complies with all relevant regulations from the outset, avoiding costly mistakes and delays. It is highly recommended to contact your local council early in the process to understand all requirements.
The Laser Concrete Advantage: Shed Slabs Built to Last
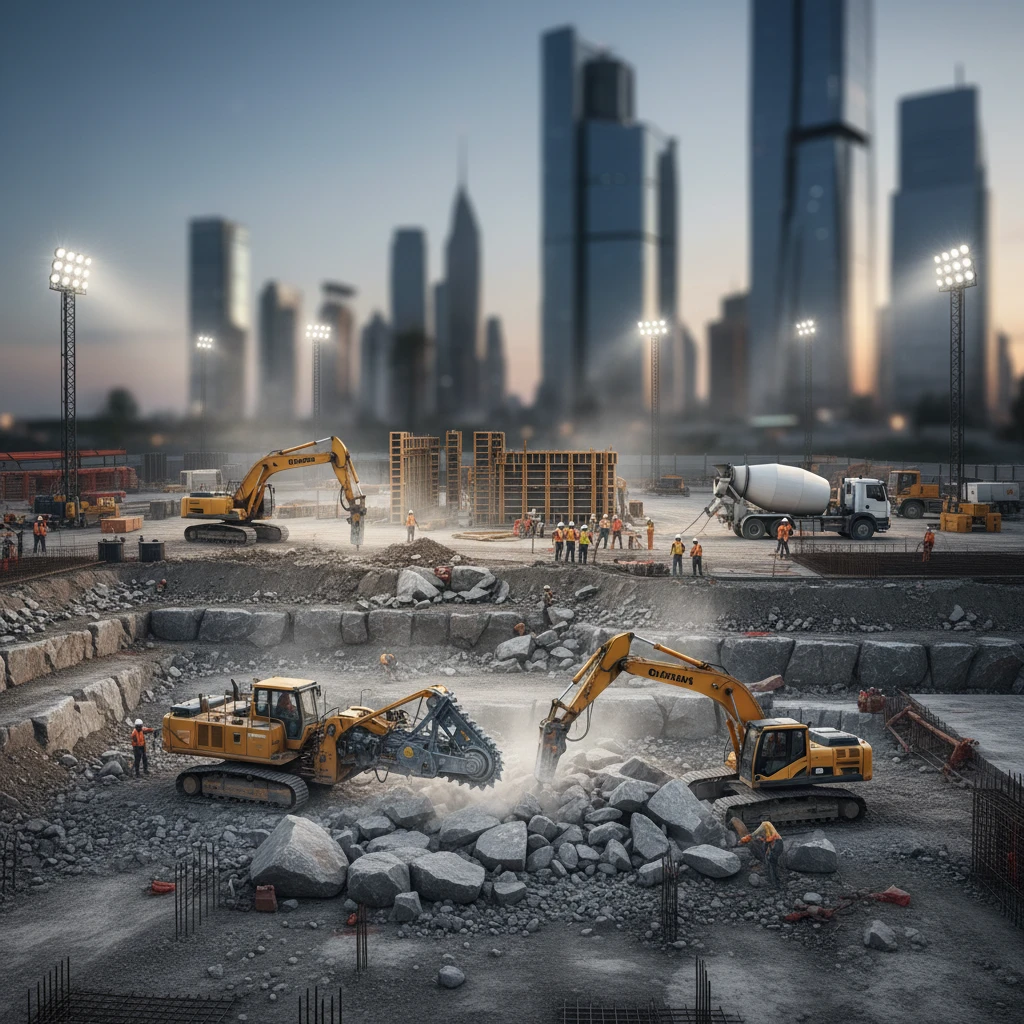
Expertise in Sloping and Difficult Terrain
Many properties in the Central West feature sloping or uneven terrain, which can pose significant challenges for shed slab construction. Laser Concrete specialises in excavation and concrete work on difficult sites, utilising advanced techniques and equipment to ensure a level and stable foundation. We understand the importance of proper site preparation, including cut and fill operations, retaining walls, and effective drainage systems. Our experience allows us to overcome these challenges and deliver high-quality shed slabs, regardless of the terrain. We leverage laser levelling equipment and GPS technology to ensure millimetre-perfect accuracy. Furthermore, understanding soil types and their load-bearing capacity is critical. We conduct thorough soil testing to determine the appropriate slab thickness and reinforcement requirements for your specific site conditions. Dealing with sloping sites is a core competency.
Quality Materials and Proven Techniques
We use only the highest quality concrete mixes and reinforcing materials to ensure the durability and longevity of our shed slabs. Our team of experienced concreters employs proven techniques, including proper compaction, accurate levelling, and professional finishing, to deliver a superior result. We understand that the quality of the materials and workmanship directly impacts the lifespan of your shed slab, and we are committed to exceeding your expectations. One example is the use of fibre-reinforced concrete, which enhances the concrete’s resistance to cracking and shrinkage. We also pay close attention to the curing process, which is essential for achieving maximum strength and durability. Proper curing involves keeping the concrete moist for several days after pouring, preventing it from drying out too quickly and cracking. We use techniques such as water curing, covering the slab with plastic sheeting, or applying a curing compound to ensure optimal results.
Personalised Service from Start to Finish
At Laser Concrete, we believe in providing personalised service to every client. We work closely with you throughout the entire process, from initial consultation and site assessment to final inspection and clean-up. We take the time to understand your specific needs and requirements, ensuring that your shed slab is tailored to your exact specifications. Our commitment to customer satisfaction is unwavering, and we strive to deliver a stress-free and enjoyable experience. This includes providing clear and transparent pricing, keeping you informed of progress throughout the project, and addressing any concerns promptly and professionally. We also offer advice on shed placement, drainage solutions, and other factors that can impact the long-term performance of your shed slab. We provide comprehensive site assessments to determine the most suitable slab design and construction methods for your property. We also consider future needs and provide advice on how to accommodate potential expansions or modifications.
Planning Your Shed Slab: Size, Location, and Usage Considerations
Determining the Right Dimensions for Your Needs
Before construction begins, it’s crucial to carefully consider the size and layout of your shed slab. This depends on the intended use of the shed, the equipment or items you plan to store, and any potential future needs. Consider not only the floor space required but also the height and accessibility of the shed. A good rule of thumb is to overestimate slightly to allow for future growth or changes in your storage requirements. For example, if you plan to store a ride-on mower, be sure to allow enough space for maneuvering and maintenance. Think about shelving, workbenches, or other fixtures that you might want to include in the shed. Consider also the door size and placement. Ensure the door is wide enough to accommodate the largest items you will be storing. If storing vehicles, the door height is also a critical factor. Don’t forget to consider the slab thickness in relation to the surrounding ground level. Ideally, the slab should be slightly raised to prevent water from pooling around the shed. A professional assessment can help you determine the optimal dimensions for your shed slab, taking into account all of these factors.
Site Selection: Drainage and Accessibility
The location of your shed slab is just as important as its size. Choose a site that offers good drainage, easy accessibility, and minimal disruption to your property. Avoid areas prone to flooding or waterlogging. Ensure that the site is easily accessible for construction equipment and materials. Consider the proximity to existing structures, trees, and utility lines. Placing your shed too close to trees can lead to root damage to the slab, while proximity to utility lines can create safety hazards. Proper drainage is essential to prevent water damage. The site should be graded to slope away from the shed, and drainage systems such as French drains or swales may be necessary. Example: A homeowner in Penrith built their shed slab in a low-lying area of their property. During heavy rains, the area became flooded, causing water damage to the shed and its contents. They later had to install a drainage system to mitigate the problem. Careful site selection can prevent these types of issues and ensure the long-term performance of your shed.
Anticipating Future Requirements and Expansions
When planning your shed slab, it’s wise to consider potential future requirements and expansions. Even if you don’t have immediate plans to expand your shed, it’s better to plan ahead than to regret it later. Consider whether you might need additional storage space in the future, or whether you might want to add a workshop or other feature to your shed. If so, plan for a larger slab that can accommodate these future needs. Another consideration is the potential for adding electrical or plumbing services to your shed. If you plan to add power outlets, lighting, or water connections, it’s best to run the necessary conduits and pipes during the slab construction process. This will save you time and money in the long run and prevent the need to excavate the slab later. For example, embedding electrical conduit under the slab during construction makes it easier to add lighting or power outlets later without damaging the concrete. Planning for future expansion during the initial concrete pour can often save money in the long run.
Excavation Essentials: Preparing the Site for Your Concrete Shed Slab
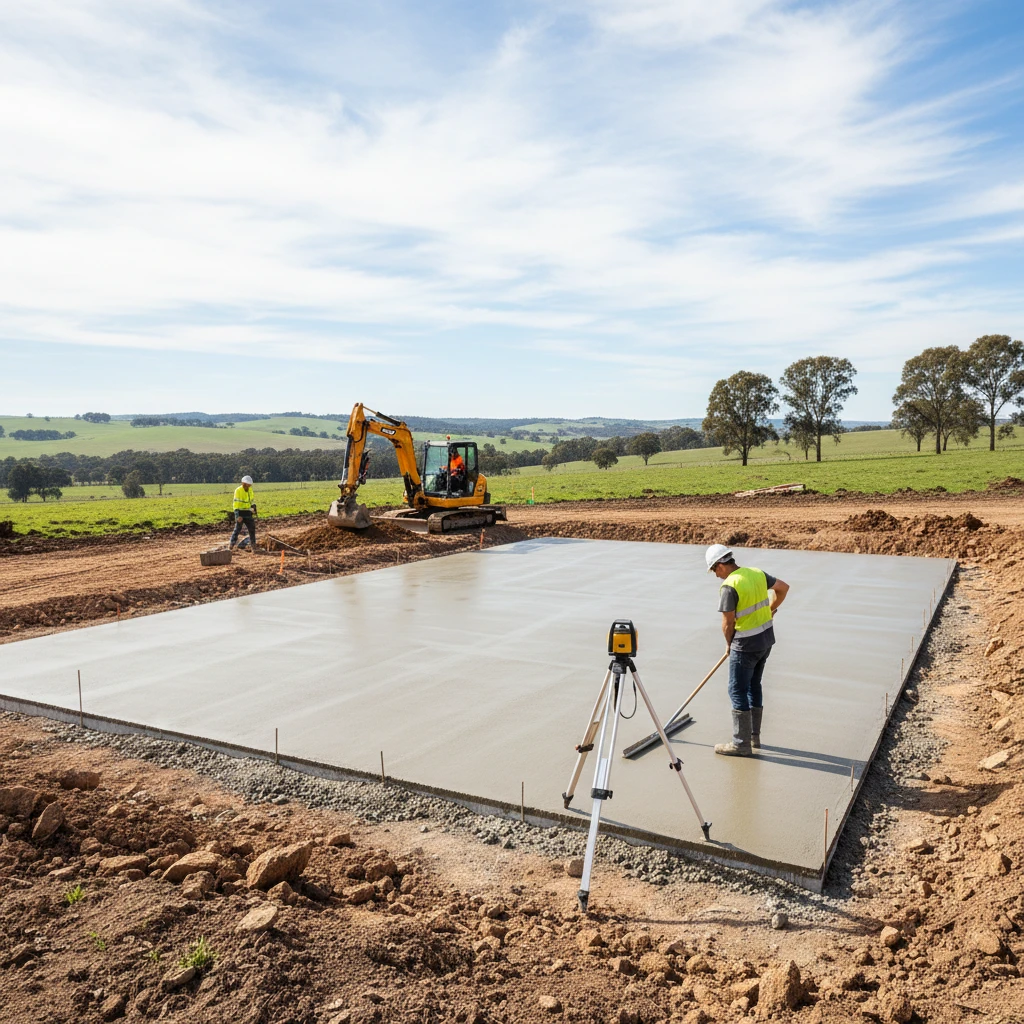
Site Clearing and Levelling: Removing Obstacles and Debris
Before pouring concrete, the site must be properly cleared and levelled. This involves removing all vegetation, rocks, debris, and any other obstacles that could interfere with the slab construction. Topsoil should be stripped away, as it is not suitable for supporting a concrete slab. The goal is to create a clean, level surface that will provide a stable base for the concrete. The process typically involves using machinery such as excavators, bobcats, and graders. Once the site is cleared, it must be levelled to ensure a uniform thickness of concrete. This can be achieved using laser levelling equipment to create a perfectly flat surface. Even minor variations in level can cause problems later on, such as cracking or uneven settling of the slab. Proper site clearing and levelling are essential for the structural integrity and longevity of your shed slab. Proper site preparation performed by experts like Laser Concrete’s excavation team is the crucial first step.
Managing Drainage: Preventing Water Damage
Proper drainage is critical to preventing water damage to your shed slab. Water can seep under the slab, causing it to crack, shift, or even collapse. It can also lead to moisture damage to the shed itself and its contents. Therefore, it’s essential to manage drainage effectively during the site preparation process. This may involve grading the site to slope away from the slab, installing drainage systems such as French drains or swales, or using a waterproof membrane under the slab. A French drain is a trench filled with gravel that allows water to drain away from the slab. A swale is a shallow ditch that carries water away from the site. A waterproof membrane is a layer of plastic or rubber that prevents water from seeping into the slab from below. The choice of drainage solution will depend on the specific site conditions and the amount of rainfall in the area. Consulting with a drainage specialist can help you determine the most effective drainage solution for your shed slab.
Compaction Techniques for a Stable Base
Compacting the soil is a crucial step in preparing the site for your concrete shed slab. Compaction involves compressing the soil to increase its density and stability. This reduces the risk of settling or shifting of the slab over time. The most common method of compaction is to use a plate compactor or a roller. A plate compactor is a machine that vibrates the soil, causing it to settle and compact. A roller is a heavy machine that rolls over the soil, compressing it. The choice of compaction method will depend on the type of soil and the size of the area to be compacted. For larger areas, a roller may be more efficient. For smaller areas or areas with limited access, a plate compactor may be more suitable. It’s important to compact the soil in layers, rather than trying to compact the entire depth at once. This ensures that the soil is evenly compacted throughout. After compaction, the site should be level and firm, providing a stable base for the concrete slab. It is paramount that the ground is stable before concrete is poured.
Concrete Mix Design: Selecting the Right Strength and Composition
The concrete mix design is paramount for a shed slab that will withstand the test of time. Choosing the correct concrete mix is not just about ordering “concrete”; it’s about understanding the specific requirements of your shed, the ground conditions, and the environmental factors it will face. Considerations must include load-bearing requirements, expected weather exposure (especially freeze-thaw cycles if relevant in the Central West), and potential chemical exposure from stored items (e.g., fertilisers, solvents). Failure to address these elements at the design stage can lead to premature cracking, crumbling, or even structural failure of the slab.
Understanding Concrete Grades and Their Applications
Concrete strength is typically measured in megapascals (MPa). For shed slabs, a minimum compressive strength of 25 MPa is generally recommended for light domestic sheds. However, for larger sheds, sheds storing heavy equipment, or sheds subjected to significant loads, a higher grade such as 32 MPa or even 40 MPa may be necessary. The grade dictates the concrete’s ability to resist compression forces. For example, a 32 MPa concrete can withstand significantly higher compressive loads than a 25 MPa mix. Specifying the wrong grade is a critical error. Always consult with a structural engineer or experienced concreter to determine the appropriate grade for your specific shed application. This assessment should factor in the shed’s intended use and local soil conditions. You should also consider the concrete’s slump; a lower slump concrete is generally better for slab work as it is stiffer and less prone to segregation.
The Importance of Proper Curing for Longevity
Curing is the process of maintaining adequate moisture content and temperature in concrete to allow it to achieve its desired strength. Improper curing can drastically reduce the concrete’s ultimate strength and durability. Concrete hydrates over time. Without adequate moisture, hydration stops prematurely, leading to a weaker, more porous slab. Curing methods include keeping the slab surface wet (e.g., with sprinklers or soaker hoses), covering it with plastic sheeting to prevent moisture evaporation, or applying a curing compound that seals the surface. Curing should commence as soon as the concrete has sufficiently hardened to prevent surface damage and ideally continue for at least seven days. In hot or windy conditions, curing becomes even more critical to prevent rapid moisture loss. For optimal results, engage a concreter familiar with local Central West climate variations.
Admixtures for Enhanced Durability and Performance
Admixtures are materials added to concrete during mixing to modify its properties. Common admixtures include: air-entraining agents (to improve freeze-thaw resistance), water reducers (to increase workability and strength), retarders (to slow down setting in hot weather), and accelerators (to speed up setting in cold weather). For example, if building a shed slab in the Blue Mountains, an air-entraining agent would be crucial for freeze-thaw protection. Similarly, in warmer Penrith locations, a retarder might be beneficial to prevent the concrete from setting too quickly during the pour. Using the wrong admixture, or using too much, can have detrimental effects on the concrete’s performance. Always consult with a concrete supplier or experienced concreter to determine the appropriate admixtures for your specific project and environmental conditions. A well-chosen admixture can significantly improve the long-term durability and performance of your shed slab.
Reinforcement Matters: Steel Mesh and Fibre Options for Concrete Slabs
Reinforcement is essential to enhance the tensile strength of concrete, which is inherently weak in tension. By incorporating steel mesh or fibres, you increase the slab’s resistance to cracking and its ability to withstand bending and shear forces. This is particularly important for shed slabs, which may be subjected to uneven loading and ground movement. The choice of reinforcement depends on several factors, including the size and thickness of the slab, the expected loads, and the soil conditions.
The Role of Reinforcement in Preventing Cracking
Concrete is strong in compression but weak in tension. Reinforcement, typically in the form of steel mesh or fibres, provides the tensile strength needed to resist cracking. When concrete is subjected to tensile stresses (e.g., from bending or shrinkage), the reinforcement absorbs these stresses, preventing cracks from forming or propagating. Without adequate reinforcement, even a small amount of tensile stress can lead to cracking, which can compromise the integrity and durability of the slab. The amount and type of reinforcement required depend on the specific loads and stresses the slab is expected to experience. For example, a shed slab supporting heavy machinery will require more robust reinforcement than a slab for a simple garden shed. Understanding the principles of tensile stress and the role of reinforcement is crucial for designing a durable and long-lasting shed slab.
Choosing the Right Type and Gauge of Steel Mesh
Steel mesh, also known as welded wire fabric (WWF), is a common and effective form of reinforcement for concrete slabs. It consists of a grid of steel wires welded together at their intersections. The gauge (thickness) and spacing of the wires determine the mesh’s strength and its ability to resist cracking. Common mesh sizes for shed slabs include SL72, SL82 and SL92. A higher number indicates a thicker wire and closer spacing, providing greater strength. The choice of mesh size depends on the slab thickness and expected loads. For example, an SL72 mesh might be suitable for a thin slab with light loads, while an SL92 mesh would be preferable for a thicker slab supporting heavier loads. Correct placement of the mesh within the slab is also essential. It should be positioned in the middle third of the slab’s thickness to be most effective in resisting tensile stresses. Using the wrong mesh size or failing to position it correctly can significantly reduce its effectiveness. The Concrete Institute of Australia provides valuable resources on proper reinforcement techniques.
Exploring the Benefits of Fibre-Reinforced Concrete
Fibre-reinforced concrete (FRC) is a type of concrete that contains short, discrete fibres distributed randomly throughout the mix. These fibres can be made of steel, polypropylene, or other materials. FRC offers several advantages over traditional steel mesh reinforcement, including improved crack resistance, increased impact resistance, and reduced plastic shrinkage cracking. Fibres distribute tensile stresses more evenly throughout the concrete, preventing the formation of large cracks. However, FRC is not always a complete replacement for steel mesh, especially in slabs subjected to heavy loads or significant bending stresses. In some cases, a combination of steel mesh and fibres may be the best solution. When choosing FRC, it’s important to consider the type and dosage of fibres, as well as the concrete mix design. The cost-effectiveness of FRC should also be evaluated in comparison to steel mesh reinforcement. Example: A homeowner in Katoomba used fibre-reinforced concrete for their shed slab after experiencing issues with cracking in a previous unreinforced slab. While the initial cost was slightly higher, they found the improved crack resistance provided peace of mind and potentially reduced long-term maintenance costs.
The Concrete Pouring and Finishing Process: Achieving a Smooth and Durable Surface
The concrete pouring and finishing process is critical for achieving a smooth, level, and durable surface on your shed slab. Proper techniques during this stage will not only enhance the aesthetic appeal of the slab but also contribute to its long-term performance. Attention to detail is paramount, from ensuring even distribution of the concrete to achieving the desired finish and controlling cracking through proper joint placement.
Proper Techniques for Even Concrete Distribution
Even distribution of concrete is essential to avoid weak spots and ensure consistent strength throughout the slab. The concrete should be discharged from the concrete truck in a systematic manner, avoiding large piles in one area. Using shovels, rakes, and concrete placers, the concrete should be spread evenly across the entire slab area. Vibration is often used to consolidate the concrete, removing air pockets and ensuring that it fully fills the formwork. However, over-vibration can lead to segregation of the concrete, where the heavier aggregates sink to the bottom, and the lighter cement paste rises to the top, resulting in a weaker surface. The concrete should be screeded to achieve a level surface. Screeding involves dragging a straightedge across the surface to remove excess concrete and fill in any low spots. Example: On a recent shed slab project in Lithgow, the concrete crew used a laser level to ensure accurate screeding, resulting in a perfectly level surface despite the slightly uneven ground conditions.
Achieving the Desired Finish: Broomed, Trowelled, or Exposed Aggregate
The finish on a concrete slab refers to the texture and appearance of the surface. Different finishes offer varying levels of slip resistance and aesthetic appeal. A broomed finish is a common choice for shed slabs, providing good slip resistance. It is achieved by dragging a broom across the surface of the wet concrete. A trowelled finish is smoother and more polished, but it can be slippery when wet. It is achieved by using a hand or power trowel to compact and smooth the surface. An exposed aggregate finish is a decorative option that reveals the natural beauty of the aggregates in the concrete mix. It is achieved by removing the surface layer of cement paste to expose the aggregates. The choice of finish depends on the intended use of the shed and the desired aesthetic. For example, a shed used for storing gardening equipment might benefit from a broomed finish for improved slip resistance, while a shed used as a workshop might benefit from a smoother trowelled finish. Consider the overall design of your property and choose a finish that complements your existing landscaping and architecture. A concrete contractor in the Central West can advise on the most suitable finish based on your specific needs and preferences.
Controlling Cracking Through Proper Joint Placement
Control joints are intentionally created grooves in a concrete slab that allow for controlled cracking. Concrete shrinks as it cures, and this shrinkage can lead to uncontrolled cracking. Control joints create weakened planes in the slab, encouraging cracks to form along these joints rather than randomly across the surface. The spacing of control joints depends on the thickness of the slab and the type of concrete mix. As a general rule, control joints should be placed at intervals no greater than 24 to 36 times the slab thickness (in inches). For example, a 100mm thick slab should have control joints spaced no more than 2.4 to 3.6 metres apart. Control joints should be cut into the concrete as soon as it is hard enough to prevent aggregate from being dislodged, typically within 4 to 12 hours after pouring. The depth of the control joints should be at least one-quarter of the slab thickness. Neglecting to install control joints can result in unsightly and potentially structurally damaging random cracking. A recent project in Oberon required extensive concrete repair work due to the absence of control joints in the original slab.
Common Mistakes to Avoid When Building a Shed Slab in the Central West
Building a shed slab requires careful planning and execution to ensure a durable and long-lasting foundation. Numerous pitfalls can compromise the integrity of the slab if not properly addressed. These common mistakes can lead to costly repairs or even the need to replace the entire slab. Understanding these potential issues and taking steps to avoid them is crucial for a successful project.
Inadequate Site Preparation and Drainage
Inadequate site preparation is a leading cause of shed slab failures. The ground beneath the slab must be properly compacted to provide a stable base. Any loose soil, vegetation, or debris must be removed before pouring the concrete. Failure to do so can result in settling and cracking of the slab. Proper drainage is also essential to prevent water from accumulating under the slab, which can lead to erosion and instability. The site should be graded to ensure that water flows away from the slab. Drainage pipes or gravel beds may be necessary in areas with poor drainage. Ignoring site preparation can lead to significant problems down the line. Example: A homeowner in Bathurst built a shed slab without properly compacting the soil. Within a few months, the slab began to crack and sink in several areas, requiring costly repairs. The site should be inspected by a professional to assess the soil conditions and drainage requirements before any concrete is poured. For challenging blocks, getting excavation right is critical.
Using Insufficient Concrete Thickness or Reinforcement
Using insufficient concrete thickness or reinforcement is another common mistake that can compromise the strength and durability of a shed slab. The thickness of the slab should be determined based on the expected loads and the soil conditions. A minimum thickness of 100mm is generally recommended for light domestic sheds, but thicker slabs may be necessary for larger sheds or sheds storing heavy equipment. Similarly, the amount and type of reinforcement should be chosen based on the slab thickness and expected loads. Using too little concrete or inadequate reinforcement can result in cracking and structural failure of the slab. It is always best to err on the side of caution and use a slightly thicker slab and more reinforcement than is strictly required. Consulting with a structural engineer or experienced concreter is recommended to determine the appropriate thickness and reinforcement for your specific shed application.
Neglecting Proper Curing Procedures
Neglecting proper curing procedures is a surprisingly common mistake that can significantly reduce the strength and durability of a concrete slab. As previously discussed, curing is the process of maintaining adequate moisture content and temperature in the concrete to allow it to hydrate properly. Failing to cure the concrete properly can result in a weaker, more porous slab that is more susceptible to cracking and damage. The concrete should be kept moist for at least seven days after pouring, especially during hot or windy weather. Curing can be achieved by keeping the surface wet, covering it with plastic sheeting, or applying a curing compound. Neglecting curing procedures can undo all the other careful planning and execution, resulting in a slab that fails prematurely. Proper curing is a simple and inexpensive way to ensure the long-term performance of your shed slab. A professional concreter will know the best curing methods for the Central West climate.
Maintaining Your Shed Slab: Tips for Long-Term Performance and Durability
Regular Cleaning and Inspection Practices
Maintaining your shed slab requires consistent effort to ensure its longevity. Regular cleaning is paramount; at least twice a year, thoroughly sweep away debris such as leaves, dirt, and gravel. These materials can trap moisture and lead to staining or even promote the growth of mould and mildew, particularly in shaded areas. A simple hose down can be effective for removing loose dirt, but for tougher stains, consider using a mild detergent solution and a scrub brush. Avoid harsh chemicals or pressure washers, as these can damage the concrete surface over time.
In addition to cleaning, routine inspections are crucial. Check for cracks, chips, or any signs of deterioration. Pay close attention to areas around the edges of the slab and where the shed’s walls meet the concrete. Look for any pooling water, which can indicate drainage issues. Early detection of problems allows for timely repairs, preventing minor issues from escalating into major structural concerns. Document your inspections with photos to track any changes over time. Aim to inspect your shed slab at least quarterly for optimal maintenance.
Addressing Cracks and Damage Promptly
Cracks in your shed slab, even small ones, should be addressed promptly to prevent water ingress and further damage. Hairline cracks (less than 3mm wide) can often be sealed with a concrete crack sealant available at most hardware stores. Clean the crack thoroughly before applying the sealant, following the manufacturer’s instructions carefully. For larger cracks (greater than 3mm wide), consider using a concrete patching compound. This usually involves cleaning out loose debris, applying a bonding agent, and then filling the crack with the compound. Proper curing is essential for a strong and durable repair.
If you notice significant cracking, spalling (surface flaking), or sinking, it’s best to consult with a professional concrete contractor. These issues may indicate underlying problems such as soil settlement or inadequate drainage, which require expert assessment and repair. Ignoring these larger issues can compromise the structural integrity of your shed slab and potentially damage the shed itself. Remember that seeking professional assistance early on can save you significant costs in the long run.
Sealing and Protecting Your Concrete Surface
Sealing your concrete shed slab is a vital step in protecting it from the elements and extending its lifespan. A good concrete sealer creates a barrier against water, oil, and other substances that can stain or damage the surface. There are two main types of sealers: penetrating sealers and topical sealers. Penetrating sealers soak into the concrete and provide protection from within, while topical sealers form a protective film on the surface. The best choice depends on your specific needs and preferences. Consider a penetrating sealer if you want to maintain the natural look of the concrete, or a topical sealer for enhanced stain resistance and a glossy finish.
Before applying a sealer, ensure the concrete surface is clean, dry, and free of any debris. Follow the manufacturer’s instructions carefully, and apply the sealer in thin, even coats. Reapply the sealer every 1-3 years, depending on the type of sealer and the level of traffic the shed slab receives. Regular sealing is a cost-effective way to protect your investment and keep your shed slab looking its best. Consider also the use of sacrificial coatings where there is likely to be heavy impact or abrasion, for example from machinery or equipment stored inside the shed. You can find detailed advice on concrete protection from organisations such as the American Concrete Institute.
Serving Penrith, the Blue Mountains, and Beyond: Your Local Concrete Experts
Understanding Regional Building Codes and Requirements
Navigating local building codes and regulations is a critical aspect of any construction project, including shed slab installations. In areas like Penrith and the Blue Mountains, specific requirements may exist regarding slab thickness, reinforcement, drainage, and environmental considerations. Before commencing any work, it’s essential to consult with the local council to ensure your project complies with all applicable regulations. Failure to do so can result in costly delays, fines, or even the need to redo the work. We stay up-to-date with the latest building codes in the Central West region to ensure all our projects meet the required standards. This includes understanding site-specific requirements related to bushfire zones or environmental protection areas.
Providing Reliable and Professional Service Across the Central West
We pride ourselves on providing reliable and professional concrete services throughout the Central West region. This includes prompt communication, accurate quoting, and adherence to agreed-upon timelines. Our team is committed to delivering high-quality workmanship and exceptional customer service on every project, from small shed slabs to larger commercial developments. We understand that every client has unique needs and expectations, and we tailor our services to meet those specific requirements. For example, we work with clients across the region, from Lithgow to the Hawkesbury to provide professional excavation and concreting.
Committed to Quality Craftsmanship and Customer Satisfaction
At Laser Concrete, quality craftsmanship and customer satisfaction are at the heart of everything we do. We use only the highest quality materials and employ skilled tradespeople with years of experience in the concrete industry. We stand behind our work and are committed to ensuring that our clients are completely satisfied with the final result. Our commitment to quality extends beyond the concrete itself; we also prioritize clear communication, transparency, and a collaborative approach to every project. Read more about our experience and commitment to quality in complex sites on our excavation and concrete services page.
Investing in Quality: Why Professional Shed Slab Installation is Worth It
Minimising Long-Term Repair and Replacement Costs
Investing in a professional shed slab installation might seem like a larger upfront cost compared to a DIY approach, but it can save you significant money in the long run. A poorly constructed shed slab is prone to cracking, sinking, and other issues that can lead to costly repairs or even premature replacement. A professional installation ensures proper site preparation, adequate reinforcement, and precise concrete mixing and pouring techniques, resulting in a durable and long-lasting foundation. Considering the potential costs of repairing or replacing a substandard slab, the initial investment in a professional installation is a wise financial decision. For example, consider the cost of a concrete driveway done poorly; it can lead to significant issues later. Learn about high quality solutions at our page about concrete driveway solutions.
Protecting Your Investments and Assets
Your shed is likely to house valuable tools, equipment, or other belongings. A properly constructed shed slab provides a stable and secure foundation, protecting these assets from damage caused by moisture, pests, or uneven ground. A level and solid slab also prevents the shed from shifting or settling, which can compromise its structural integrity and lead to costly repairs. Furthermore, a well-built shed slab can enhance the overall value of your property, making it a worthwhile investment. It is important to protect your investment in machinery and equipment with a quality slab.
Ensuring Safety and Structural Integrity
Safety should always be a top priority when it comes to any construction project. A professional shed slab installation ensures that the structure is built to withstand the loads it’s intended to carry and that it meets all relevant safety standards. This reduces the risk of accidents or injuries caused by structural failures or unstable foundations. By entrusting the project to experienced professionals, you can have peace of mind knowing that your shed slab is built safely and to the highest standards. Proper compaction and reinforcement are critical to a safe slab, which is especially important on sloped sites. This expertise is what Laser Concrete brings to every job.
Ready to Get Started? Contact Laser Concrete for Your Shed Slab and Excavation Needs
Ensuring the longevity and stability of your shed begins with a solid foundation. From understanding regional requirements to implementing the best installation practices, Laser Concrete is your trusted partner for shed slabs and excavation in Penrith, the Blue Mountains, and the Central West. Contact us today to discuss your project requirements and receive a free quote. Let us provide you with a durable, expertly crafted concrete foundation that will stand the test of time.